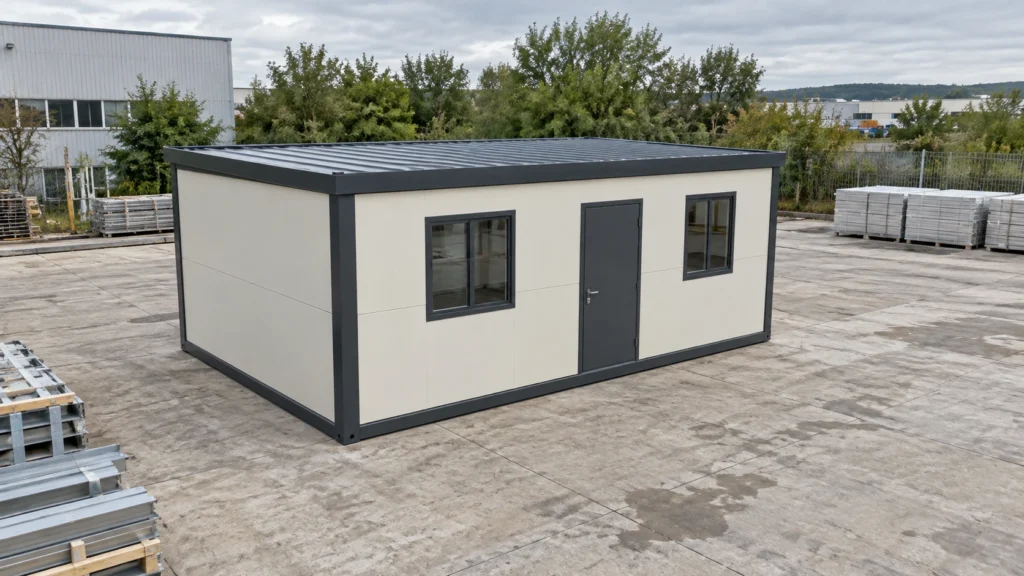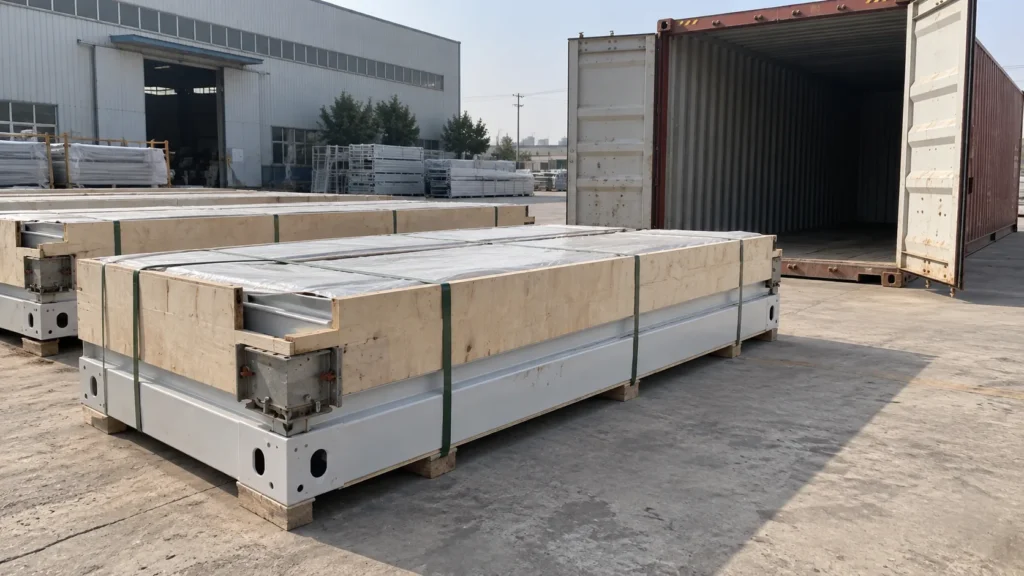
Prefab container houses are installed by matching the delivered building system to a prepared site, completing the required structural and enclosure work, connecting services, and checking the finished installation before use. The amount of work at the destination depends on what was completed in the factory. A compact package, an assembled room and a folding unit create different site tasks, even when they serve the same purpose.
For a buyer, the useful question is not simply how quickly a frame can be erected. It is what must happen before the building can support its intended operation. A room that has been positioned may still need external drainage, access steps, electrical connections and acceptance checks. This guide explains the installation decisions and handovers to organize with your supplier and site team. The selected model’s instructions and the project’s approved installation method govern the actual work.
What installation work will your delivery actually require?
Start with the delivery configuration and a written list of work remaining at the site. Product names alone do not establish the installation scope. Ask for a drawing or photograph of the shipping condition and compare it with the completed condition in the quotation. The difference between those two states is the work that somebody must plan, resource and accept.
A flat pack arrangement may arrive with larger factory-made assemblies and separate enclosure components. A more disassembled system may contain individual frame members and panels; detachable container house assembly planning explains how to receive, organize and hand over those separate parts. An assembled room can have much of its interior already fitted, while still requiring placement and site connections. Folding products introduce moving joints and a model-specific deployment sequence. Avoid applying one supplier’s installation video to another structure because the finished buildings look similar.
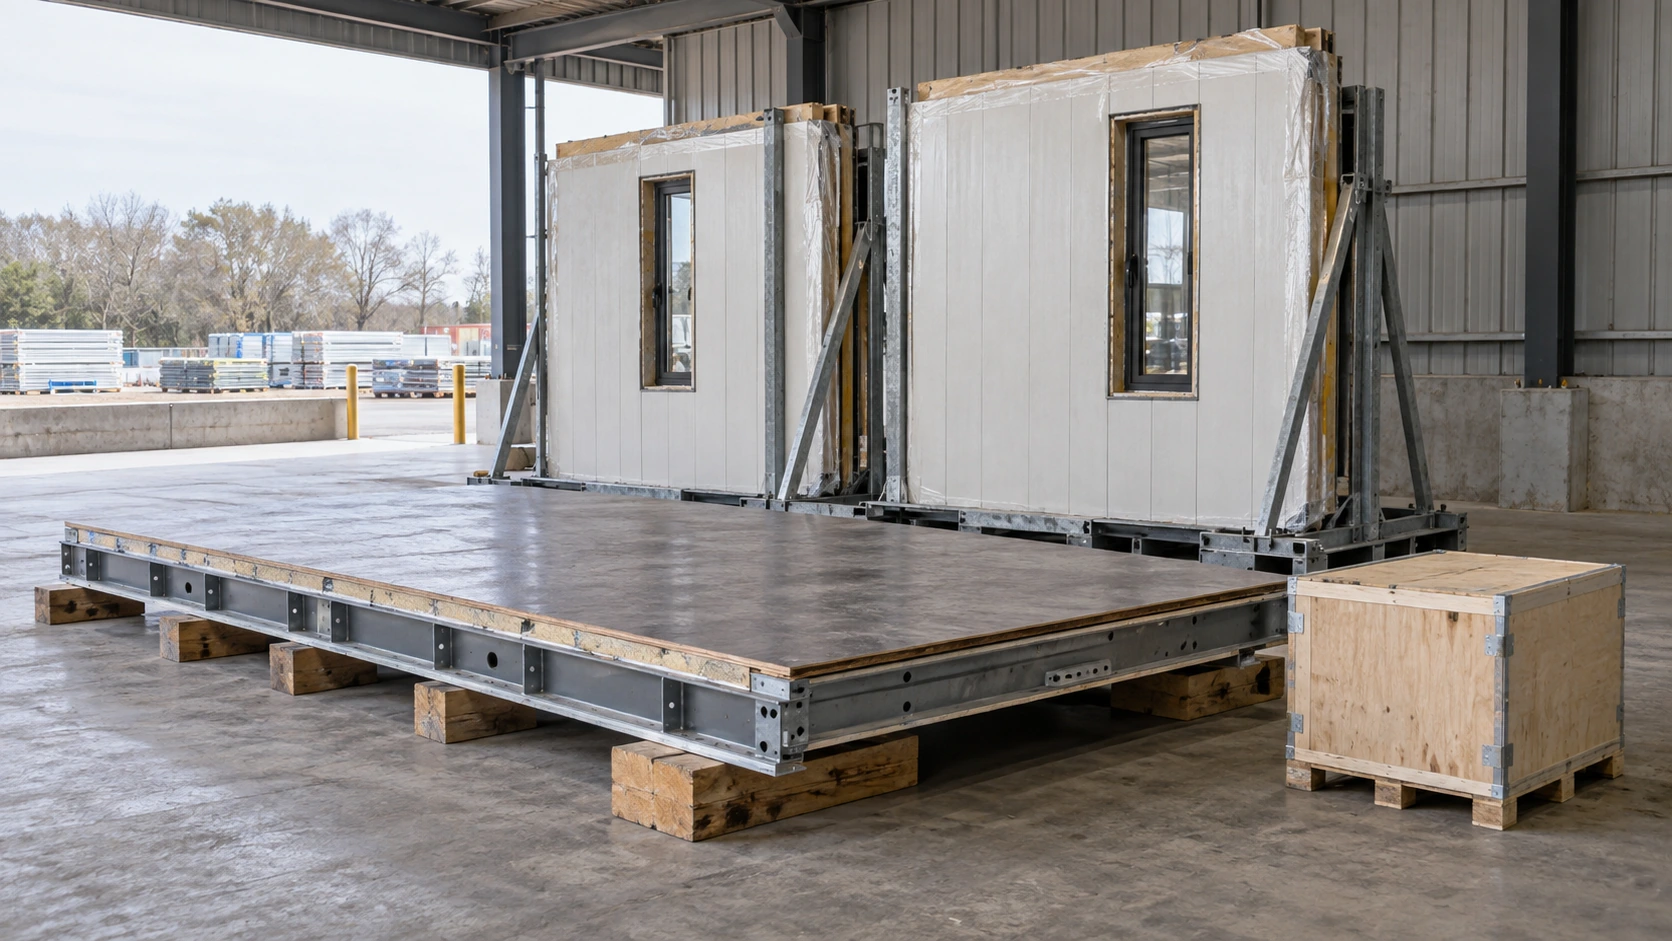
Make the scope explicit at the component level. Does the package include the floor finish already attached? Are doors installed in panels or packed separately? Is a bathroom connected within the module, or supplied as loose fixtures? Is the roof ready to drain after positioning, or does the installation team complete outlet connections and covers? These details affect trade access and the order of work.
| Delivery question | Evidence to request | Effect on site planning |
|---|---|---|
| What arrives assembled? | Shipping-condition drawing and packing list | Identifies assembly tasks and storage needs |
| What arrives loose? | Component list linked to each unit | Reveals accessories and tools needed at the destination |
| What crosses a module joint? | Structural, weather and service details | Establishes work that remains after positioning |
| What is excluded? | Site-supply and contractor scope | Prevents omitted access or utility work |
Use the flat pack container house product information to establish the relevant product family, then ask for the documents for the configuration being offered. A general product page is a starting point for that conversation, rather than a substitute for an installation pack.

How should the site be checked before the truck arrives?
Check the building supports, delivery approach, working area and utility interfaces together. A site can have a completed foundation and still be unready for installation. The truck might not reach the unloading position, the lifting equipment might lack suitable standing space, or a service trench might occupy the planned assembly area. These are separate readiness questions and need separate answers.
The foundation drawing should correspond to the selected building and layout revision. Ask the site team to compare its completed supports with that drawing and record the relevant positions and levels. Photographs help explain a discrepancy, but a photograph of concrete cannot establish its dimensions, support capacity or suitability for the actual ground. The responsible designer and installation team need the appropriate evidence.
Treat the handling area as part of the project
The US OSHA rule on crane ground conditions addresses equipment support and known subsurface hazards, including voids and buried utilities. It applies within its US regulatory scope. The general planning implication is that a surface suitable for the finished building is not automatically evidence that nearby ground can support the equipment used to install it.
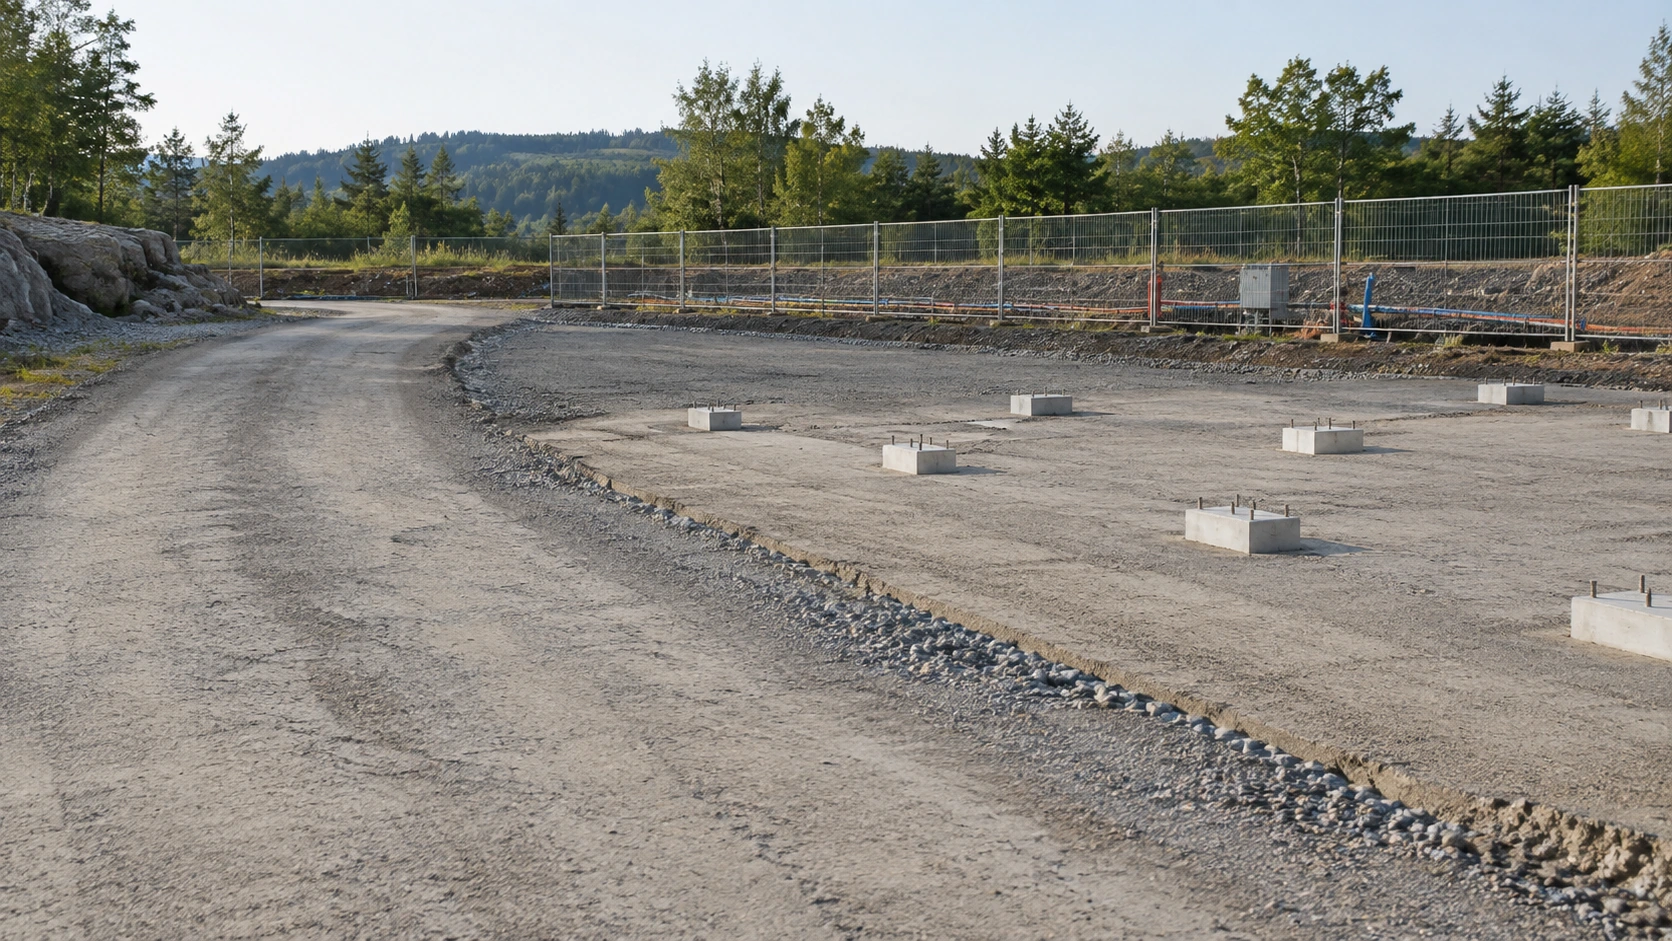
Walk the delivery route with the logistics and site teams before fixing the arrival date. Check the actual vehicle arrangement, turning space, overhead obstructions, neighboring operations and where packages will wait. A narrow entrance may be manageable for an empty vehicle but unsuitable for the loaded combination or the maneuver needed at the unloading point.
Include rainwater discharge and temporary weather exposure in the readiness discussion. A low area that holds water can obstruct work and damage stored materials before the building is enclosed. Decide where vulnerable items will be protected and which access routes must remain usable during bad weather. Resolve these matters before transport is committed, when changing a delivery date or unloading arrangement is usually easier than solving the problem beside an arriving truck.

What should happen when packages are received?
Match every received package to its intended unit and installation stage before distributing the contents. Receiving is the point where the packing information becomes a site inventory. Without that connection, a box can be present somewhere on the project while the crew responsible for a particular room still considers its parts missing.
Set up a receiving record with the shipment reference, package identifier, related unit, observed condition and storage location. Keep transport marks visible until their contents have been reconciled. If several identical-looking units have different doors or service arrangements, identify the differences before the parts are mixed. A common frame does not make every component interchangeable.
Check visible damage with enough context to make the record useful. Show the entire package and the affected area, retain identifying marks, and note whether the damage appears to involve only outer protection or the component itself. Avoid opening every package merely to produce photographs if that would expose materials to weather or disrupt the supplier’s handling requirements.
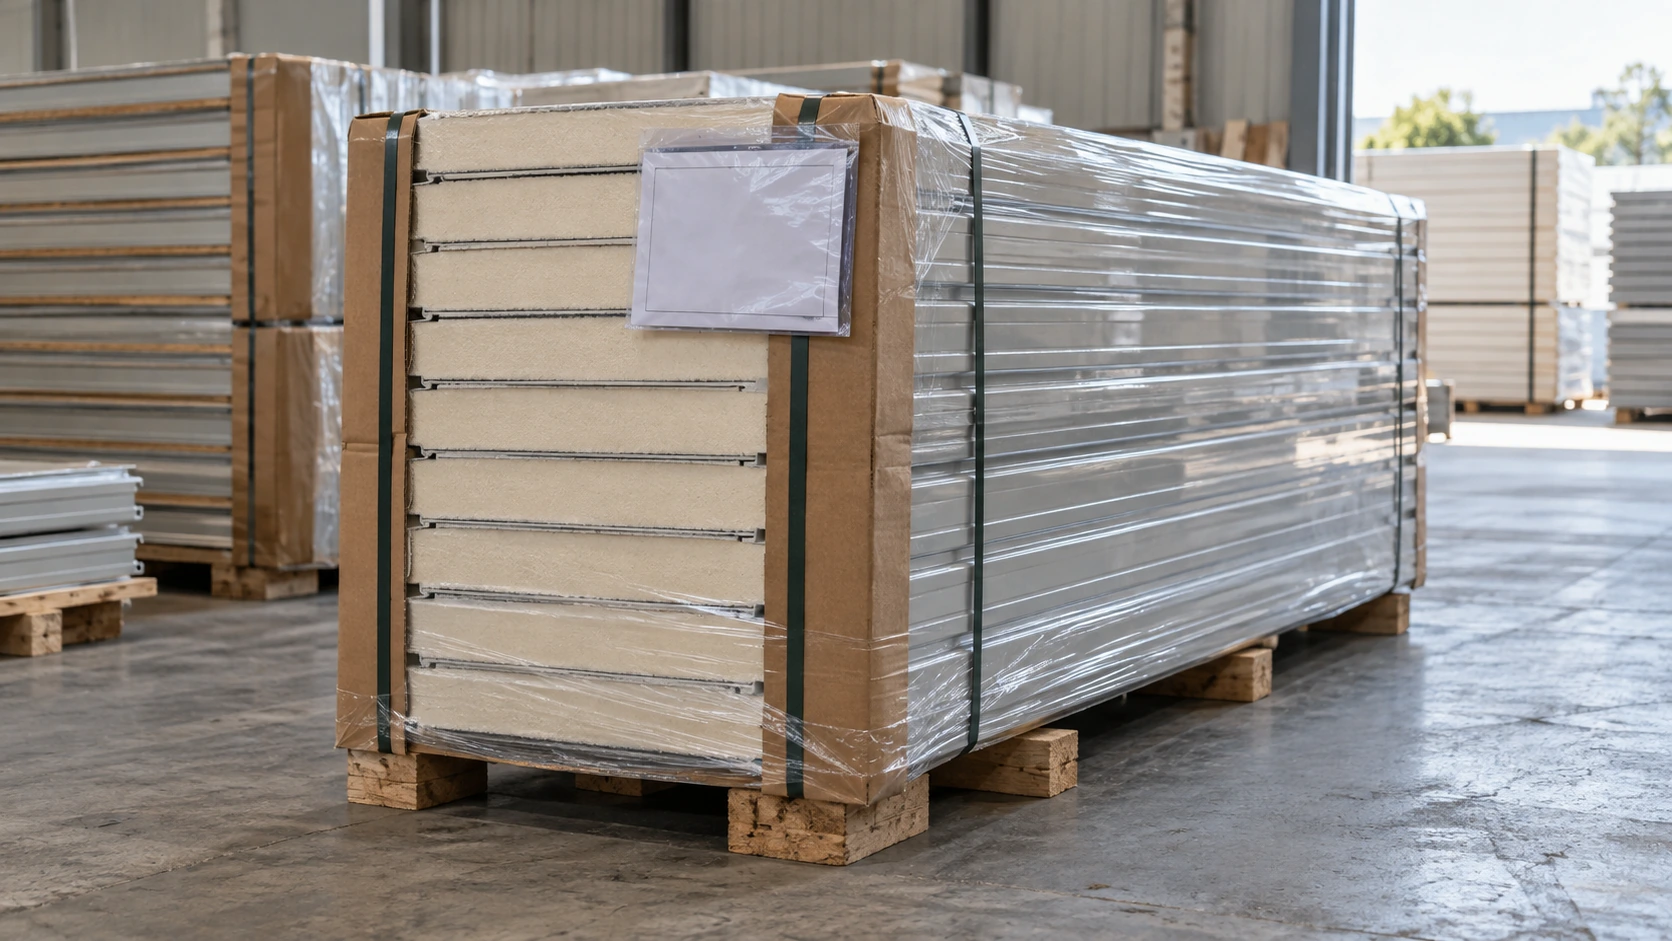
An uncertain item needs a defined disposition. Separate it from parts released for installation and ask the responsible party whether further examination, replacement or an approved repair is required. Concealing a questionable panel or forcing a distorted component into position makes later assessment more difficult. The receiving team should not make an engineering acceptance decision simply because the delivery paperwork needs to be signed.
Arrange storage around the installation sequence. Items needed first should be accessible without moving vulnerable finished components repeatedly. Keep associated fixings, seals and trims linked to the relevant assembly. Our loading and international shipping guide explains the earlier packing and handover information that can make this receiving process easier.

How do positioning and structural assembly connect?
The installation method must keep the building stable at every intermediate stage, as well as in its finished form. A completed structure and a partially assembled frame do not behave identically. The sequence therefore needs to identify the approved handling method, temporary conditions, connections and the point at which each stage may proceed.
The UK’s HSE guidance on planning lifting operations emphasizes suitable competence, resources, responsibilities and consideration of foreseeable risks. For a container-house project, use that planning principle to ask who owns the lift plan and how the selected equipment, load information and site conditions have been coordinated. A buyer’s schedule should allow that work to happen; it should not replace it with a guessed crane size.
Ask for release conditions, not improvised instructions
Record the information that allows the responsible team to move from one stage to the next. Before placement, that may include acceptance of the support arrangement. Before continuing assembly, it may include alignment and connection checks specified for the model. Before hiding a joint, it may include the inspection record required by the project. The exact checks come from the design and installation documents.

If holes, bearing points or module interfaces do not match, stop the affected operation and identify the discrepancy. Do not assume that enlarging a hole, adding a packing piece or removing a member is an ordinary fit adjustment. Even a small-looking change can alter how a connection transfers force or how the enclosure is completed.
Photographs and measurements should refer to the same drawing revision and unit identifier. A clear question such as “This connection location differs from detail B on revision C” gives the supplier useful information. “It does not fit” leaves the next person guessing where the disagreement lies and whether the delivered component or the site condition has changed.
When is the enclosure ready for the next trades?
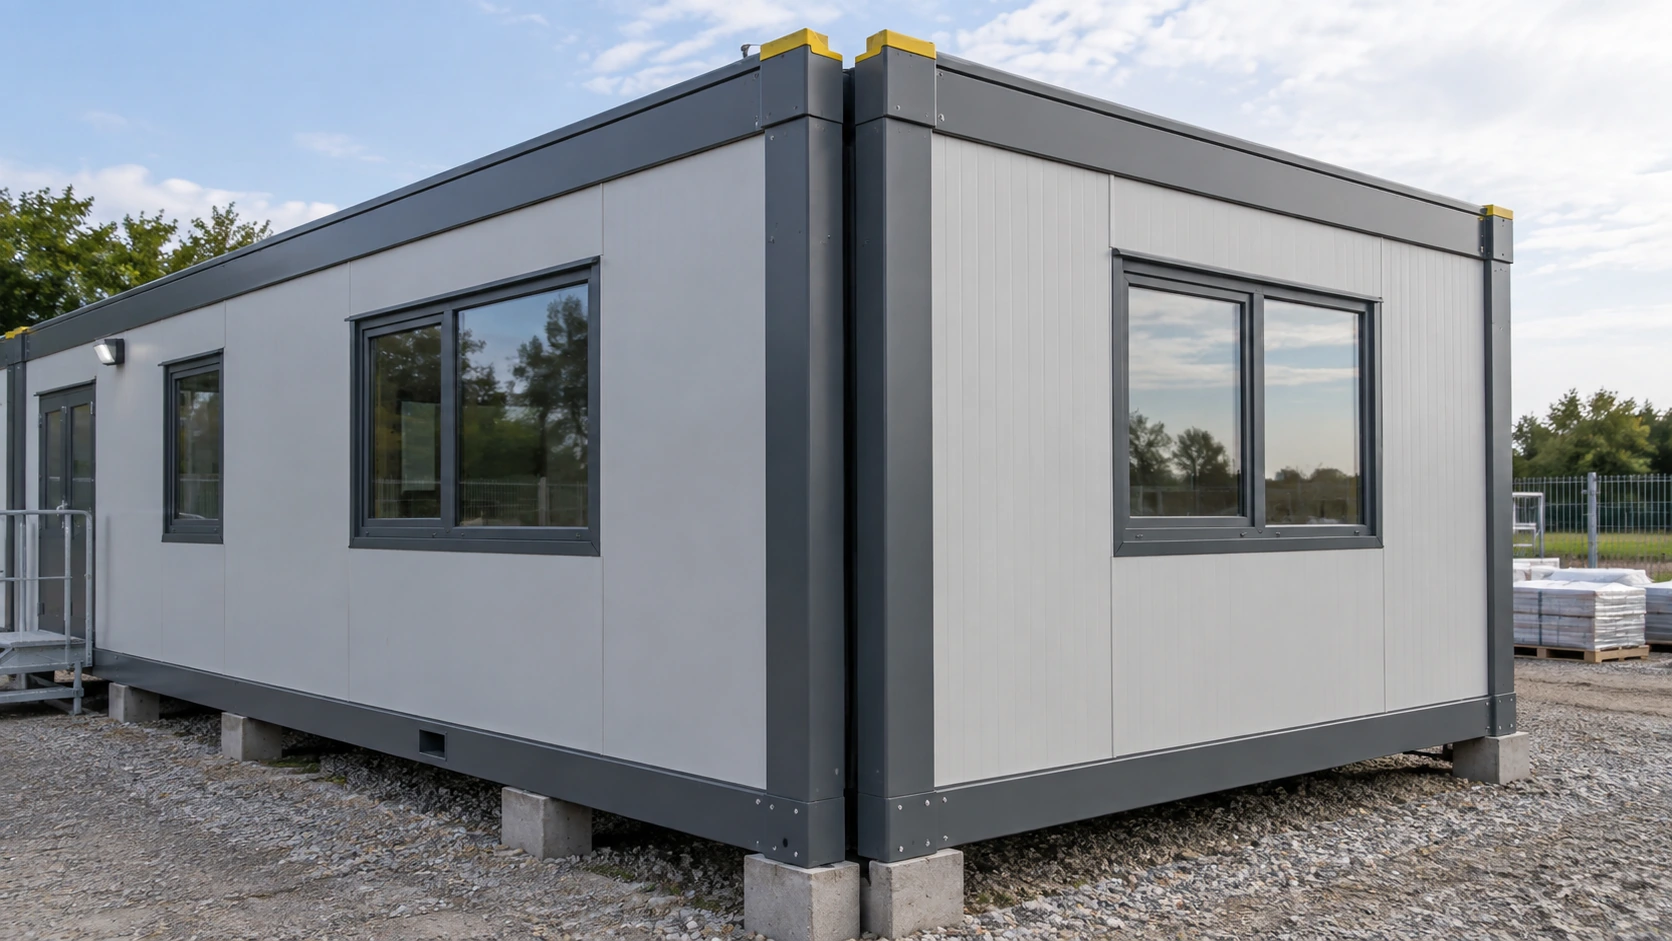
The roof, walls, openings and module joints need a coordinated weather enclosure before vulnerable interior work is treated as protected. Finishing the largest visible surfaces does not establish that every water path is complete. Edges, penetrations, external covers and drainage outlets often sit at the boundary between different trades or supplied assemblies.
Trace the intended rainwater route from the roof to its discharge point. The installation pack should explain which components form that route and where site connections remain. An outlet that is present but unconnected may direct water into an unsuitable place. A cover can look tidy while hiding an incomplete joint beneath it. Check the underlying work before closing access.
Different joints also perform different functions. A structural connector, a weather seal, a fire-stopping detail and an acoustic treatment are not interchangeable descriptions of the same material. Where the project requires more than one function at an interface, each must be represented by the coordinated detail. The installer should know which specified system belongs in each location.

| Interface | Practical review question | Record that helps later |
|---|---|---|
| Roof to outlet | Is the complete drainage route connected? | Outlet location and completion check |
| Door or window to wall | Do fitting and weather details match the approved arrangement? | Opening reference and inspection result |
| Joint between rooms | Are all required layers complete before covers are fitted? | Photographs linked to the joint identifier |
| Service penetration | Is the required enclosure performance maintained? | Penetration detail and installed system |
Check door and window operation after the surrounding work is complete. A unit that operated before transport may respond differently after installation if the frame or support arrangement is wrong. Investigate the cause rather than immediately trimming, bending or forcing the hardware. Finish inspections are more useful when they connect a visible symptom with the assembly that could explain it.
What remains after electrical and plumbing items are installed?
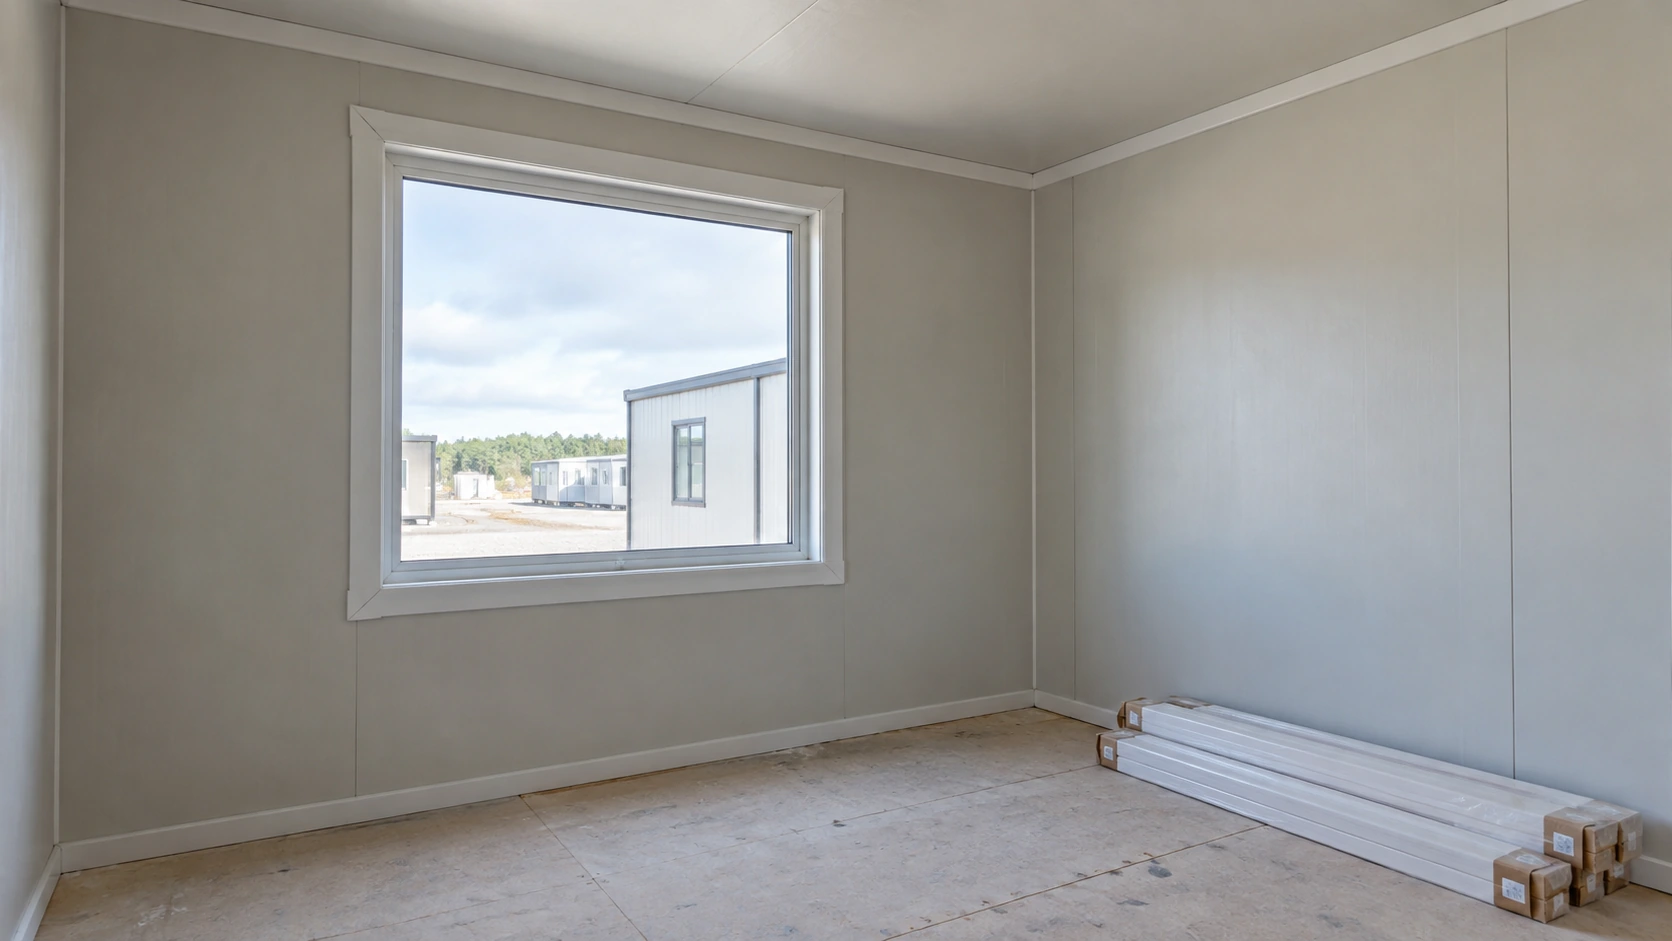
Installed equipment still needs the appropriate site connections, checks and operational handover. A light fitting inside a room does not prove that the final supply, protection and earthing arrangements are complete. A fitted basin does not prove that water supply and drainage work at the site boundary have been accepted.
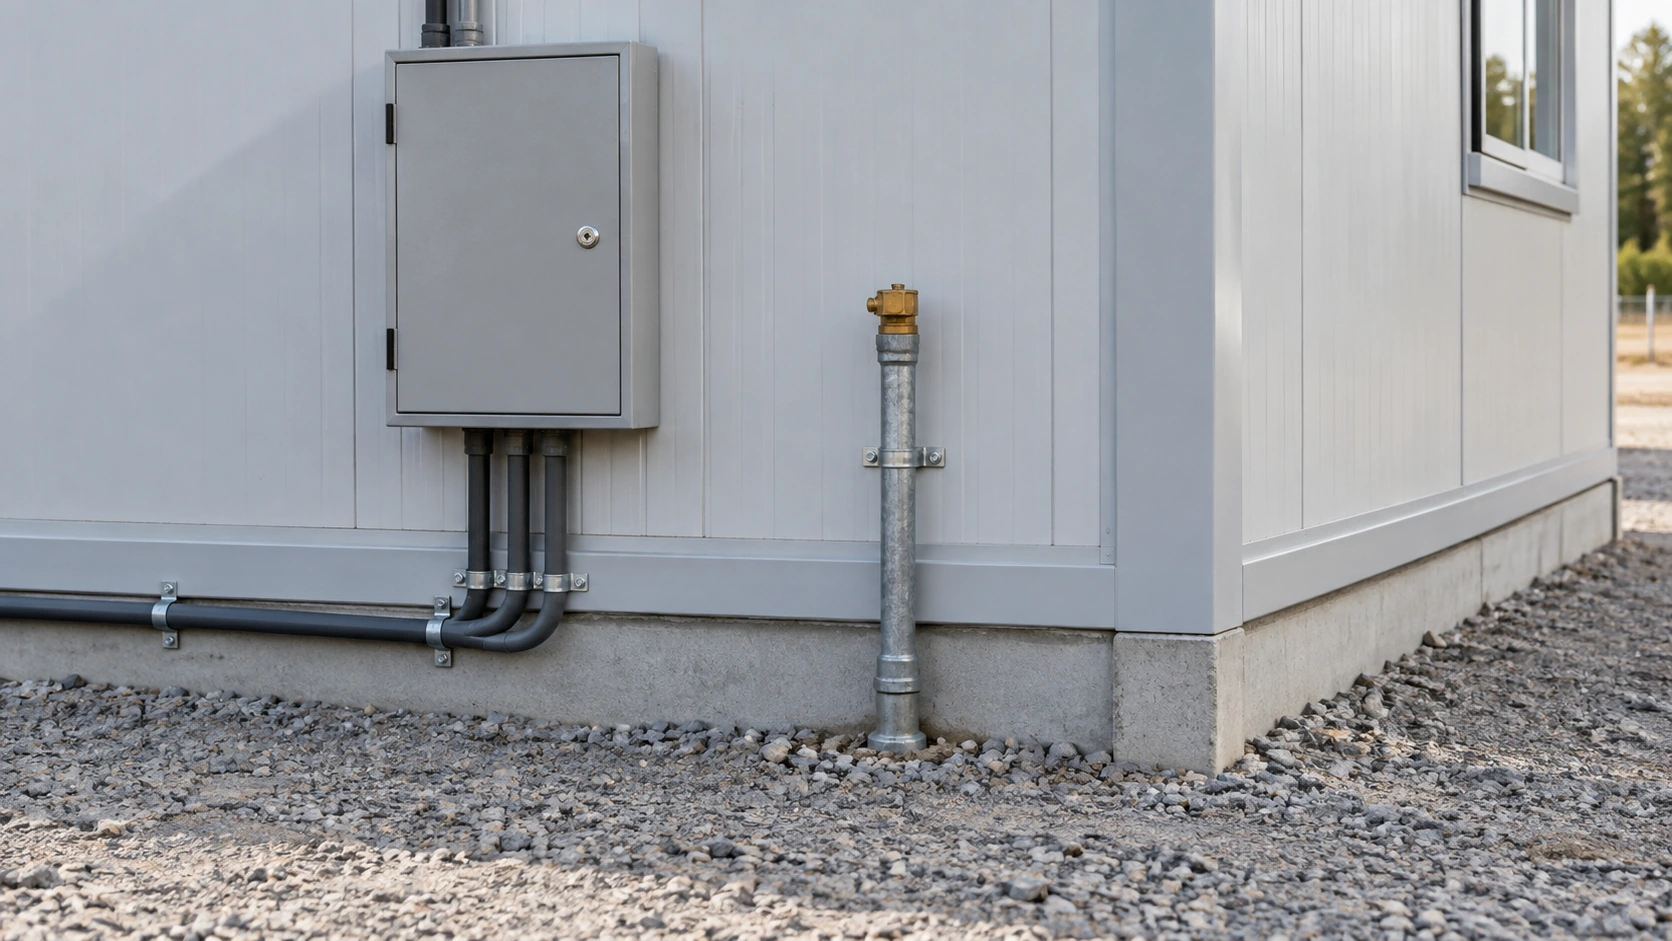
Ask for a service interface schedule. It should identify each connection, where the supplier’s work ends, who completes the site work and who verifies the completed system. Put this beside the room and site drawings. If the connection location moves during installation, update both the drawing and the responsible contractor’s instructions.
For cooling or ventilation equipment, include the supporting installation and maintenance needs. The unit may need an agreed mounting position, a condensate route, access for cleaning, and controls that occupants can use. Avoid blocking service access with furniture simply because the equipment was installed before the room was furnished.

The testing requirements should come from the actual design, equipment and local rules. Have the qualified people responsible for electrical, plumbing and other specialist systems complete the appropriate checks and records. A general internet checklist cannot prescribe the complete test regime for an unknown building. The buyer’s role is to ensure that a named party owns each required result and that outstanding work remains visible.
Run an operational walkthrough after the technical checks. Follow the activities that the building is meant to support: entering, using a workstation or bathroom, adjusting controls and leaving. Confirm that the handed-over manuals identify the equipment actually installed. Record defects discovered during this walkthrough without confusing a cosmetic snag with an issue that prevents the intended use.
How can you build a realistic installation schedule?
Plan around dependencies and accepted completion states, rather than a single advertised assembly time. Product assembly is one activity inside a larger site process. A fast erection sequence provides little benefit if the team then waits for a connection, an inspection or access components that were not included in the order.
Create a short sequence showing what must be complete before each activity starts. Link site readiness to delivery, receiving to component release, structural work to enclosure completion, and service connections to their required checks. Some tasks can overlap, but only where the physical access and responsible teams allow it. Overlap is a planning decision, not an automatic feature of modular construction.
| Schedule item | Dependency to confirm | Owner to identify |
|---|---|---|
| Delivery booking | Site and handling arrangements accepted | Buyer and logistics coordinator |
| Assembly start | Correct components and current installation documents | Installation lead |
| Joint closure | Required concealed-work checks completed | Responsible trade and inspector |
| Operational handover | Services, access and acceptance requirements resolved | Project manager and operator |

A hypothetical office project illustrates the distinction. Suppose the rooms can be erected while a separate team completes an external service connection. That parallel work only helps if the connection point, access area and testing date are coordinated. If the arriving rooms cover the only route needed by the service team, the apparently efficient overlap creates additional work instead.
Ask bidders to state what their duration estimate includes and assumes. Does it cover only assembly, or receiving, setup, connections and checks as well? Which activities depend on other contractors? Record those boundaries before comparing two estimates. The manufacturer, builder and contractor guide can help clarify the roles behind the schedule.
What should you receive at installation handover?
A useful handover combines the completed building, a clear list of outstanding items and the information needed to operate and maintain it. The person accepting the building should be able to see what was checked, which version was installed and whom to contact about an unresolved issue. A collection of unrelated photographs is not enough to answer those questions.
Keep the current arrangement drawings, relevant as-built information, equipment manuals, required inspection and test records, and agreed care instructions together. Link any outstanding item to a location, responsible party and completion requirement. Where an item affects readiness for use, the project team must resolve its treatment before occupancy or operation proceeds under the applicable approval process.
Use a repeatable closeout method: identify the issue, complete the agreed correction, verify the result and retain the evidence. “Repair sent” and “repair accepted” describe different states. If a correction changes the installed arrangement, update the corresponding record so the operator does not inherit conflicting instructions.

The container house quality control guide provides a related framework for documenting checks and closing issues. Installation adds the actual site conditions and interfaces to that quality record. Preserve both the supplier’s evidence and the local team’s completion records so responsibility can be traced through the entire delivery.
For an installation discussion with PQSE House, prepare the selected product type, unit quantity, destination, site sketch, available local team and intended delivery date. Explain which site tasks are already arranged and which still need coordination. Those inputs make it possible to discuss a practical scope and sequence for your project.
Discuss Your Installation Requirements
Installation handover — open the checklist
Copy these headings into your project brief. Add your own information and mark unresolved items for review.
| Record | Information to add |
|---|---|
| Delivery form | What arrives assembled and what arrives loose |
| Site readiness | Supports, access, handling area and local services |
| Assembly interfaces | Responsible team, drawings and required checks |
| Completion record | Open items, service acceptance, instructions and handover owner |