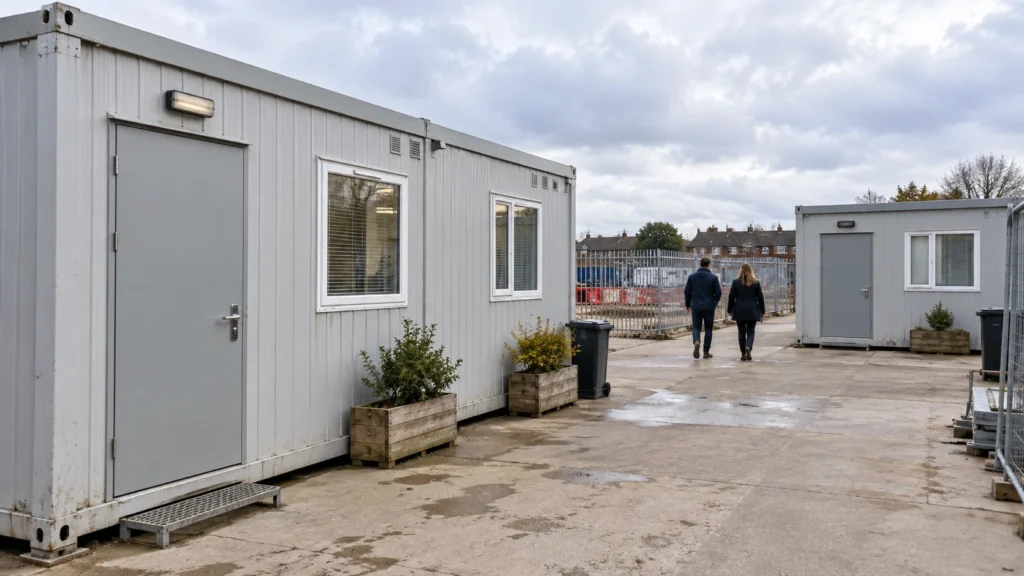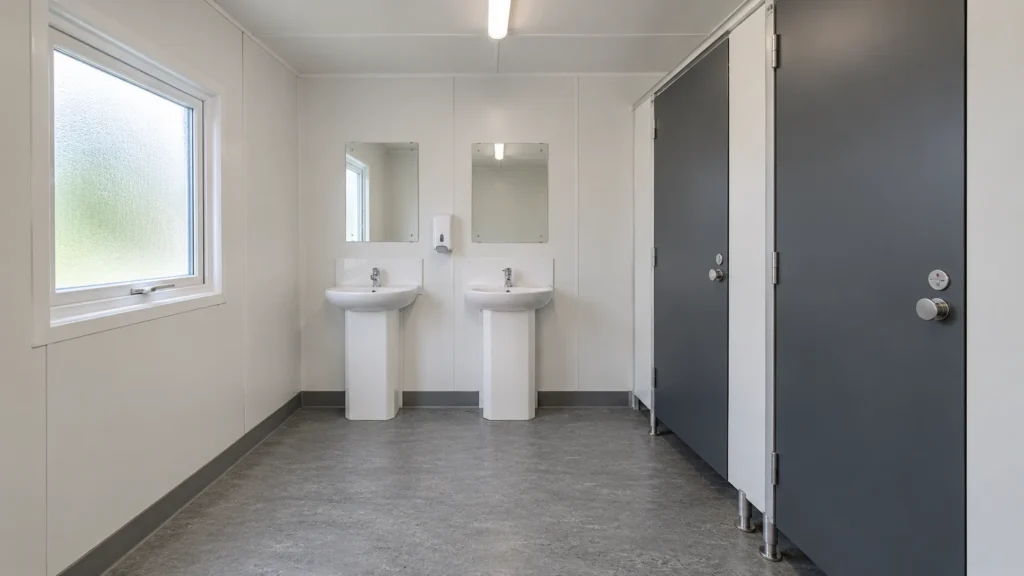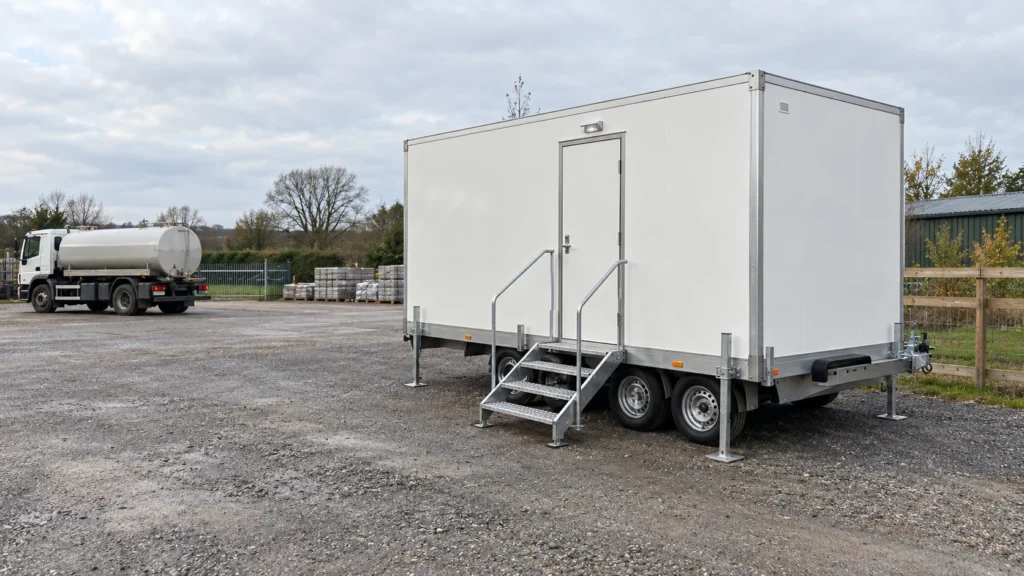
A detachable container house is a purpose-built modular building assembled from a bolted frame, separate enclosure components and the fittings agreed for the order. Successful installation depends on identifying the correct parts, assigning the work left for the destination team and checking connections before they become concealed. The useful buying question is therefore not simply how quickly a room can be assembled, but whether the shipment, drawings, site and installation team describe the same building.
This guide helps project buyers prepare that assembly brief. It covers receiving, responsibility, inspection and handover rather than prescribing a universal erection sequence. Fasteners, lifting arrangements, temporary support, foundations and service connections must follow the selected model’s approved documents and local professional review. The photographs illustrate planning situations; they do not document a named customer project or certify an installation method.
Identify what “detachable” means in the quotation
Ask which assemblies arrive complete and which arrive as individual components. Product names alone do not reliably describe the work your team will perform. Two quotations may both say “flat pack” while assigning very different amounts of frame and enclosure assembly to the destination.
The PQSE detachable container house uses a bolted steel frame and separate panels. Compare the named configuration, drawing revision and bill of materials, rather than transferring a dimension or feature from another supplier’s image. Optional room partitions, bathrooms and connected layouts also change the installation scope.
For comparison, a supplier may deliver a flat-pack system with more of the upper and lower assemblies already completed. A folding product introduces moving joints and its own opening procedure. A converted freight container begins with an existing transport shell. These differences affect handling and inspection, even when the finished rooms look similar.
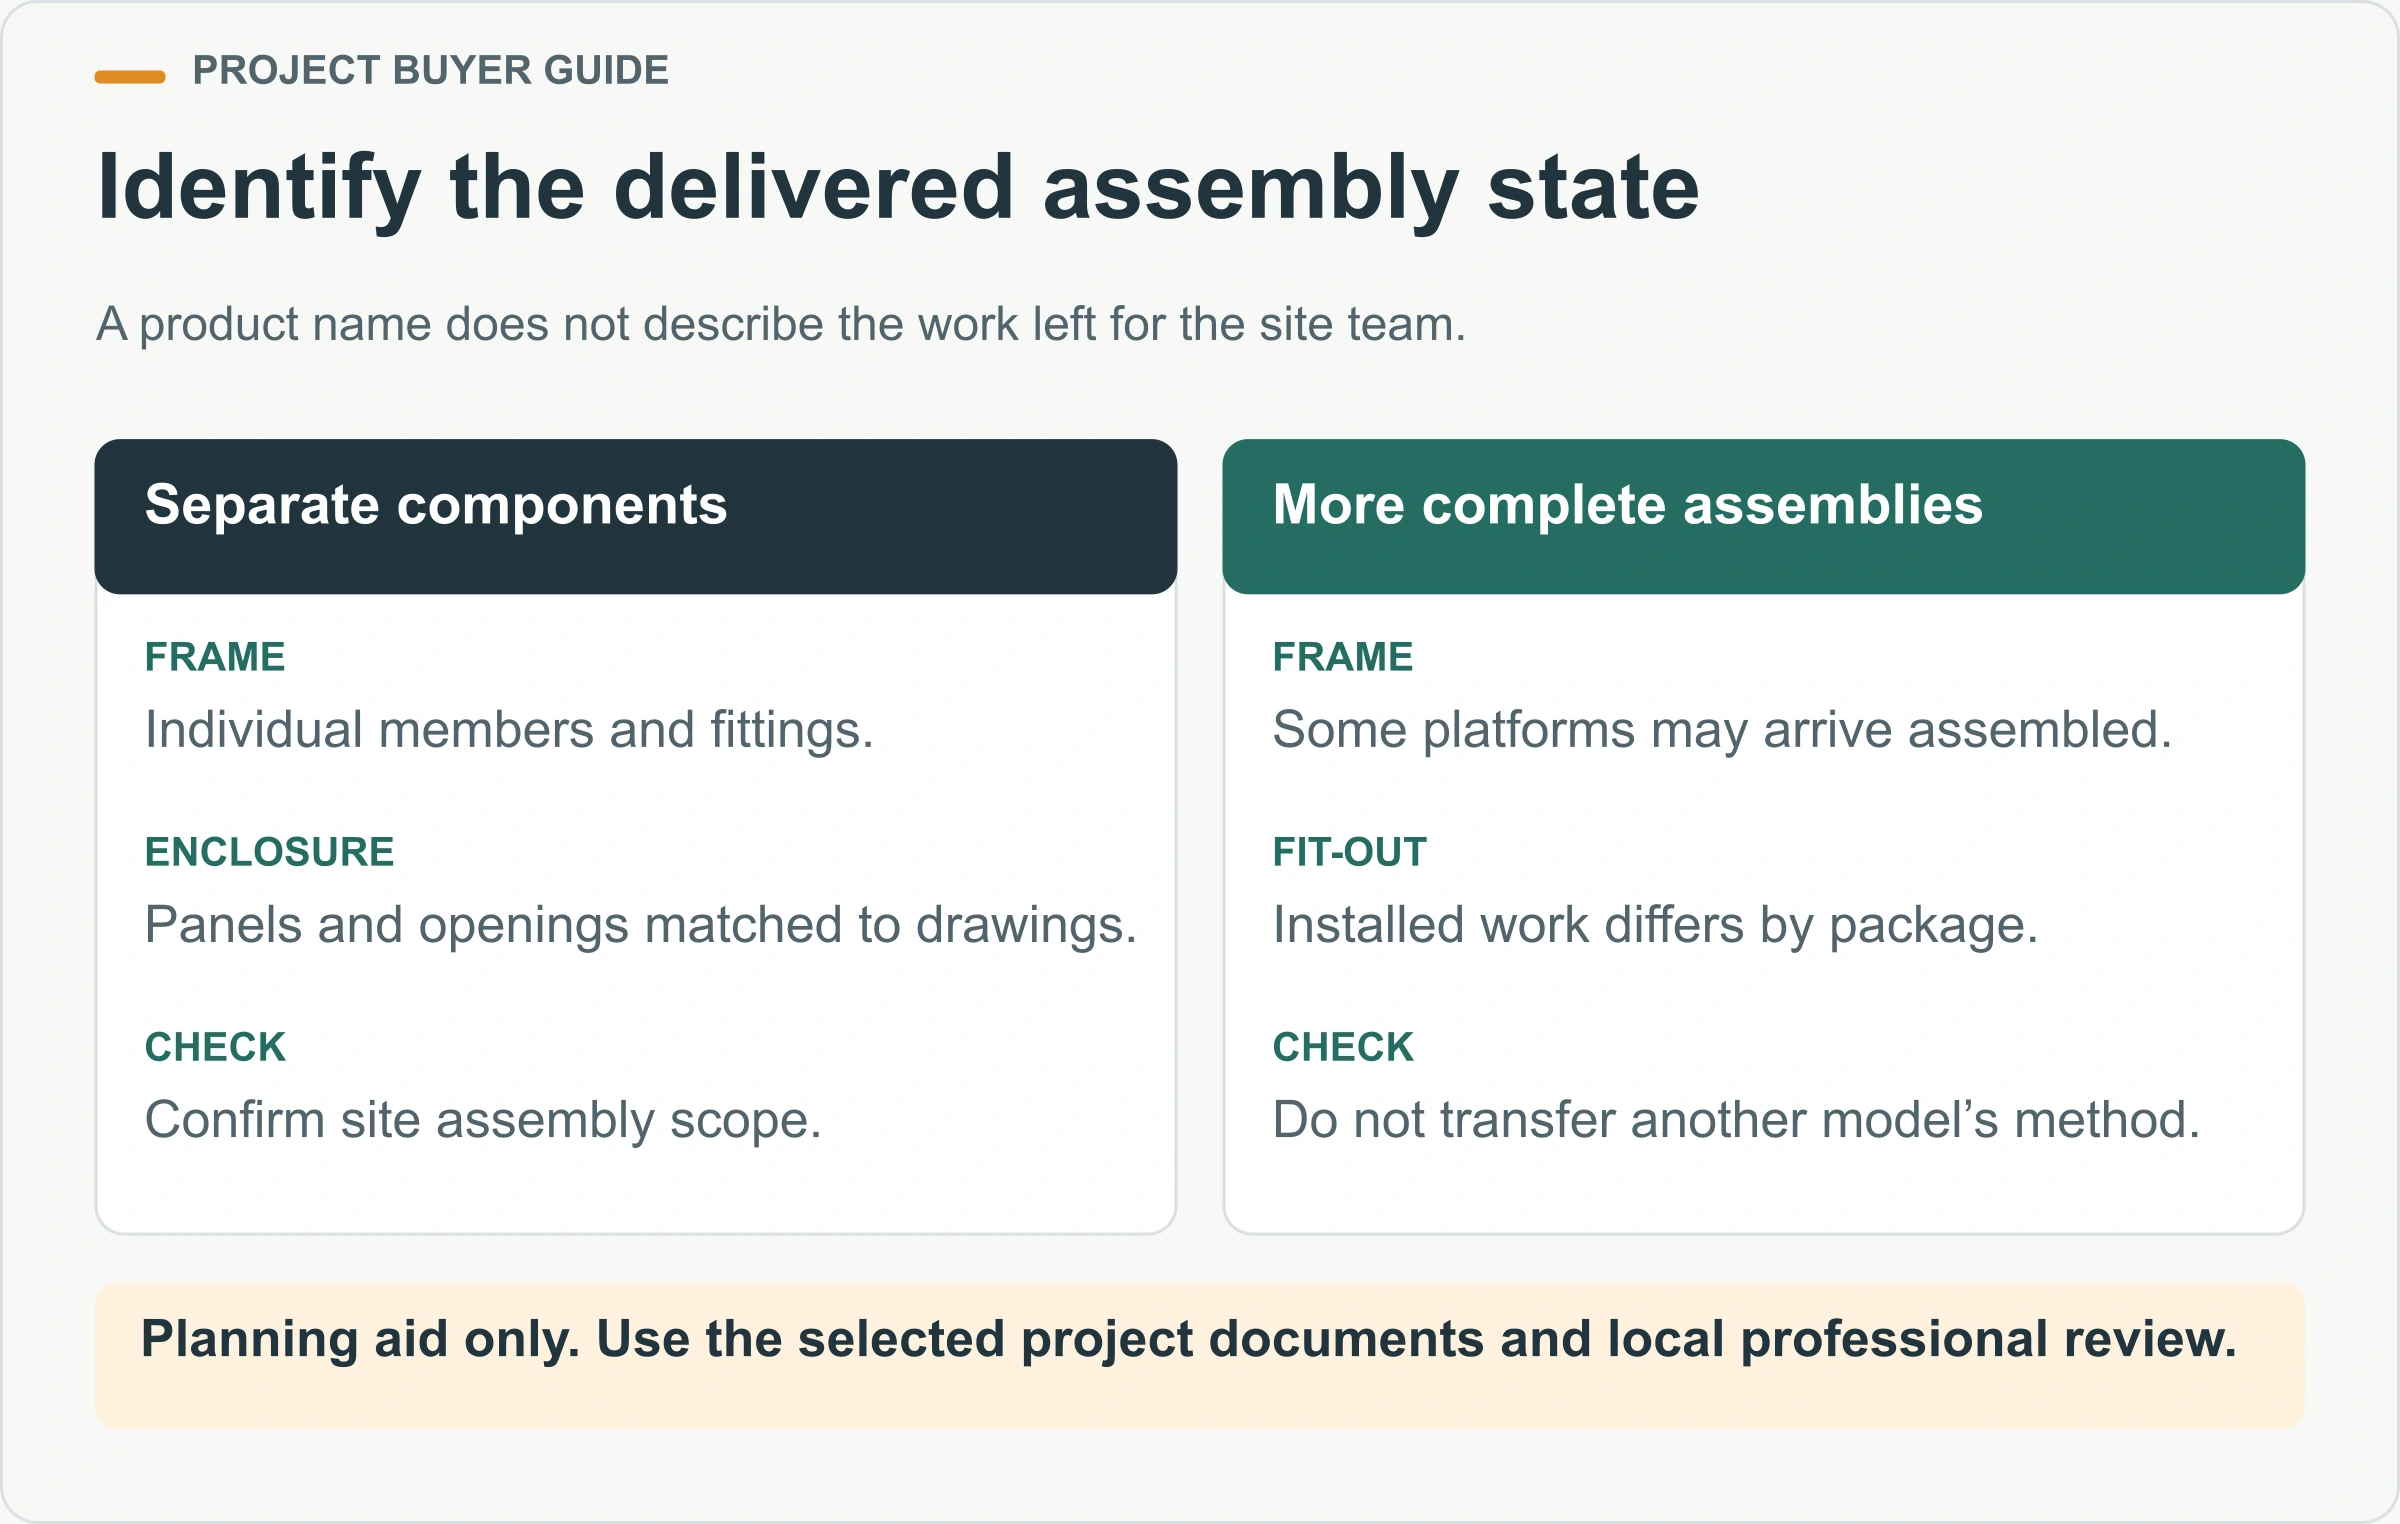
Record the delivery state in plain language: separate bottom-frame members, assembled floor platform, separate wall panels, installed windows or loose window kits. An annotated packing drawing is more useful than a promise that a unit is easy to install. Ask the prospective installer to review that drawing before the purchase is finalized, while changes remain manageable.
What must be ready before detachable-house assembly starts?
Turn the purchase into a controlled assembly package
The site needs one coordinated set of documents with identifiable revisions. A floor plan shows where people will work or sleep, but it does not necessarily explain how components are connected, what can be lifted or when concealed work must be inspected.
Request the selected general arrangement, component schedule, packing list, assembly instructions, connection details, opening schedule and service interfaces. Record who supplies the foundation information and who designs the actual destination supports. Keep drawings that are superseded out of the active installation folder while retaining an archive for traceability.
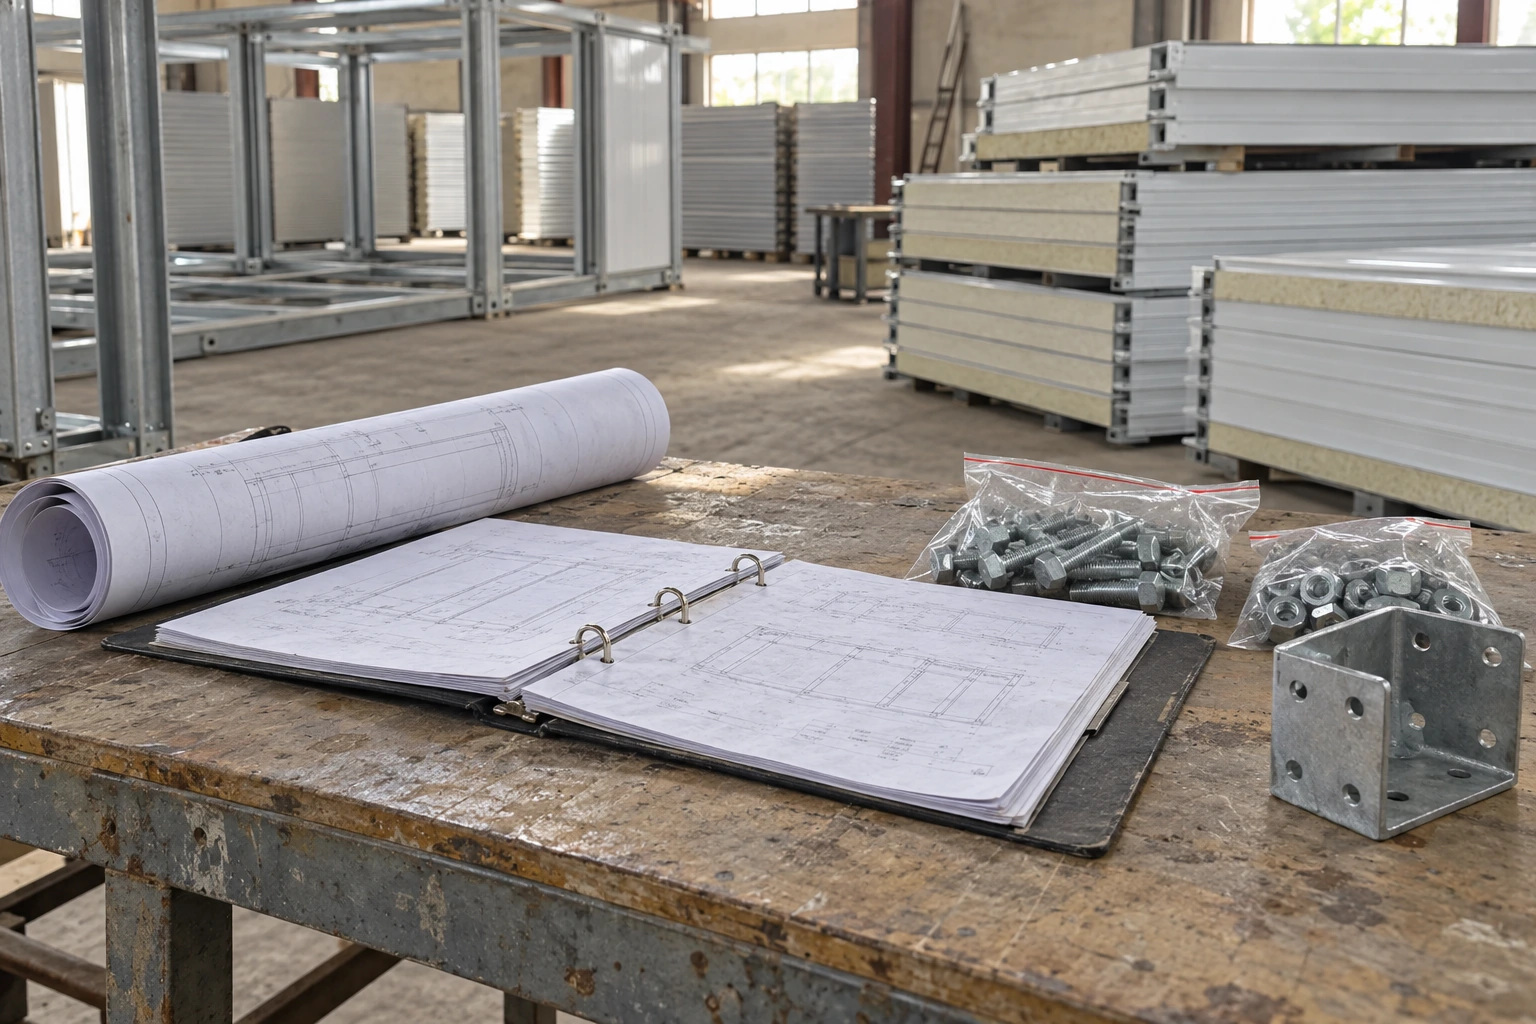
Use a document register with a simple question beside each item: what decision does this document permit? A packing list permits a quantity check; it does not approve a structural substitution. A connection drawing identifies a joint; it does not automatically authorize lifting the complete room from that joint. Written clarification is needed when an instruction and a drawing appear inconsistent.
The container house kit inclusions checklist helps separate supplied materials from optional and locally arranged items. Extend it with document ownership and issue dates. Agree how the installer will raise questions, who can approve a response and how revised information reaches everyone doing the affected work.
Receive components before releasing them to the work area
Count and identify the shipment while packages can still be traced to their labels. A missing connector or damaged opening frame is easier to investigate when its package number, delivery photographs and packing-list reference remain together.
Create distinct places for accepted components, unopened packages and items awaiting clarification. Keep an issue record that describes the component identifier, expected quantity, received quantity, visible condition and required response. Photograph the whole package as well as the specific damage. Do not change a delivery record to make the quantities appear to agree.
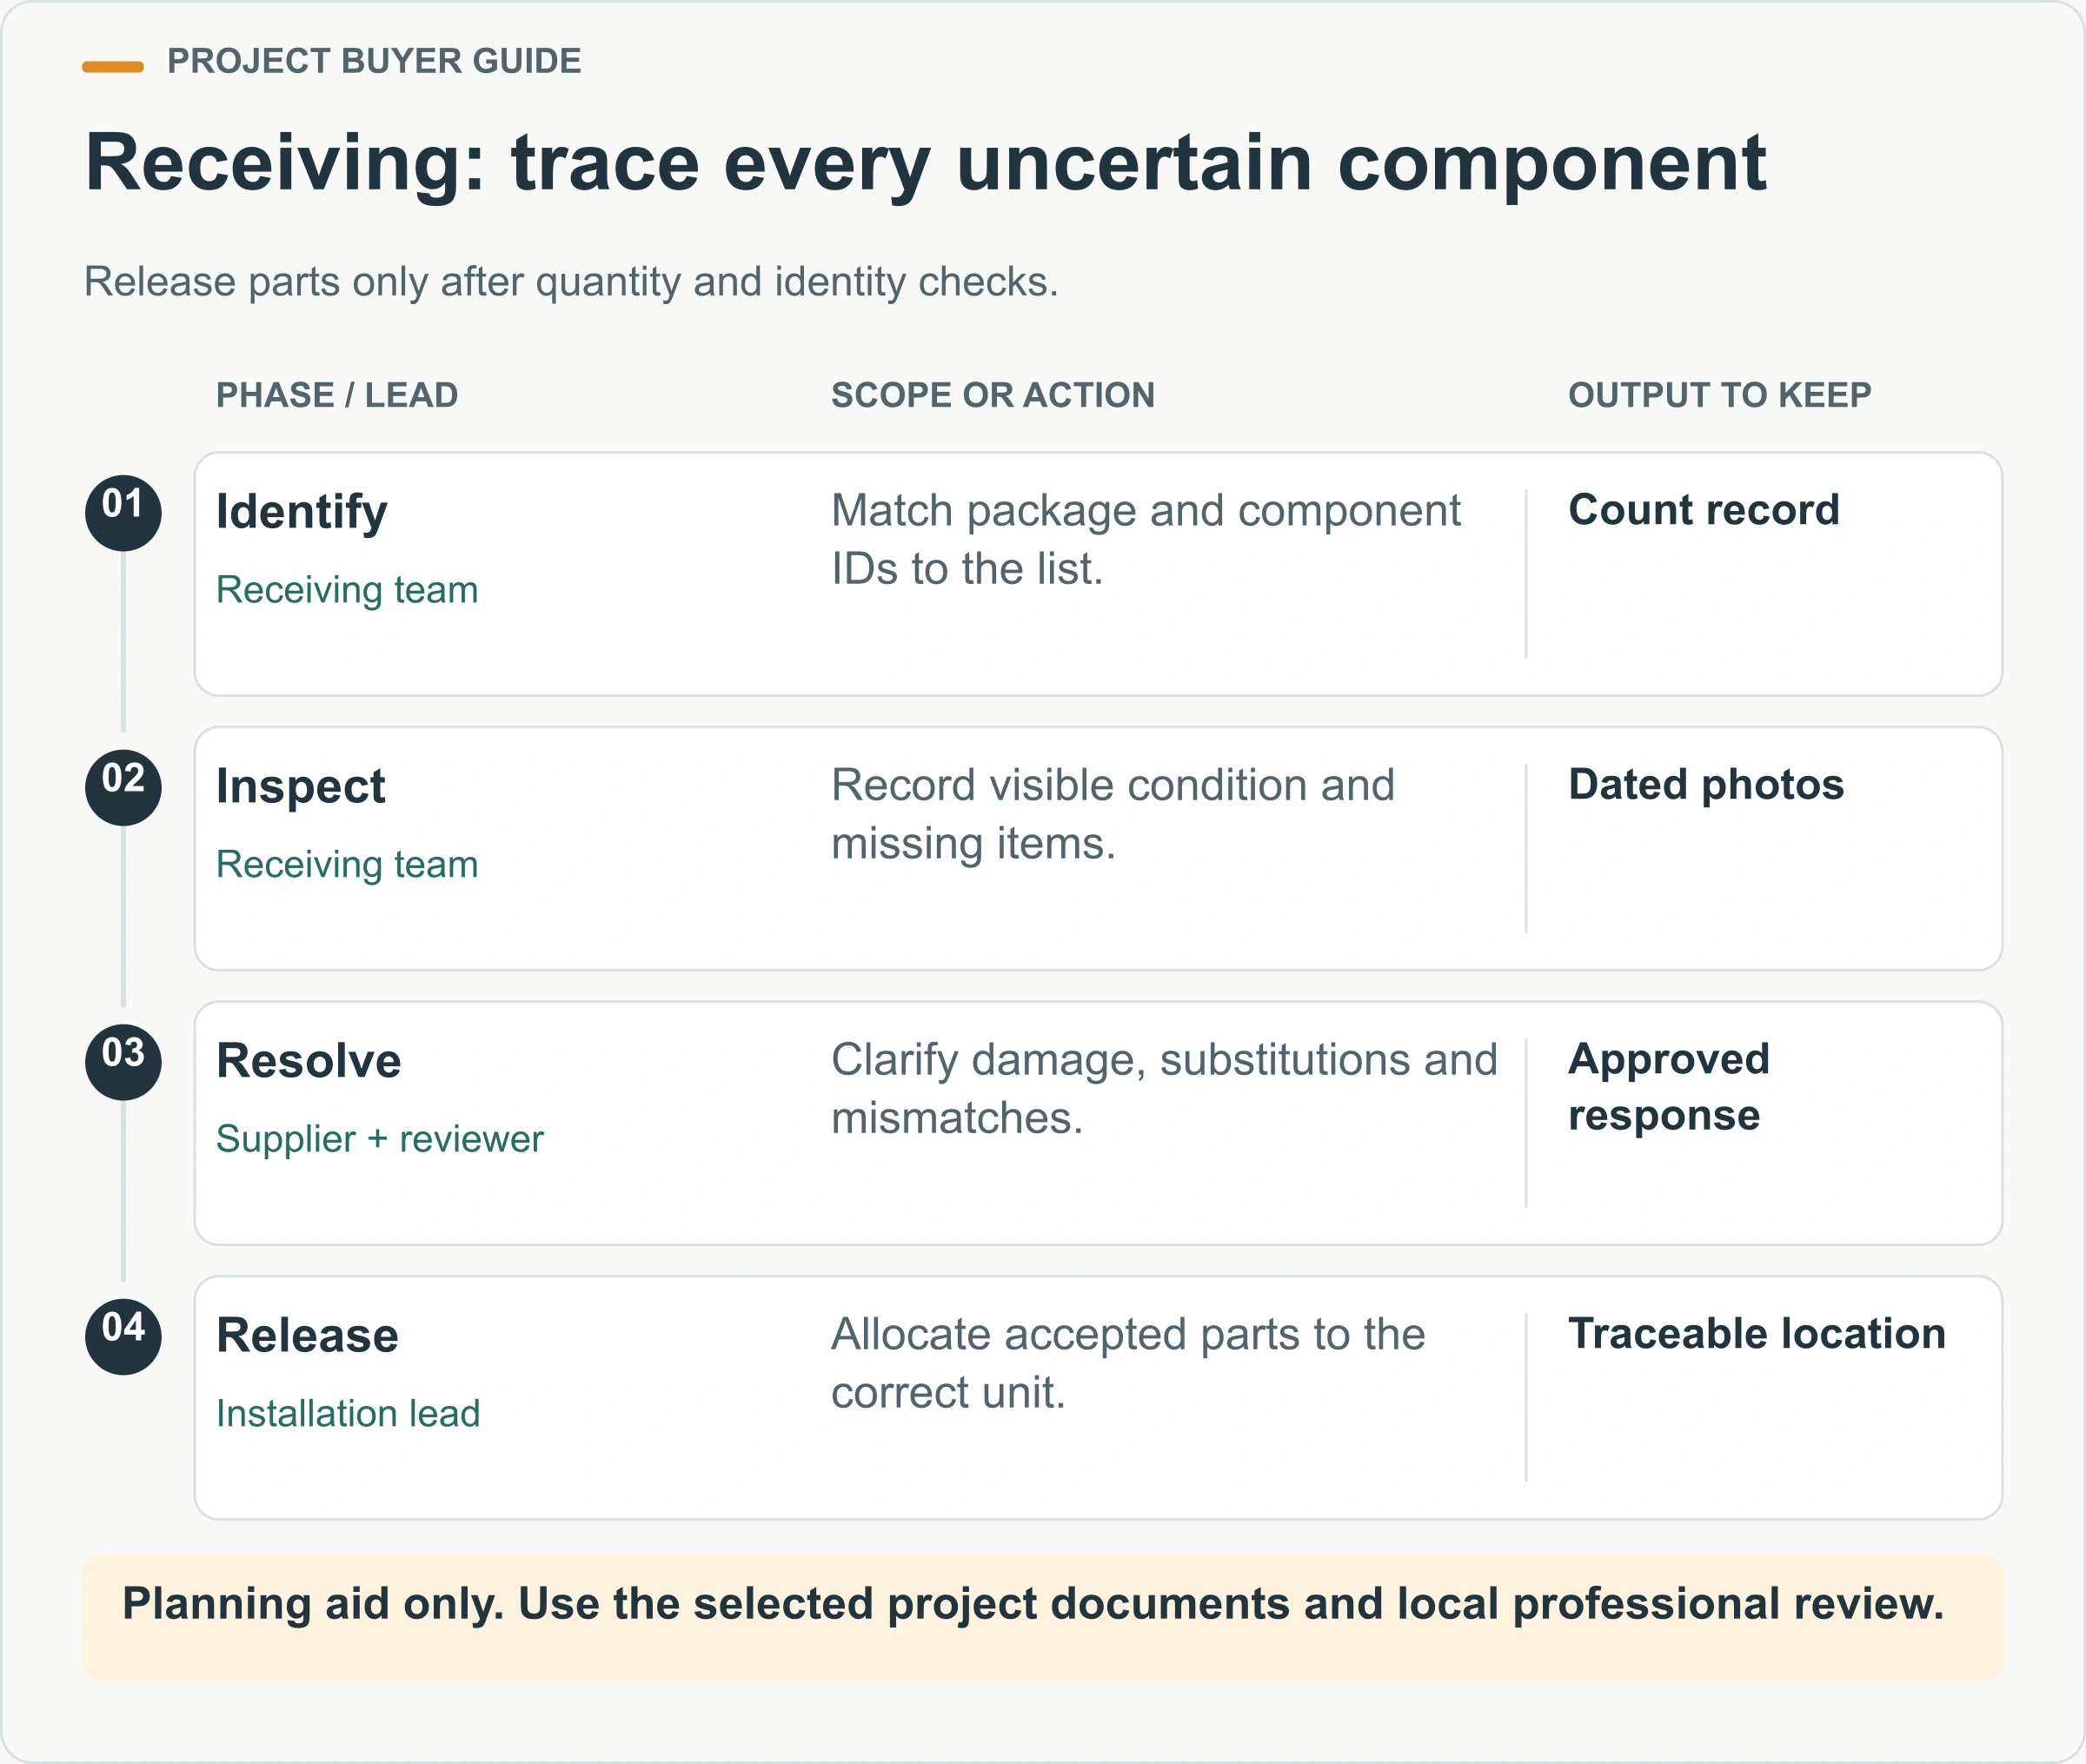
Small parts deserve their own control. Fasteners, washers, gaskets and trims may look interchangeable but belong to different details. Preserve labels and group them against the relevant drawing. If a part cannot be identified, isolate the question rather than allowing a convenient local replacement to become an unrecorded design decision.
Receiving also needs weather and security planning. Agree how moisture-sensitive boards, sealants, electrical items and finished surfaces will be stored according to their instructions. Decide who can open a package and how partially used quantities are recorded. These ordinary controls matter on a repeated-room project because one team’s borrowed component can become another team’s unexplained shortage.
Prepare space for assembly, not only the finished footprint
The assembly area must accommodate the delivered packages, working access and equipment as well as the completed building. A plot that fits the final room can still leave insufficient space to unload, identify components or carry out the approved erection method.
Ask the installer to mark vehicle approach, unloading positions, storage, assembly space and pedestrian routes on the site plan. Identify the route between these areas so that components do not repeatedly cross public or operational traffic. Include any restricted delivery hours and confirm the person responsible for receiving the truck.
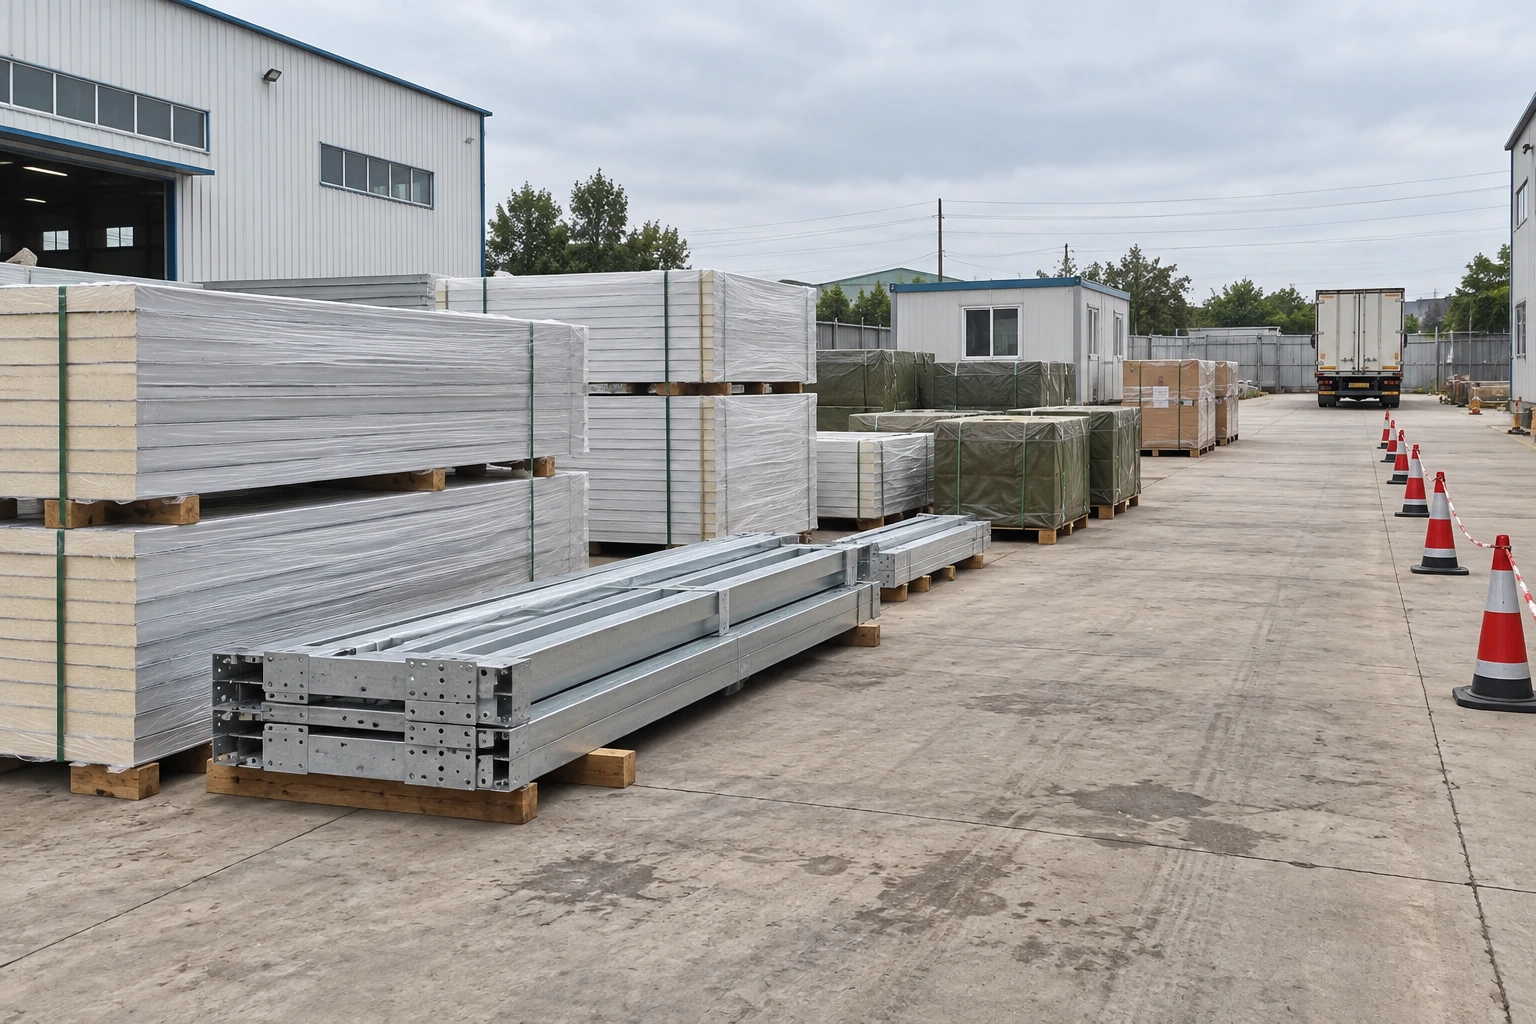
For projects subject to United States steel-erection rules, OSHA 1926.752 addresses site access, a suitable material-storage and equipment-working area, and advance planning of hoisting. Applicability must be determined for the actual work; it is not a universal approval checklist for every modular building worldwide.
The container house shipping guide explains the earlier logistics questions. Link that shipping brief to the local receiving plan. Do not book delivery solely against the factory completion date when access, unloading resources or the prepared support area are still unresolved.
Assign responsibilities before estimating labor
Estimate site labor from the actual work package and local conditions, not from a promotional assembly time. The same enclosure can require different effort depending on delivered assemblies, room fittings, access, inspection arrangements and the team’s familiarity with the model.
Break the work into receiving, frame assembly, enclosure completion, internal fit-out, service connection, inspection and handover. For each activity, identify the responsible organization, necessary information and acceptance evidence. Some activities belong to specialist trades or the local design team rather than the supplier’s installation crew.
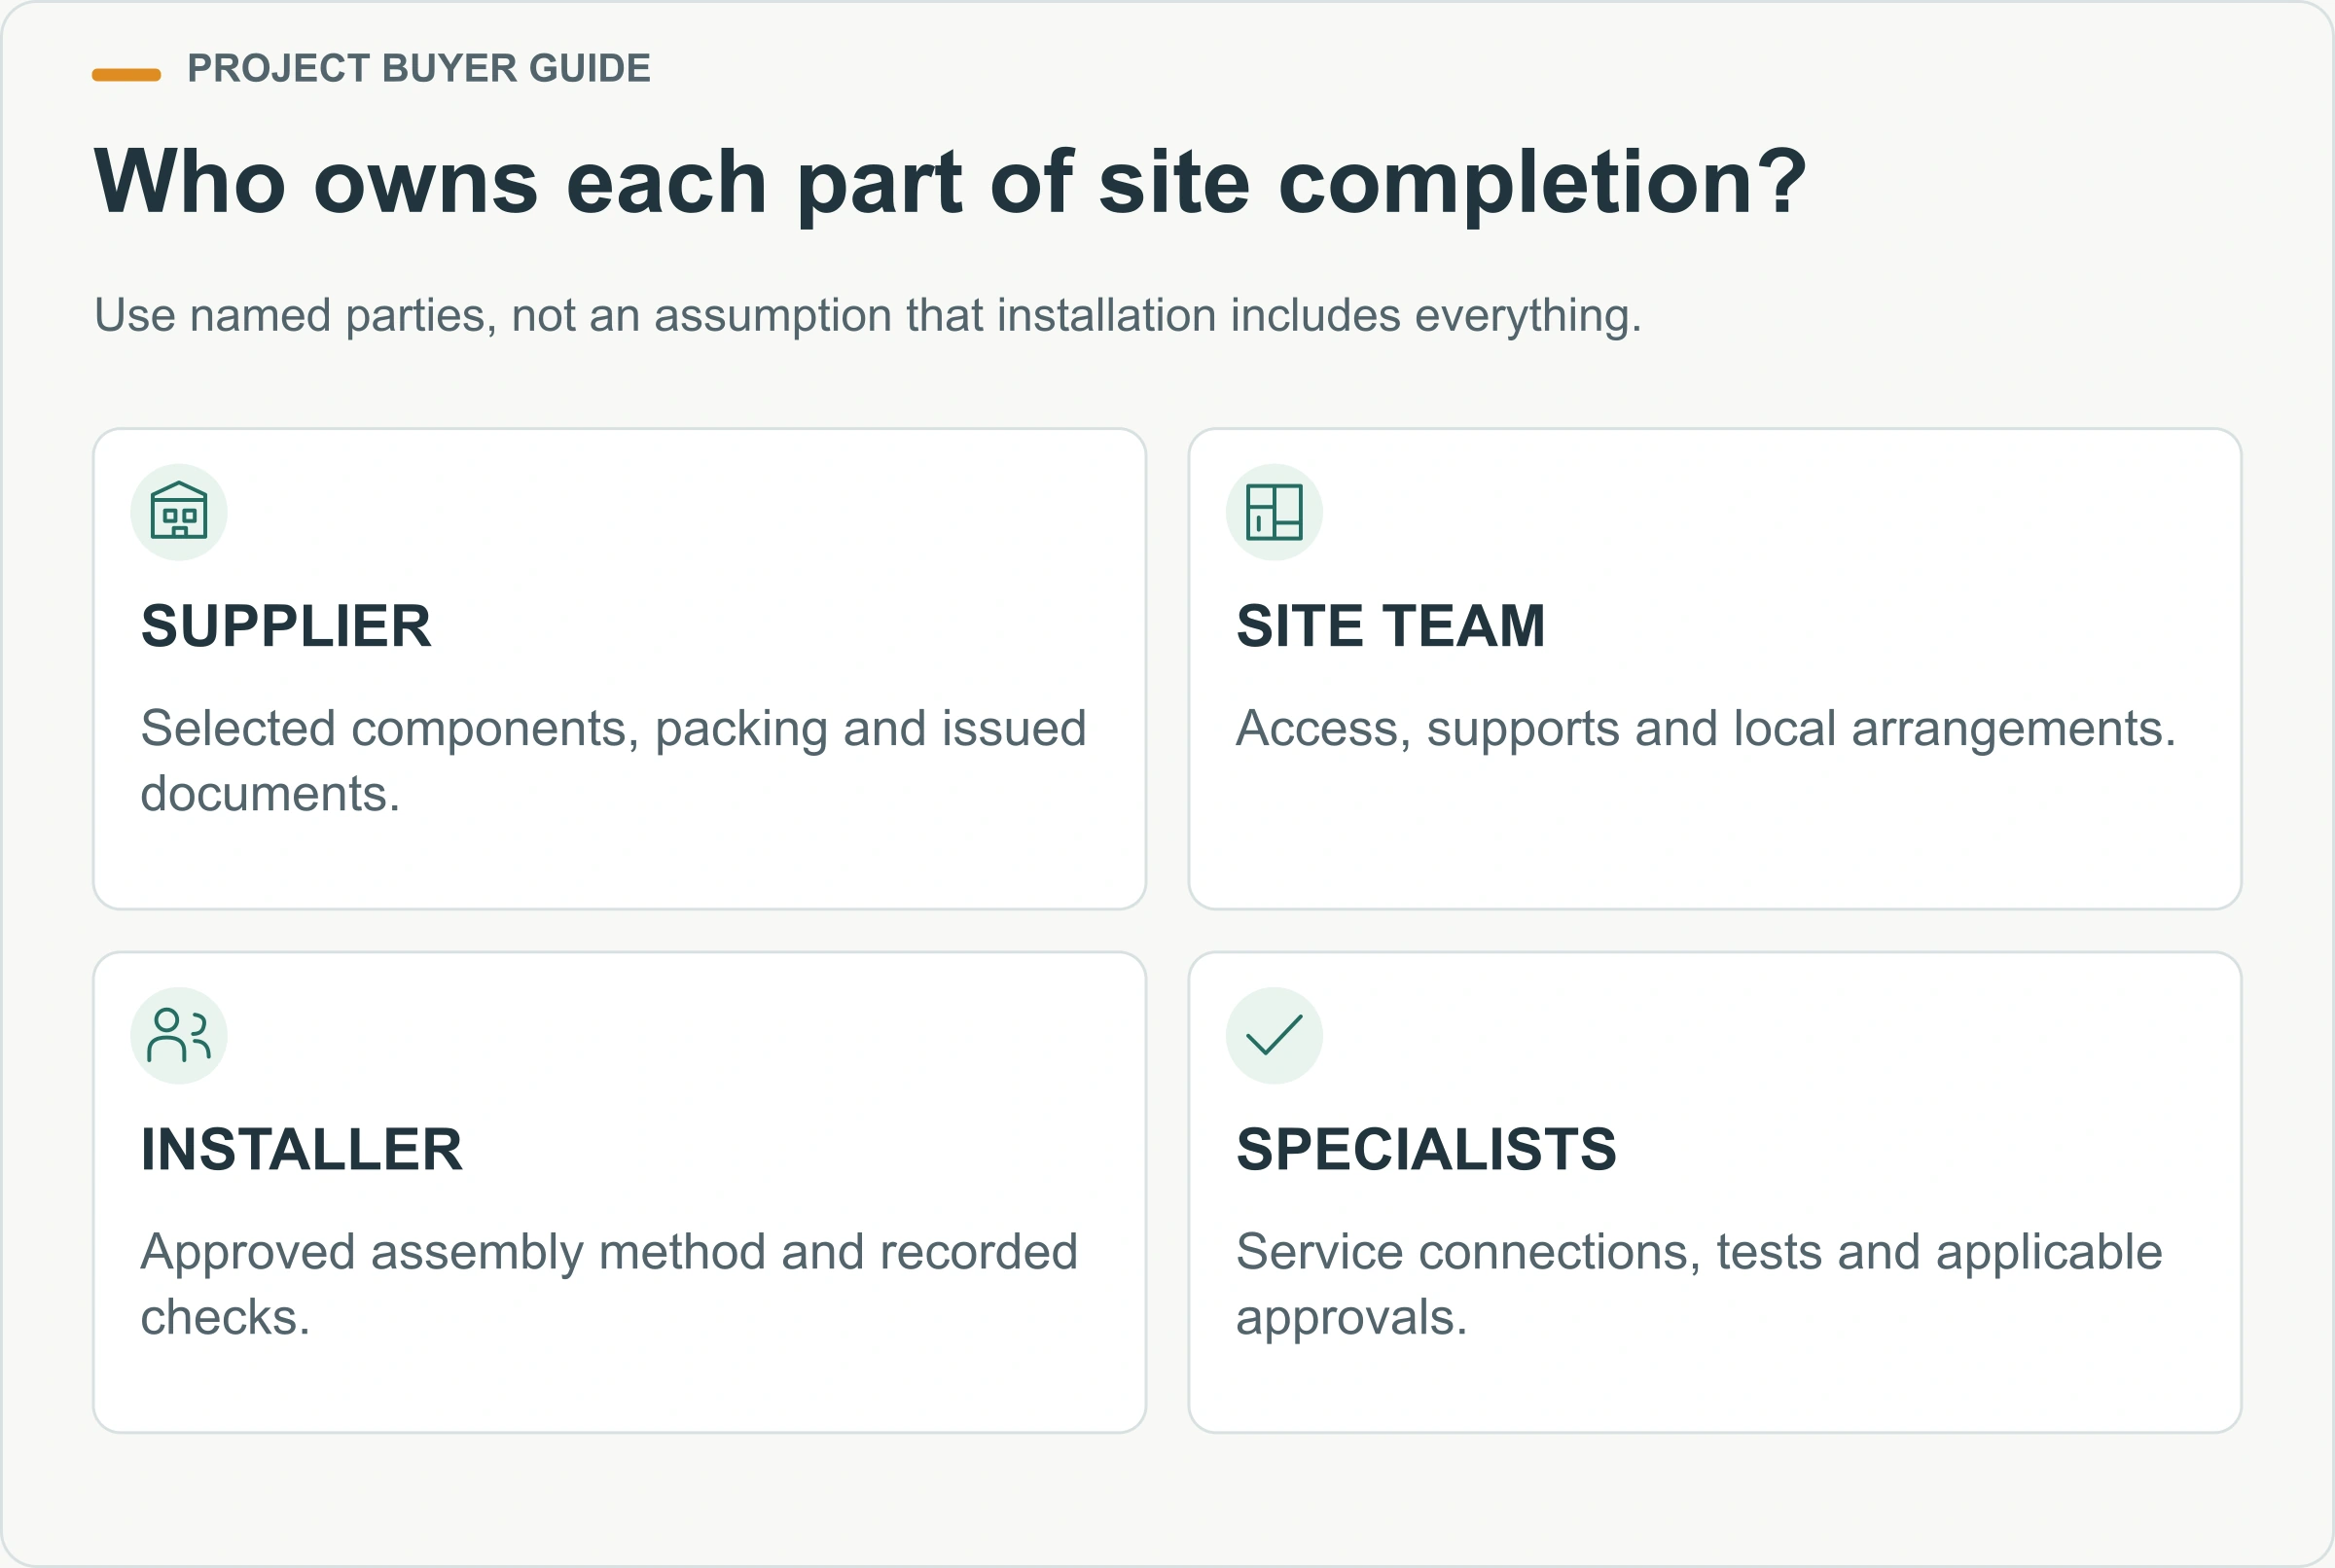
| Work package | Question before ordering | Evidence to agree |
|---|---|---|
| Components and documents | Does the shipment match the selected drawing revision? | Packing list and issued document register |
| Site readiness | Who confirms access and supports are ready? | Site release record from the responsible team |
| Frame and enclosure | Who performs and checks the specified connections? | Approved method and inspection records |
| Services | Where does supplied work stop and local work begin? | Interface schedule and test responsibilities |
| Handover | Who accepts defects, documents and operating information? | Signed completion and outstanding-items record |
This is a planning matrix, not a contractual allocation imposed by PQSE. Fill it with the parties named in your agreement. Where one party says an item is excluded and another assumes it is included, resolve that gap before estimating the final cost or promising an occupation date.
How should assembly quality and changes be controlled?
Review the first assembly before repeating it
For an order containing repeated rooms, agree a first-unit review before the same unresolved detail is reproduced across the site. The review should confirm the selected instructions, component identification and inspection arrangements, not invent a different assembly procedure on site.
The installation lead should explain the approved sequence and the conditions required to move between stages. Include access equipment, temporary support, weather-related restrictions and any point where specialist review is needed. A completed frame’s appearance does not demonstrate that an intermediate assembly stage was stable or suitable for loading.
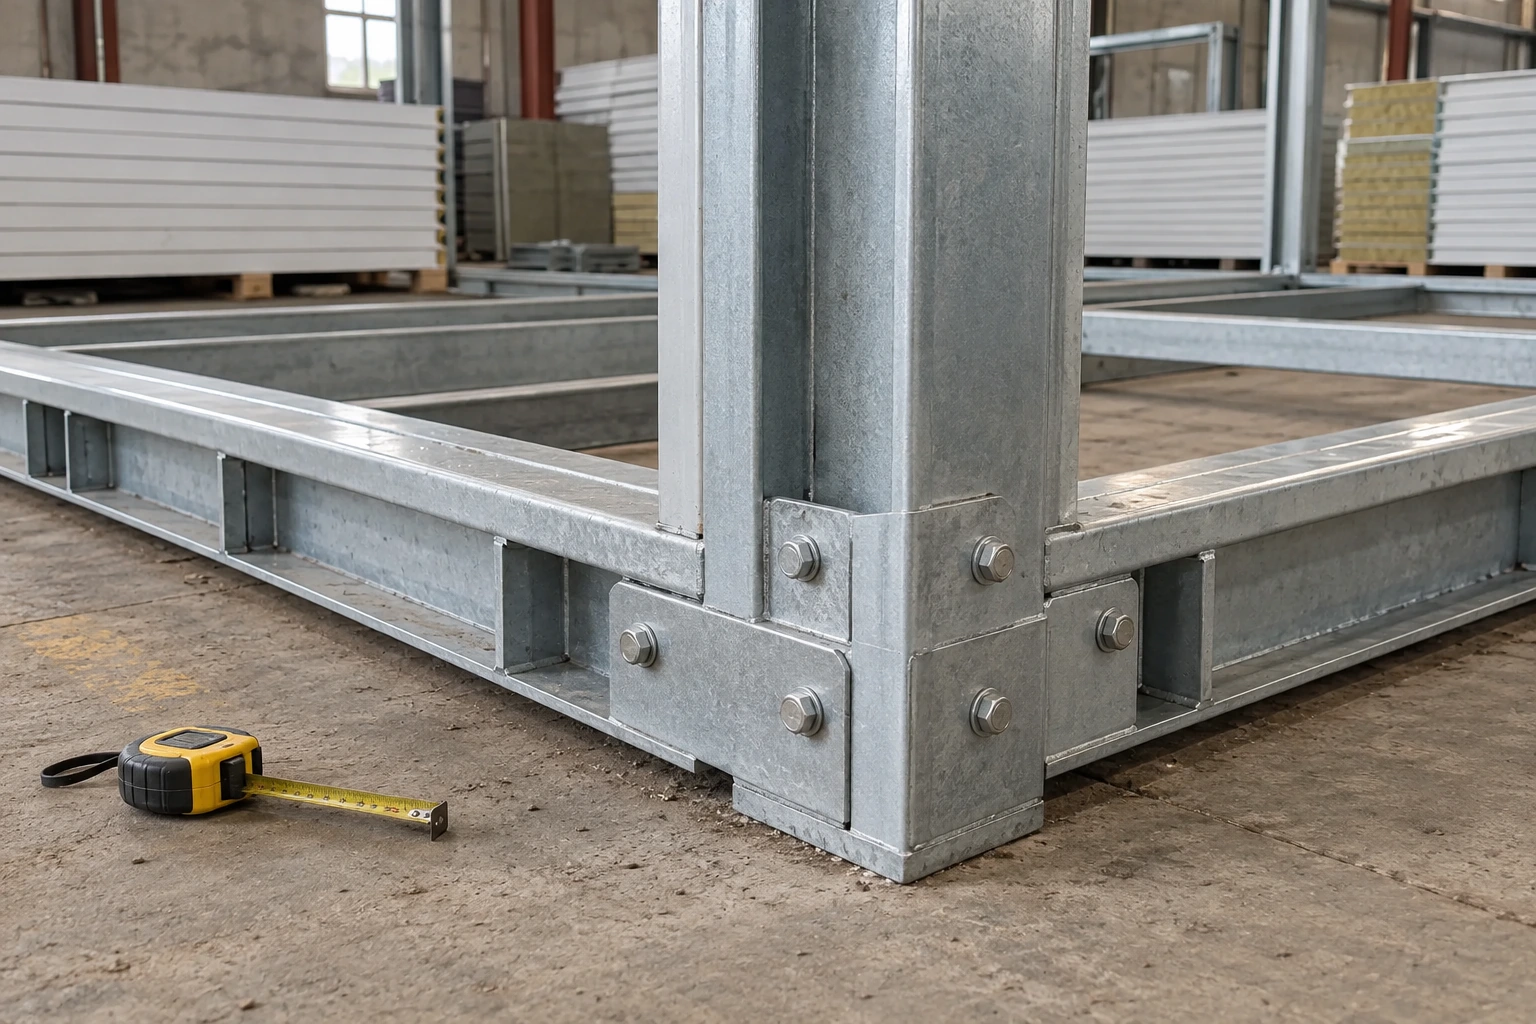
The UK HSE guidance on temporary works emphasizes planning, competent management and following equipment manufacturers’ instructions. Use the relevant local framework for your project. This article cannot determine a bracing design, safe lifting point, anchor arrangement or permitted working load from a product photograph.
Record questions found on the first unit and obtain approved responses before repeating the affected detail. If the project requires a change, update the drawing register, component allocation and inspection form together. A verbal instruction passed between crews is difficult to verify later and can create several different versions of what was intended to be one standard room.
Keep connection checks visible and traceable
Inspection should occur while the relevant connection or layer can still be seen. Finishing a surface before the agreed check may make verification harder and create avoidable rework, even when the room appears complete.
Ask the responsible designer and installer to identify the checks required for the selected system. These may concern component orientation, alignment, prescribed fixings, anchorage, seals or protected service interfaces. Record the actual location and drawing reference. A generic photograph of a bolt does not establish that every required connection was completed correctly.
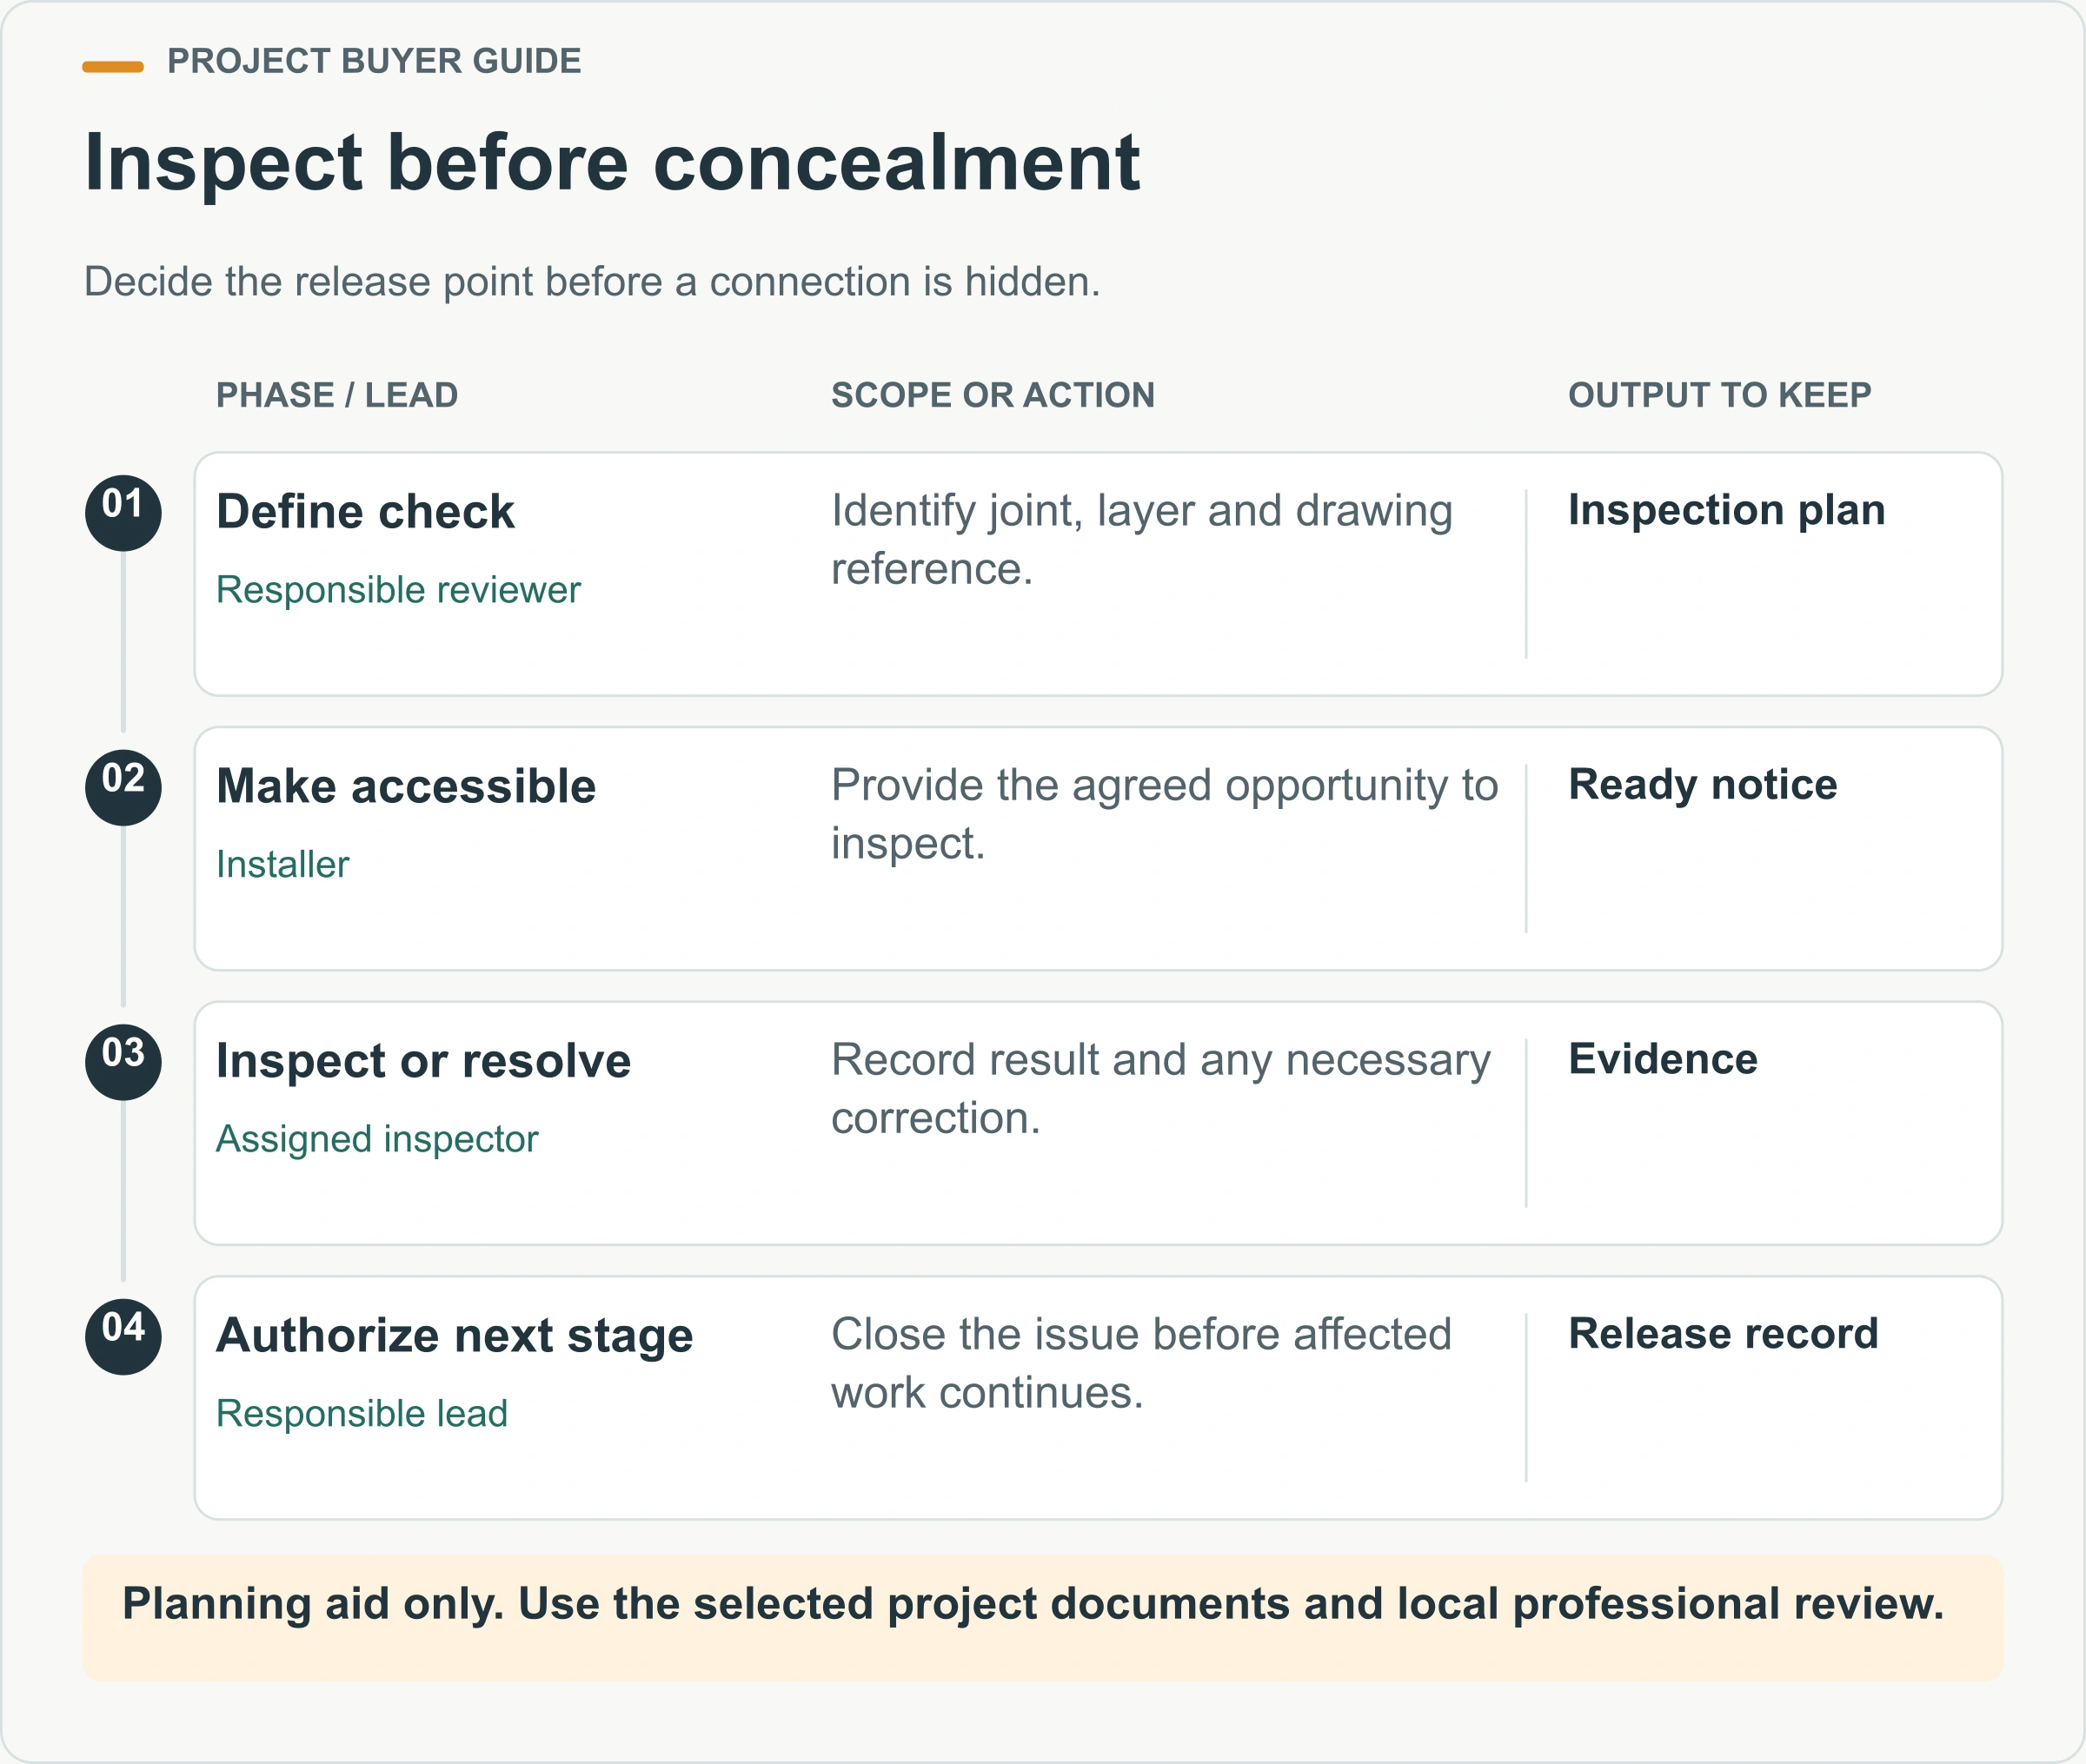
Do not improvise torque values, bolt grades, hole modifications or sealant substitutions from another model’s manual. If a supplied component cannot be fitted as documented, pause the affected operation and submit a clear query with identifiers and photographs. Record the approved disposition and the later reinspection so the issue has a visible closeout.
The container house quality control checklist provides a broader framework for records and supply checks. For detachable assembly, extend that framework to site-installed details. Factory checks and destination checks answer different questions; neither automatically proves the other has been completed.
Coordinate the enclosure with openings and services
Confirm doors, windows, partitions and service penetrations before closing the surrounding construction. A late opening change can affect more than the visible finish, including framing, weather protection, wiring routes and responsibility for repair.
Prepare an opening schedule that connects each opening to its location and selected component. Ask who checks the rough opening, who installs the frame and who completes the adjacent seals and trims. Keep that information with the current general arrangement, particularly where several room types share similar external dimensions.
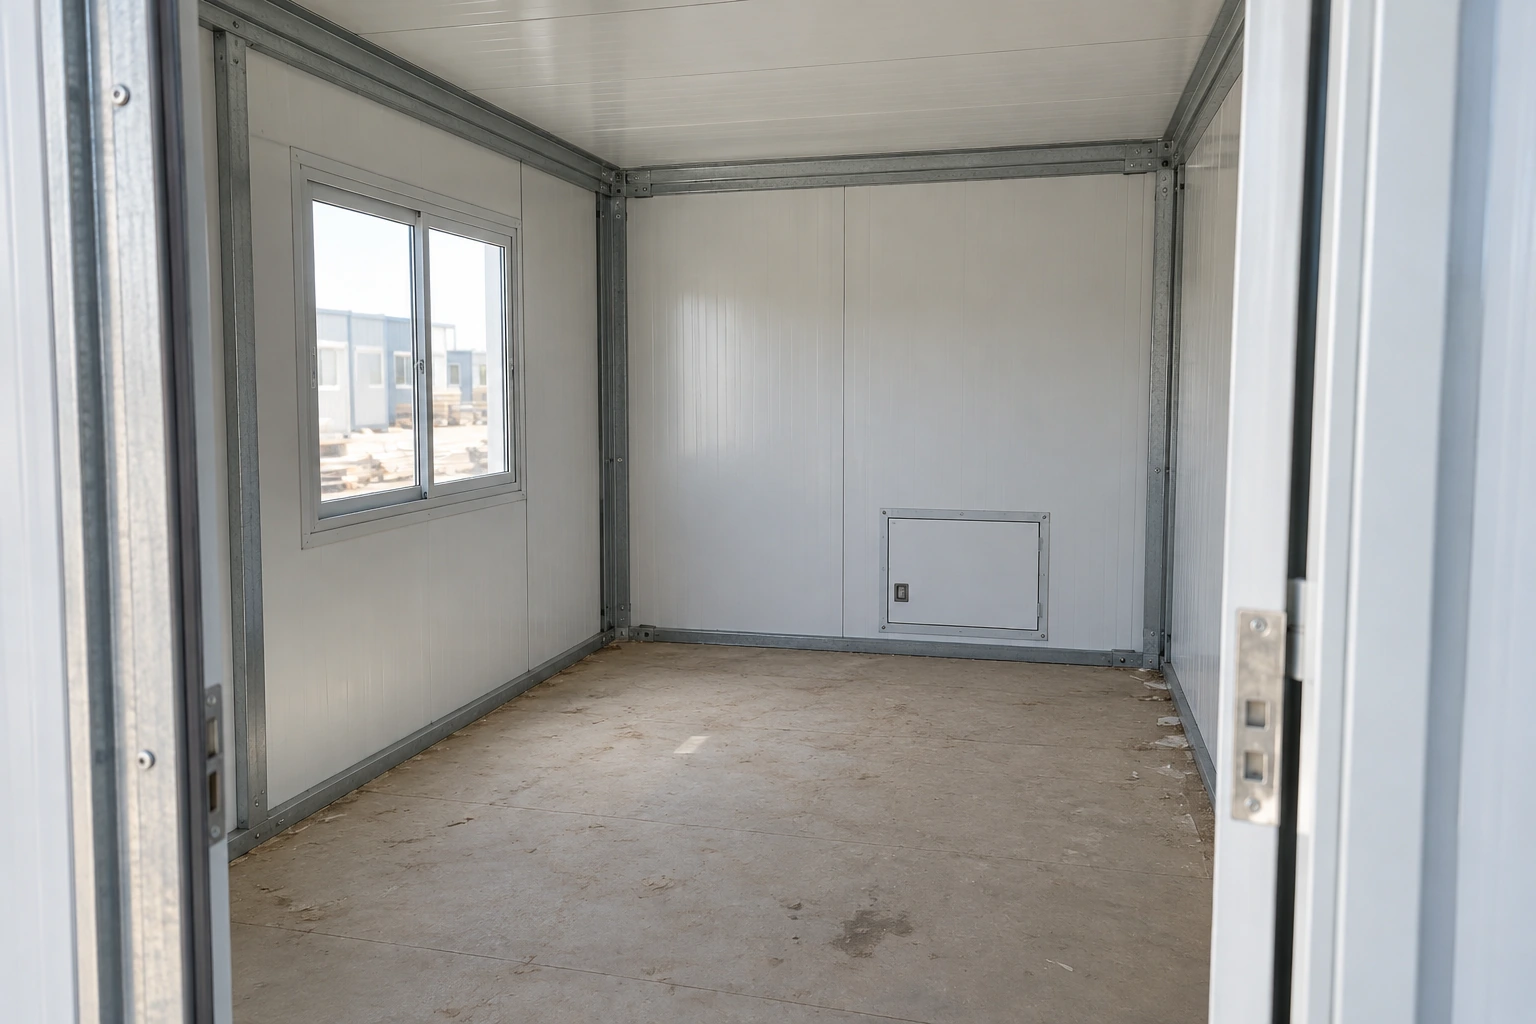
For bathrooms and other wet areas, identify the supply boundary for fixtures, internal pipework, external connections and testing. Ask how serviceable items remain accessible after the room is fitted out. An access hatch that is later blocked by furniture is not a useful maintenance provision.
The UK government’s volumetric modular construction research highlights inspection-access concerns where connections become difficult to reach. Its scope is volumetric construction rather than a PQSE-specific assembly manual. The relevant planning lesson is to agree inspection access before concealment, while the exact checks remain project-specific.
Use a change and shortage log that leads to decisions
A useful issue log identifies the action, decision owner and release condition. A collection of messages saying “please check” leaves the installation team uncertain about whether work can continue and the buyer uncertain about what remains outstanding.
Separate a missing part, a damaged part, a drawing query and a requested design change. They need different responses. A shortage may require supply; an apparent mismatch may require clarification; a layout change may require design review and revised documents. Do not let all four become an informal instruction to adjust the building locally.
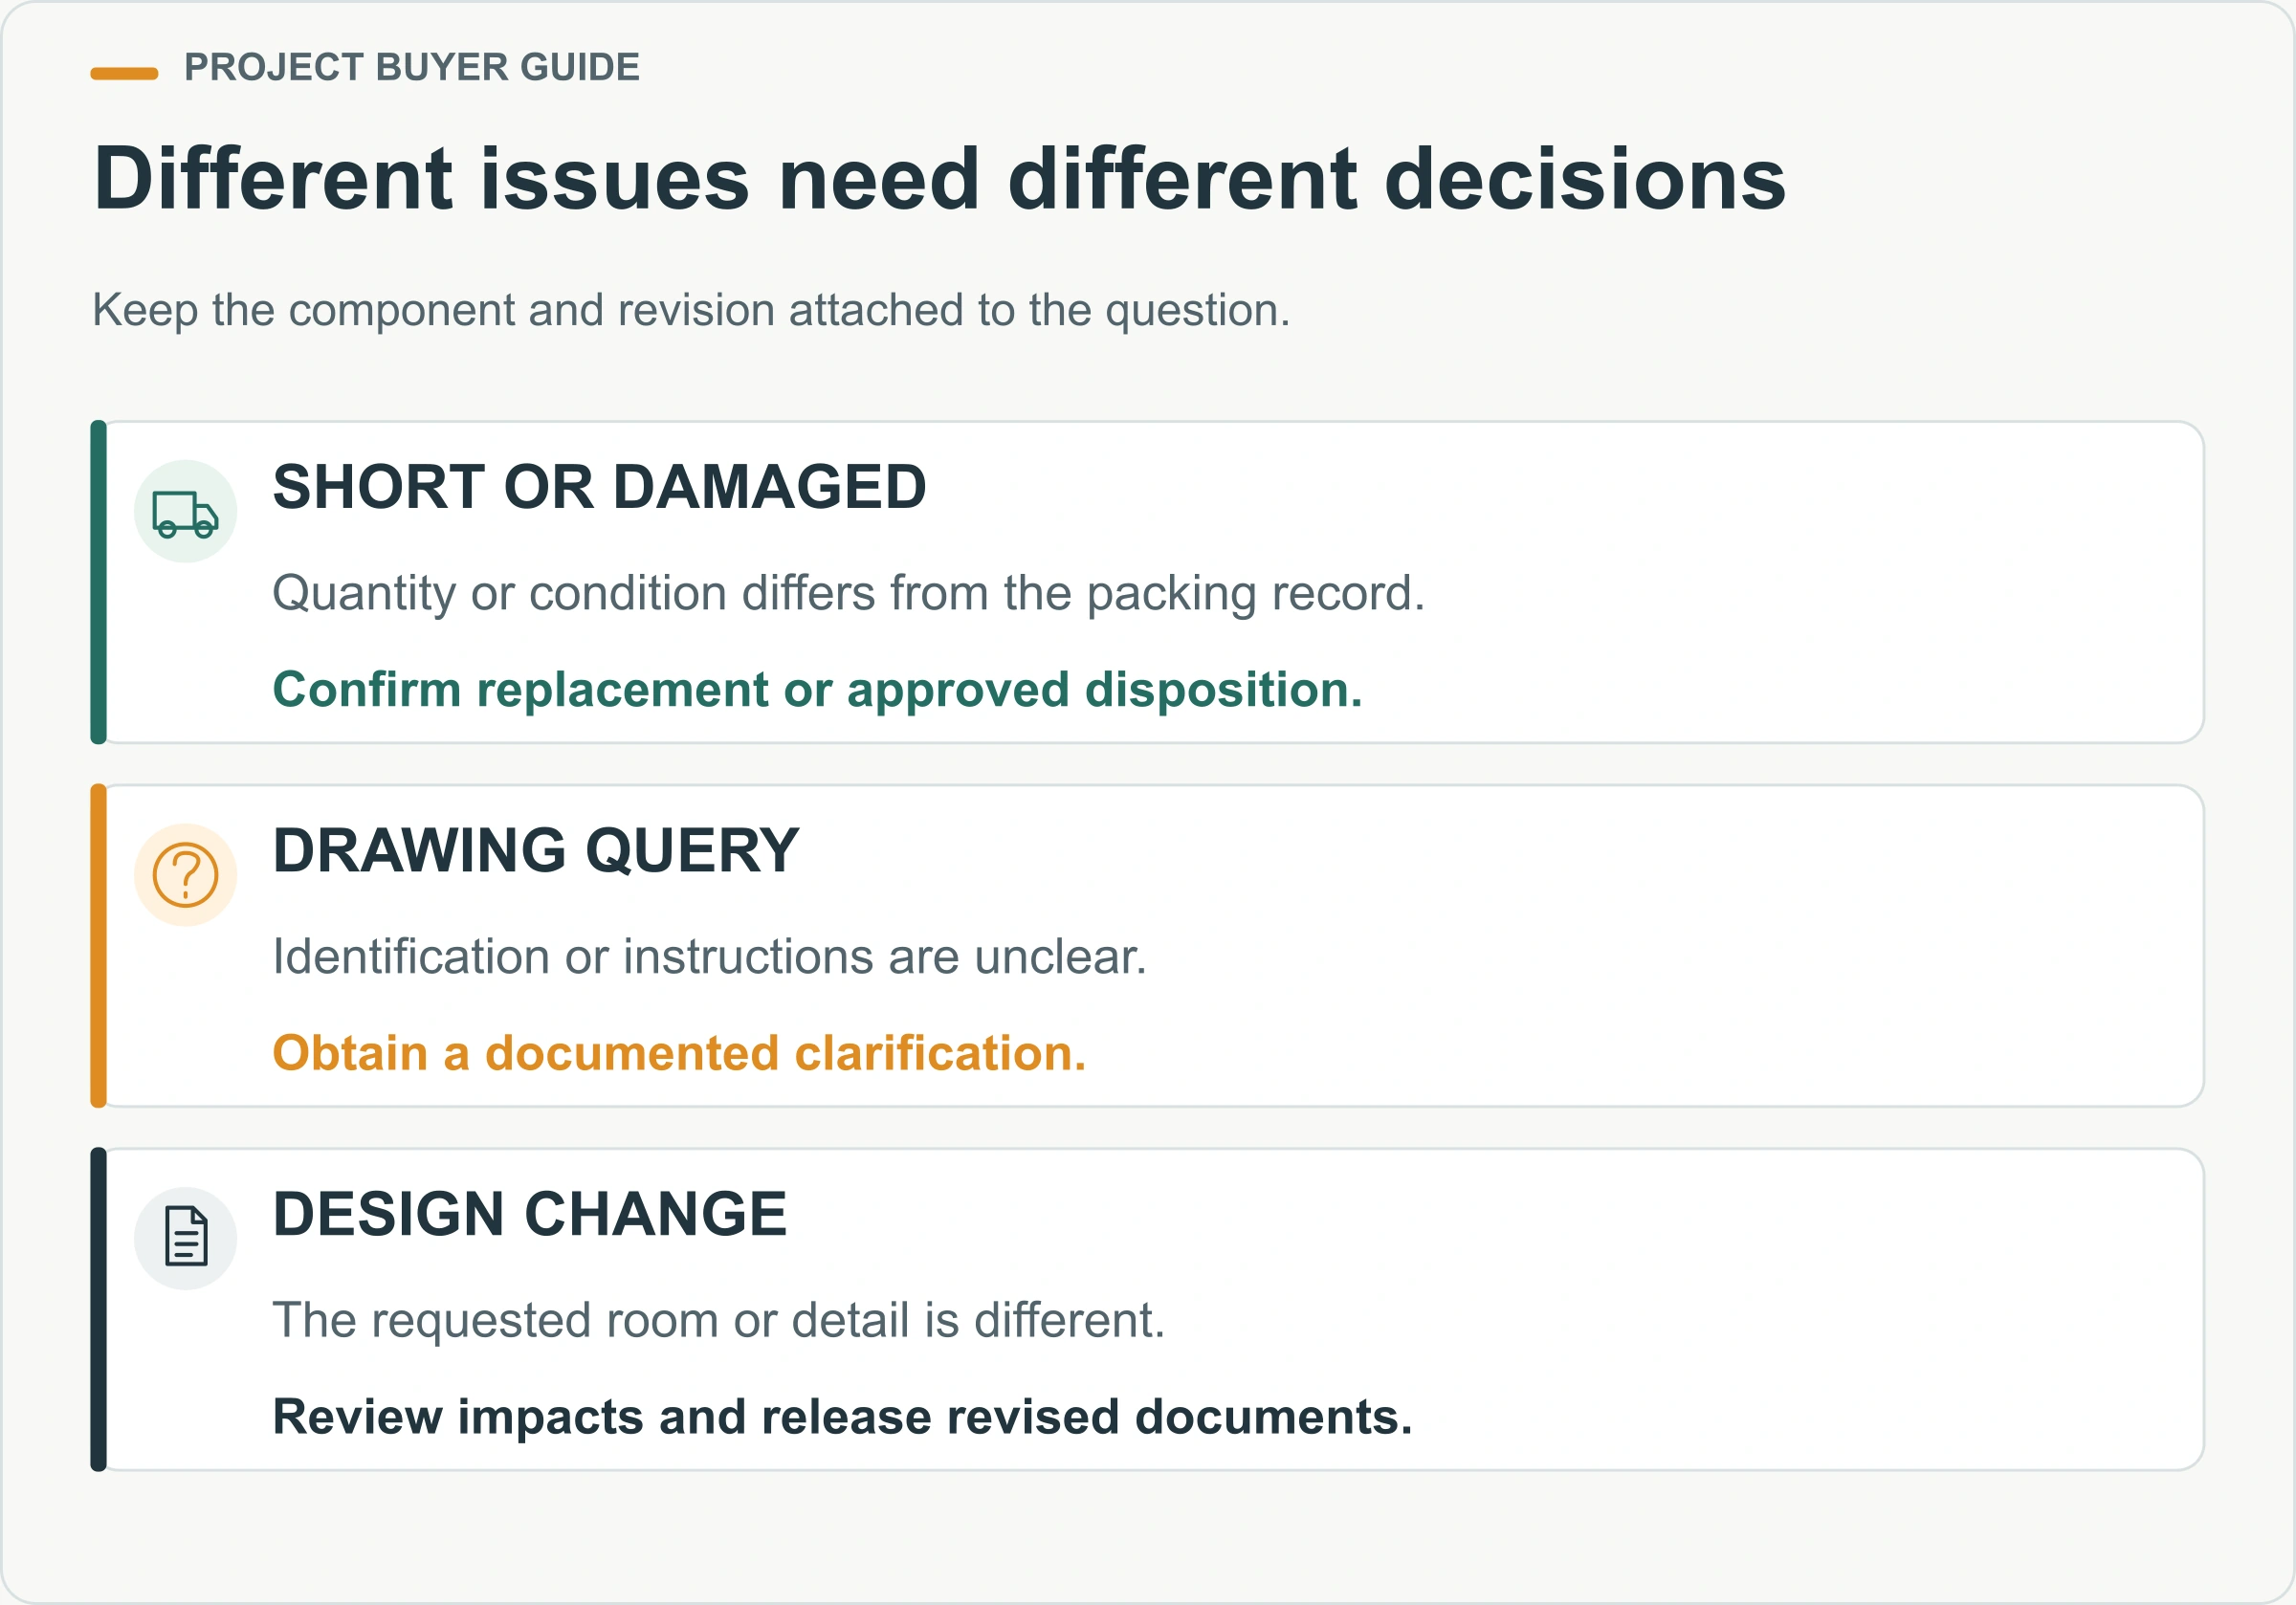
Consider an illustrative case: a delivered door frame carries an identifier that does not appear on the current opening schedule. The receiving team records the mismatch and keeps the item traceable. The responsible supplier checks the shipment record and drawing revision. The project team then accepts the documented correction or arranges the proper component, after which the installer records the result.
That example does not predict a particular supplier error. It shows why traceability is useful even for a relatively small room. On a larger order, summarize open issues by the activities they block so the team can sequence unaffected work without concealing or bypassing the unresolved detail.
What records support occupancy and later dismantling?
Separate building completion from readiness for use
A finished enclosure is only one part of handover. Readiness for use also depends on the agreed services, inspections, local approvals, access arrangements and operating information. Keep those milestones separate in the schedule and acceptance record.
Walk through the room against the agreed scope. Check the relevant doors, windows, finishes and visible components, then confirm that specialist test records and approval evidence have been supplied where required. Record defects by location and distinguish an agreed minor outstanding item from an issue that prevents use.
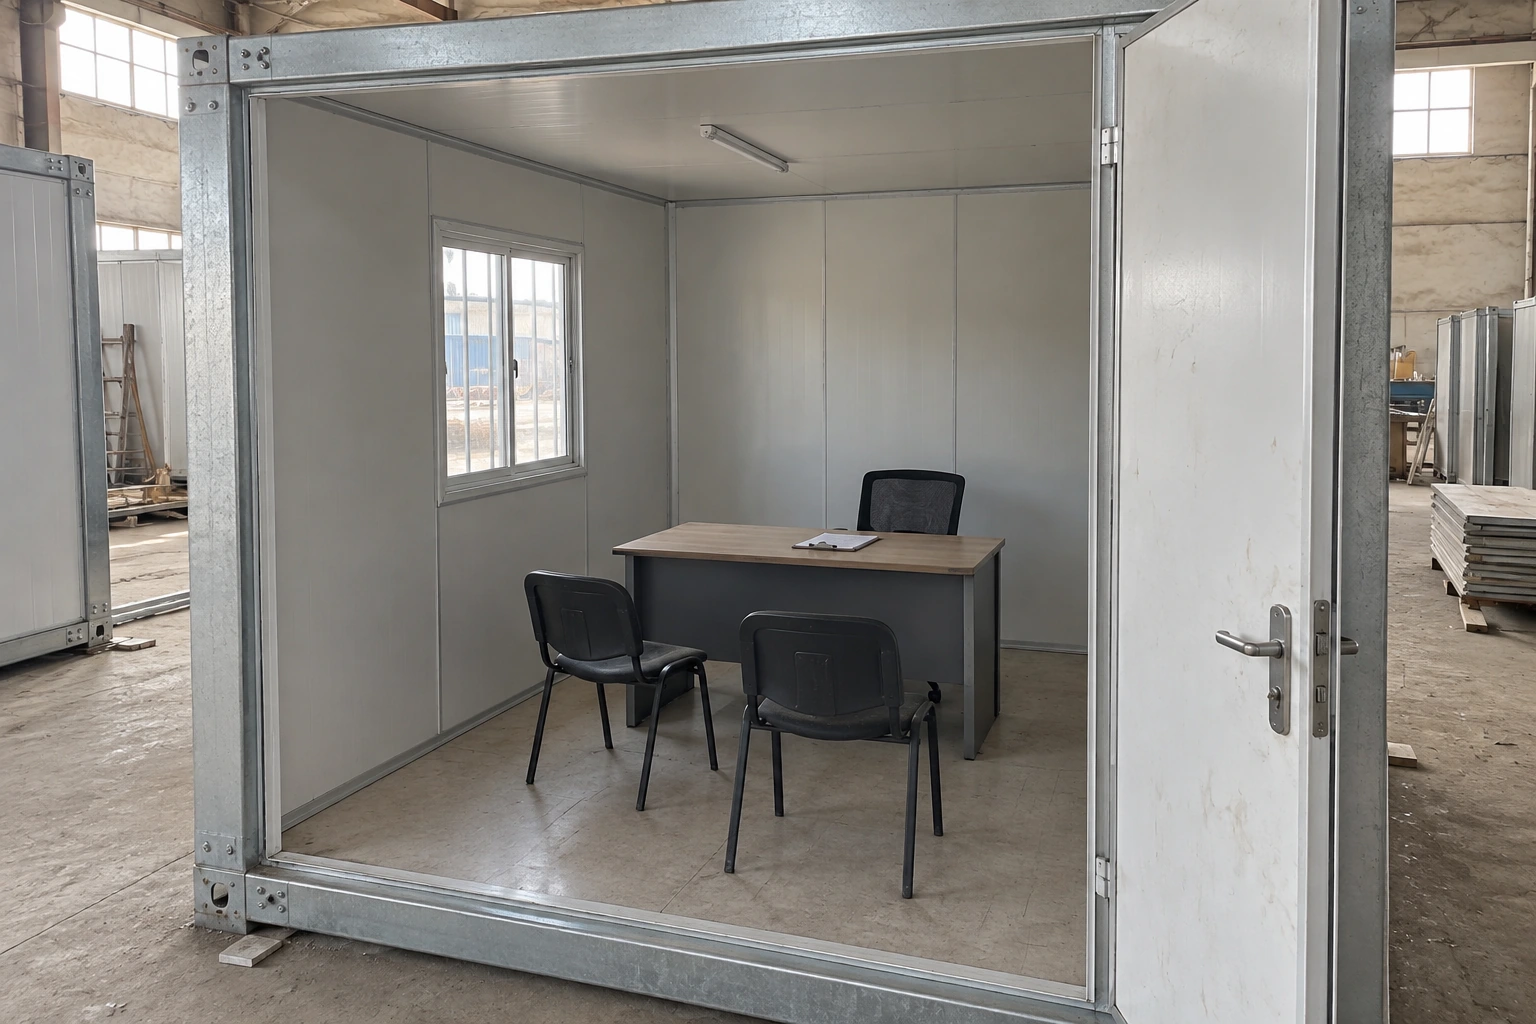
The general installation and handover guide covers the wider transition from delivery to a usable building. For a detachable order, add the component register, site connection records and approved responses to assembly queries. These documents explain what was actually installed, not just what was initially quoted.
Before the installation team leaves, agree who receives keys, spare parts, operating manuals and maintenance instructions. Record contact details for unresolved questions and the process for reporting a defect. The operator should not have to reconstruct responsibility from a shipping invoice after the people who performed the work have left the site.
Plan future dismantling while the records are available
“Detachable” describes a construction approach; it does not guarantee that every component can be reused indefinitely or that a future relocation is straightforward. Reuse depends on condition, the selected system, approved dismantling methods and suitability for the next site.
Keep the as-installed layout, component identifiers, change history and maintenance records. Ask the supplier what information a future dismantling team would need and which items may require replacement or reassessment. Do not assume that lifting the occupied configuration or reversing the assembly steps is an approved removal method.
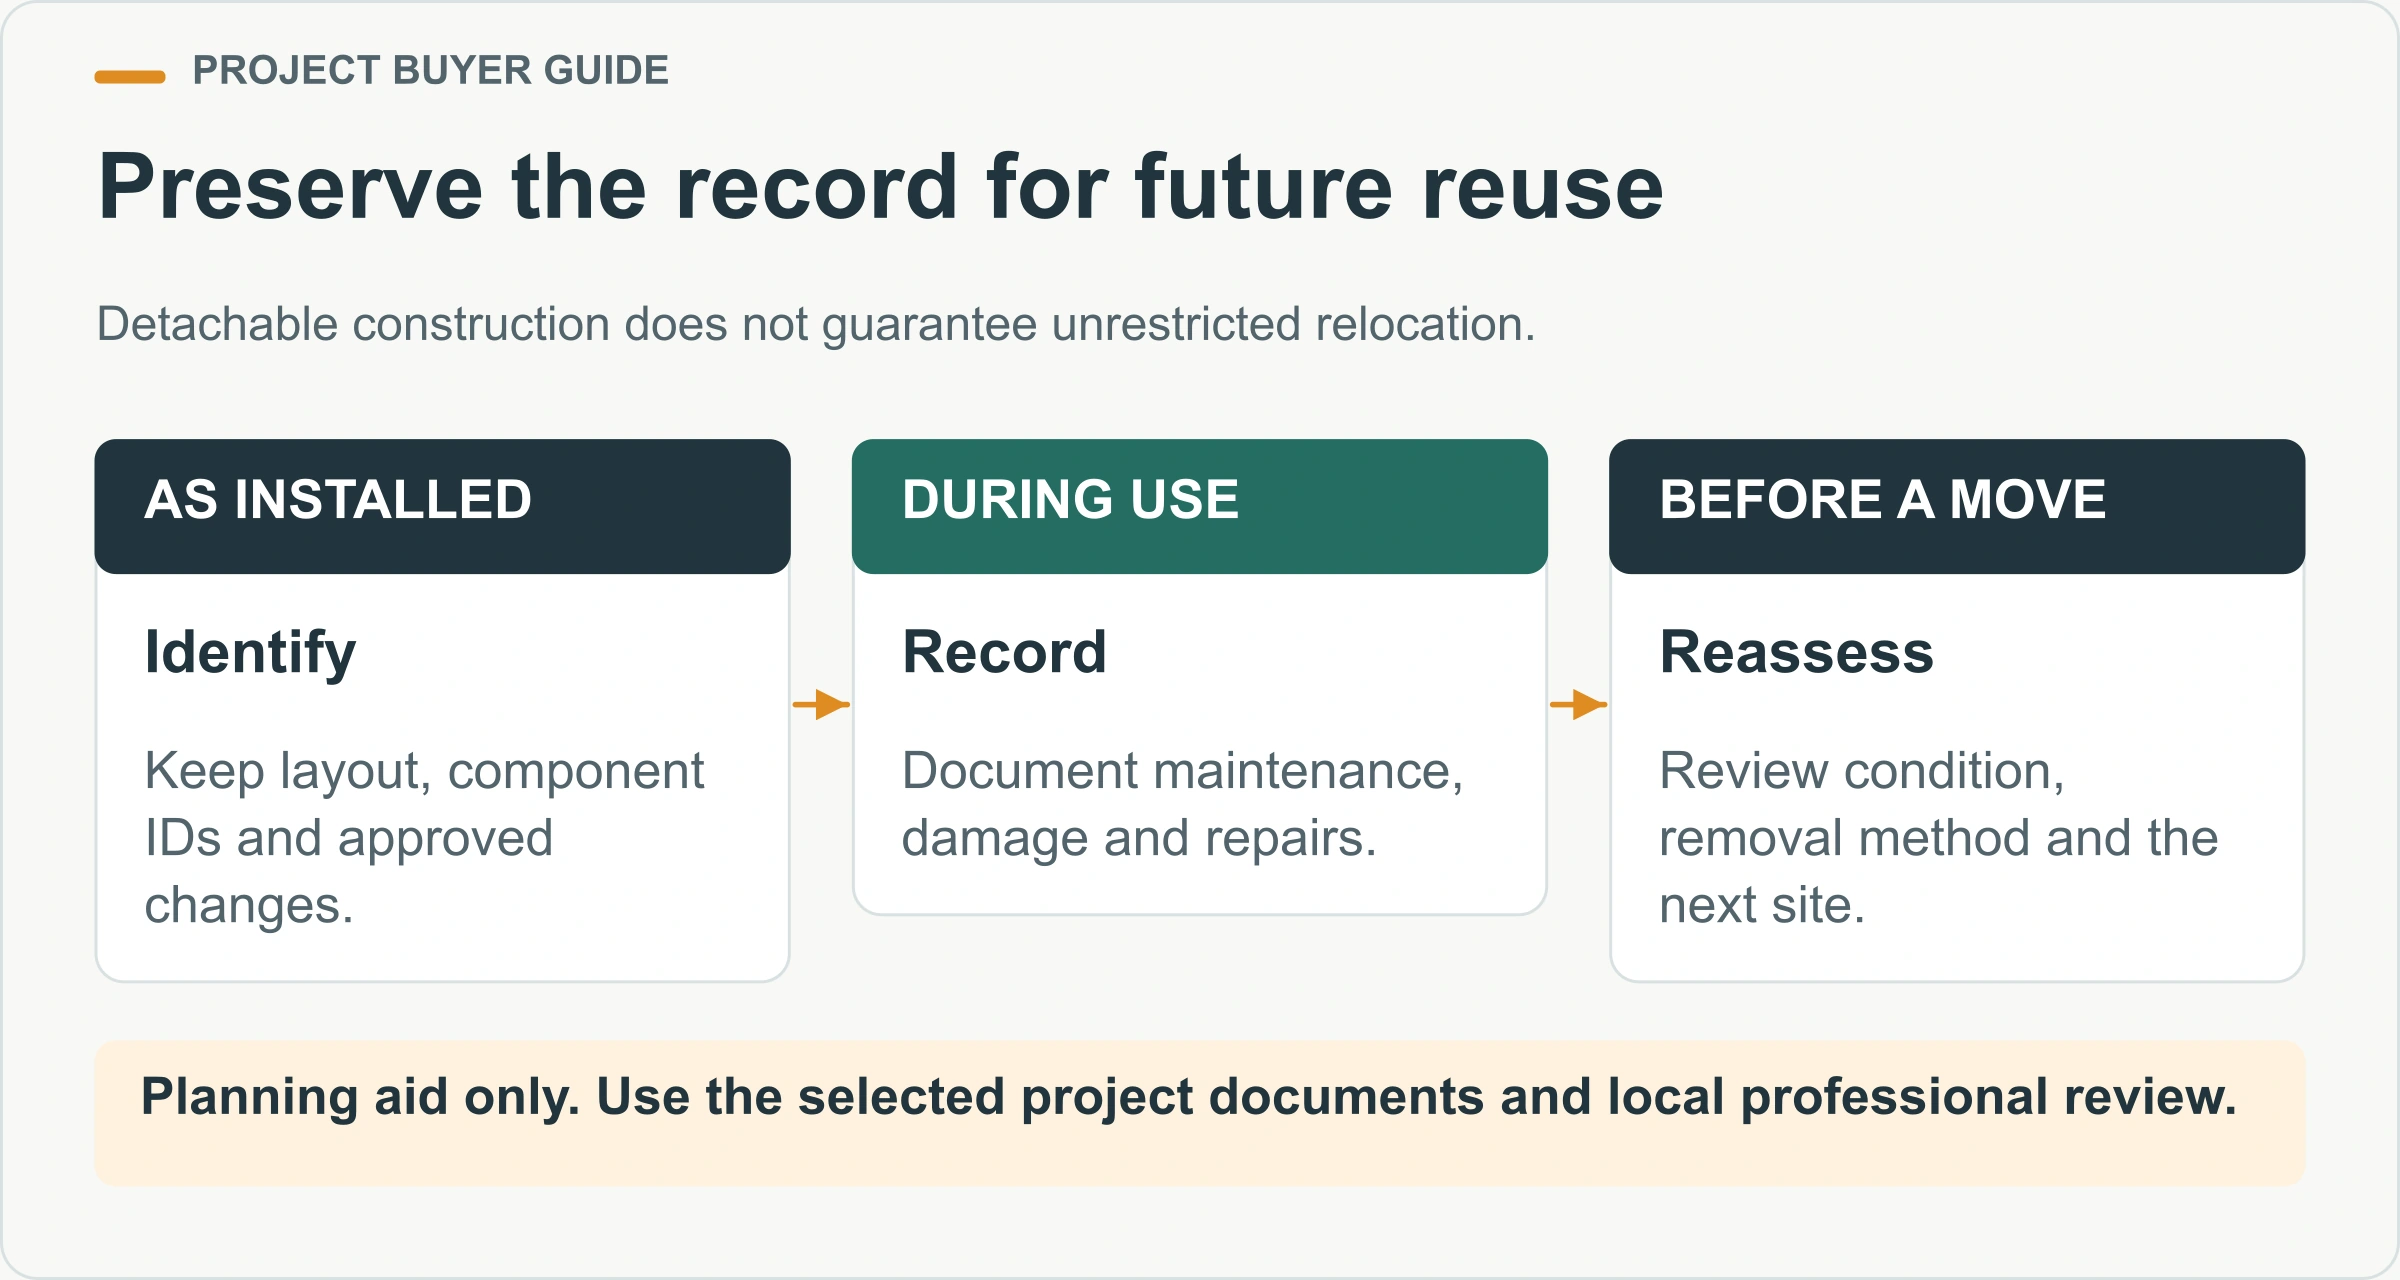
An operator can make future review easier by recording water ingress, impact damage, modifications and repairs when they occur. Photographs should identify the room and location rather than accumulating in an unlabeled folder. The building lifespan and maintenance guide helps organize that ongoing record.
If the building moves to a different climate, use or jurisdiction, review its new requirements before dispatch. A room that served as a temporary office does not automatically satisfy accommodation requirements at another destination. Ask the relevant professionals to assess the proposed use, supports, connections and local approval pathway.
Prepare a brief that an installer can actually price
Send a scope that describes the building, delivered condition and destination work together. Include the number and type of rooms, current drawings, site location, delivery access, proposed support arrangements and the services already available. State which responsibilities are confirmed and which still need a quotation or design decision.
Request an itemized installation proposal that identifies assumptions, exclusions, equipment, inspections and handover deliverables. A shorter headline duration is not automatically a better offer if it excludes the work required before occupation. Compare the same completion milestone and ask how unresolved site conditions affect the programme.
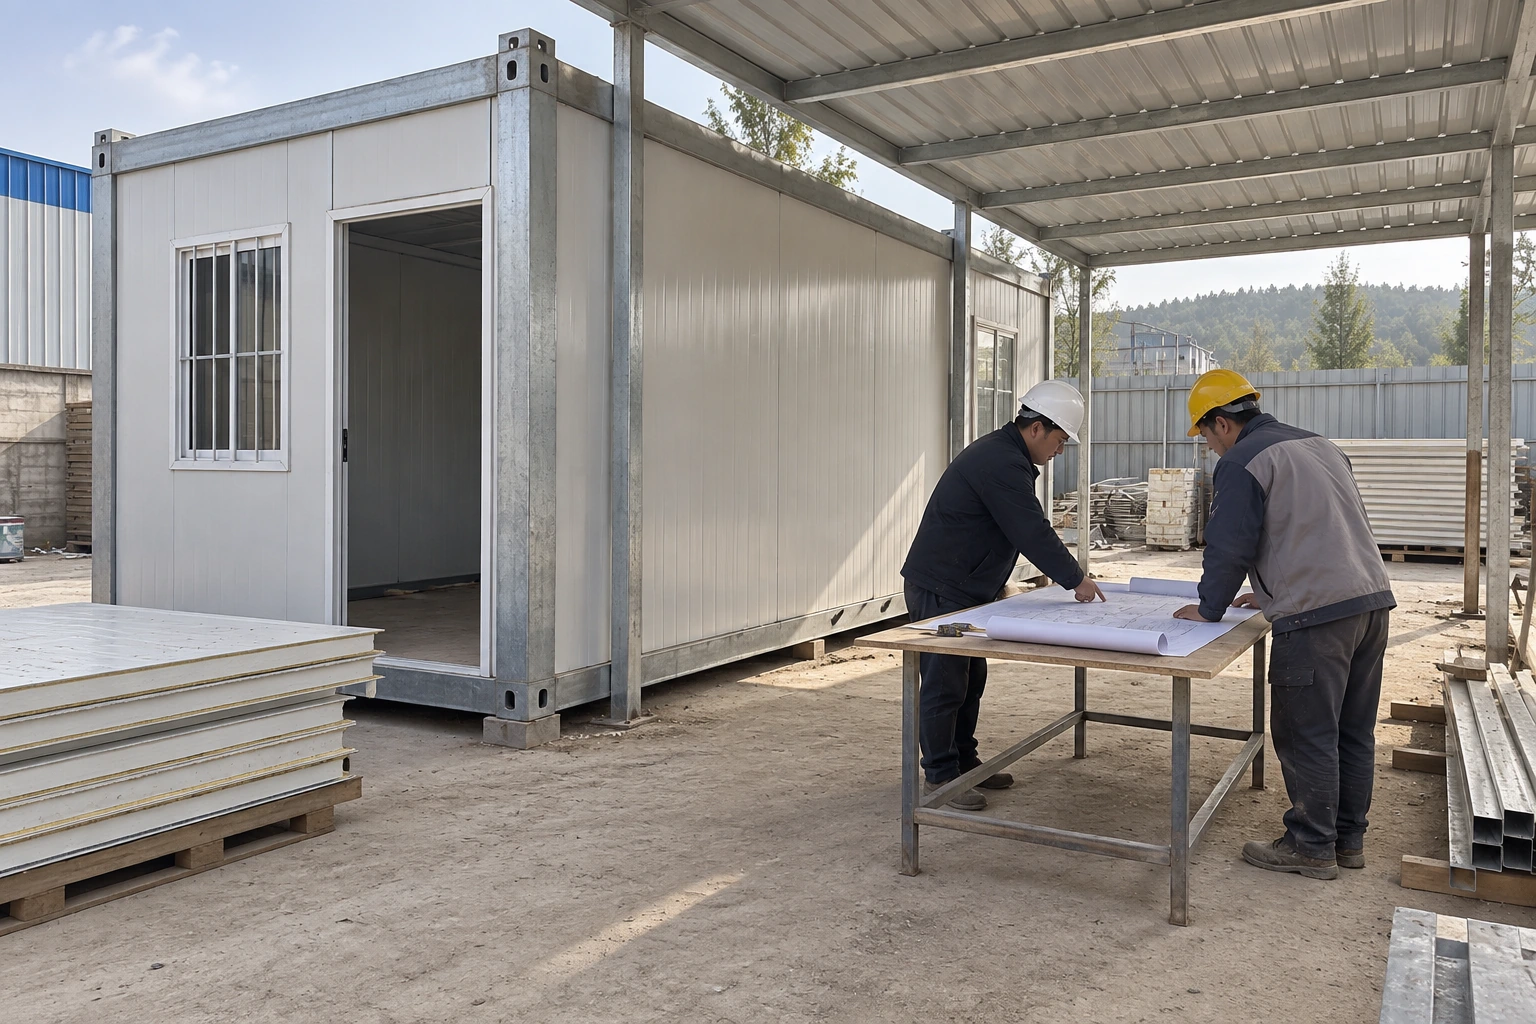
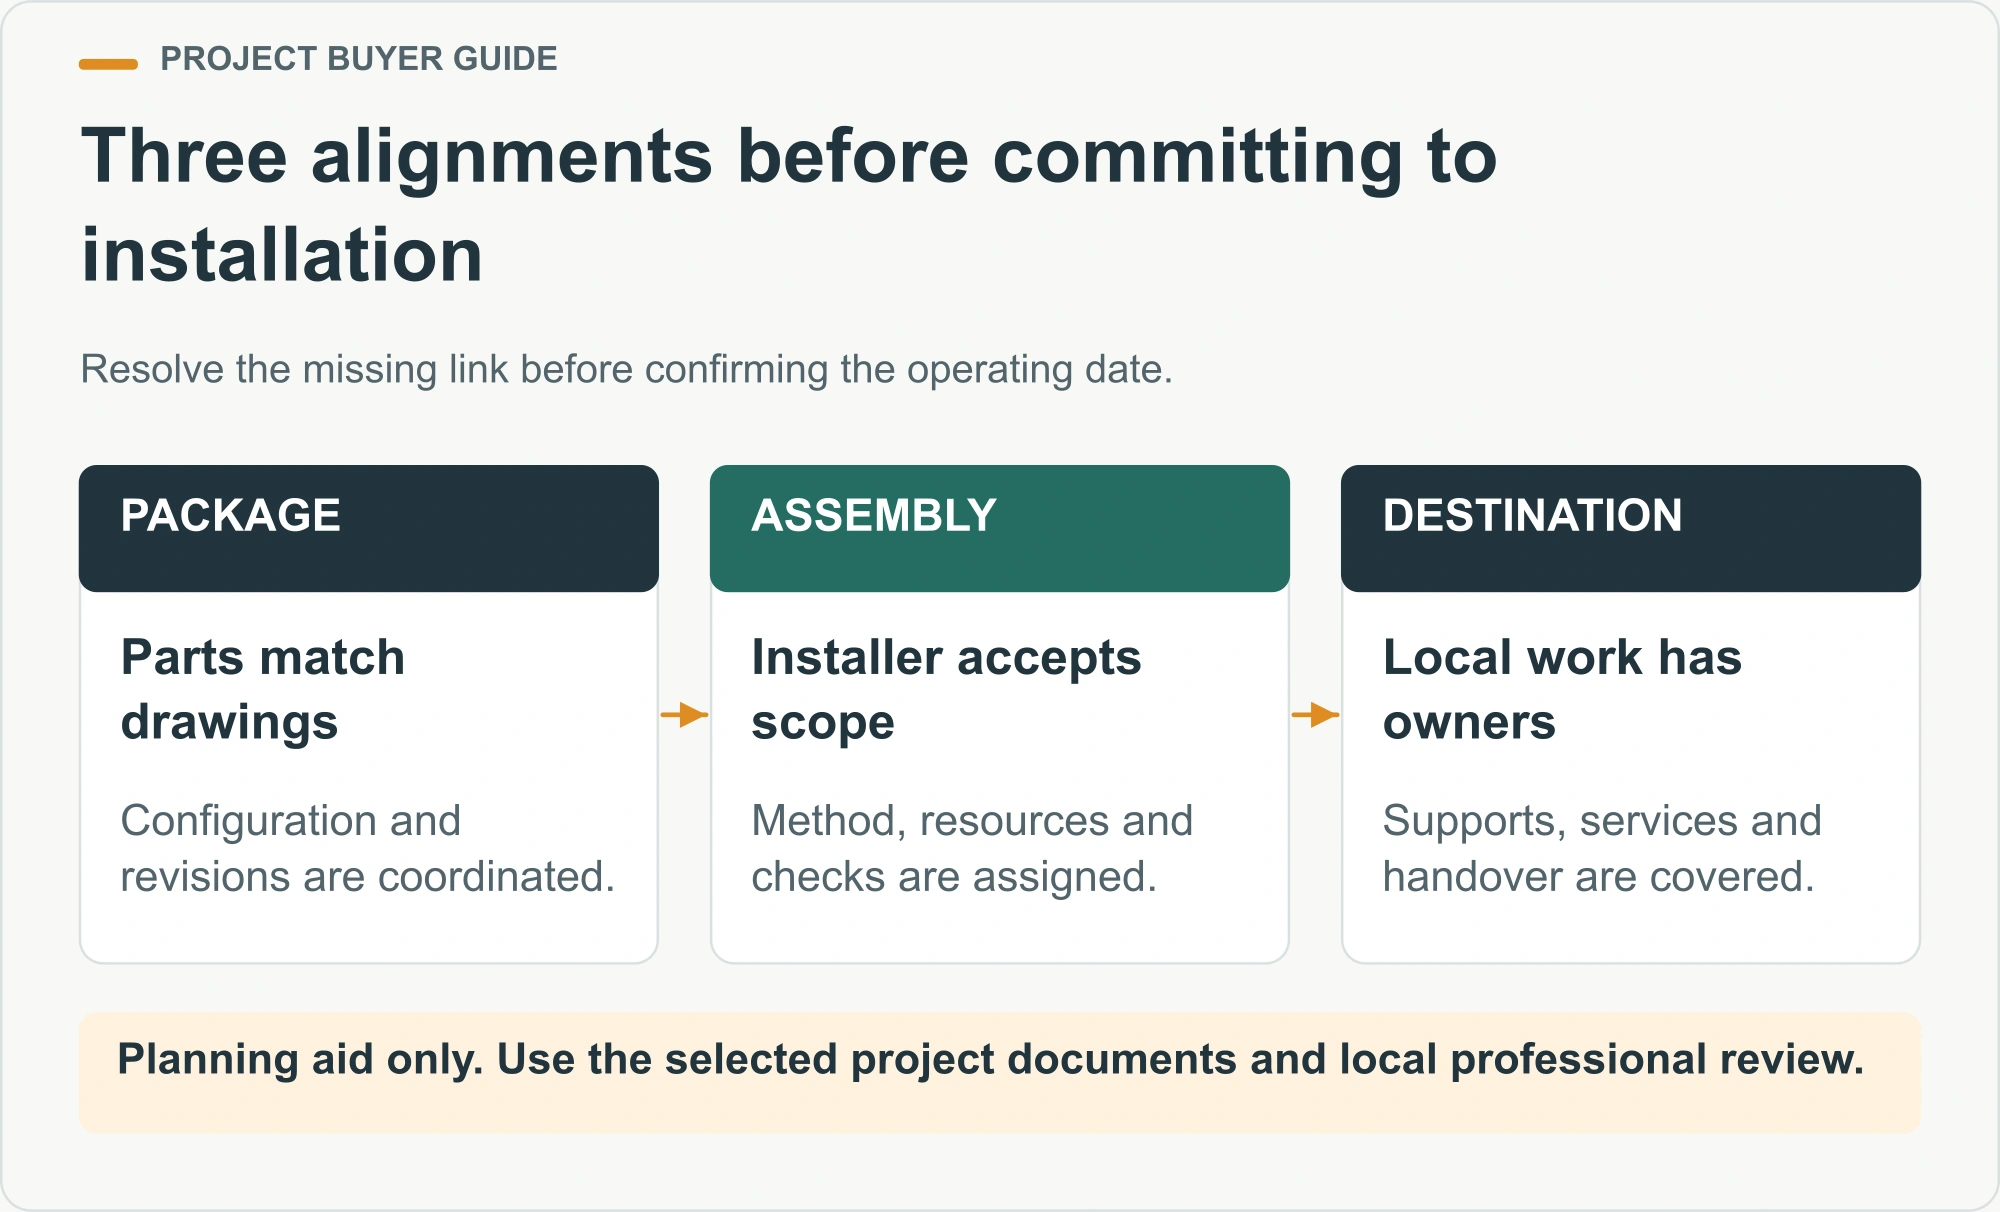
Before accepting the proposal, use the final review to check three alignments: the purchased components match the drawings; the installer accepts the documented work package; and the destination team owns the remaining site and service work. Where one alignment is missing, resolve it before turning the tentative delivery date into a firm operational commitment.
For a PQSE project discussion, prepare your selected product, intended use, quantity, destination and current assembly questions. Include the installer’s comments where available. That allows the conversation to focus on the actual package and the information still needed for a coordinated quotation.
Discuss your detachable building package