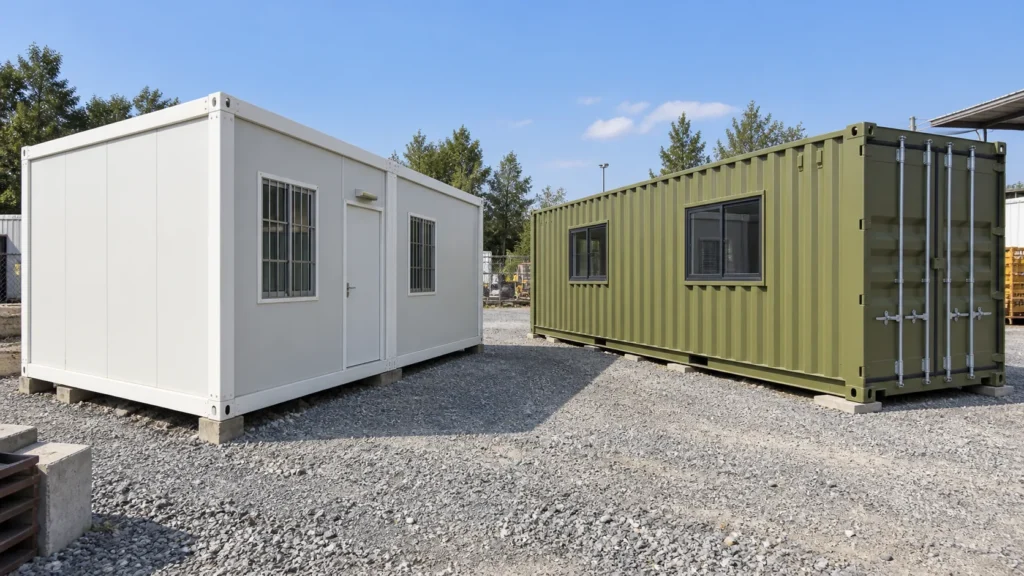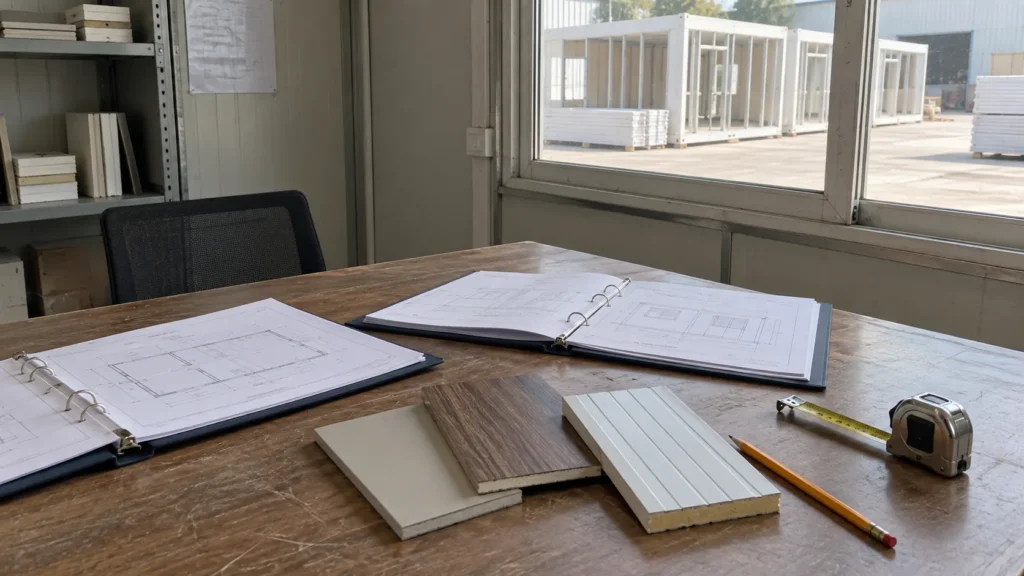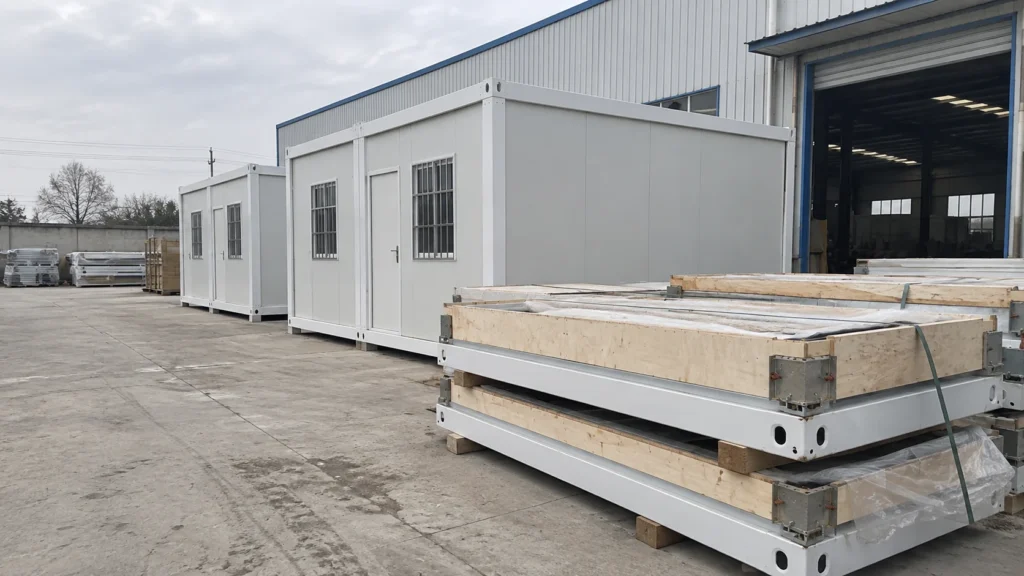
A container house kit includes only the components and services identified in the agreed supply documents. The word kit does not establish a universal bill of materials or mean that the building arrives ready to occupy. Buyers need to know what is supplied, what is already installed, what must be connected locally and what still requires checking before use.
This distinction matters when a proposal combines a structural package, panels, fixtures and optional equipment under a short description. Two offers can use the same product label while leaving different amounts of work for the destination team. A useful comparison follows the physical components from packing through their final installed condition.
This guide provides an original scope-review method for project buyers considering a prefab container house kit. The registers below are examples of questions to resolve, not a standard PQSE specification. The actual configuration, quantities and responsibilities must be confirmed for the selected model and order.
What does the word kit tell a buyer?
It indicates a packaged supply arrangement, but the exact delivery state still needs explanation. Some systems arrive as separate structural and enclosure assemblies. Others retain more factory-completed work and need a different set of site operations. Ask the supplier to show the product in its transport condition as well as its erected condition so the site team can understand the work between them.
For example, SAMAN’s flat-pack product description identifies cassettes, posts, panels and a hardware pack within its own offering. That is evidence about the named supplier’s product, not a definition that every kit must share. Use product descriptions to identify questions, then request the equivalent order-specific information for the system actually being purchased.
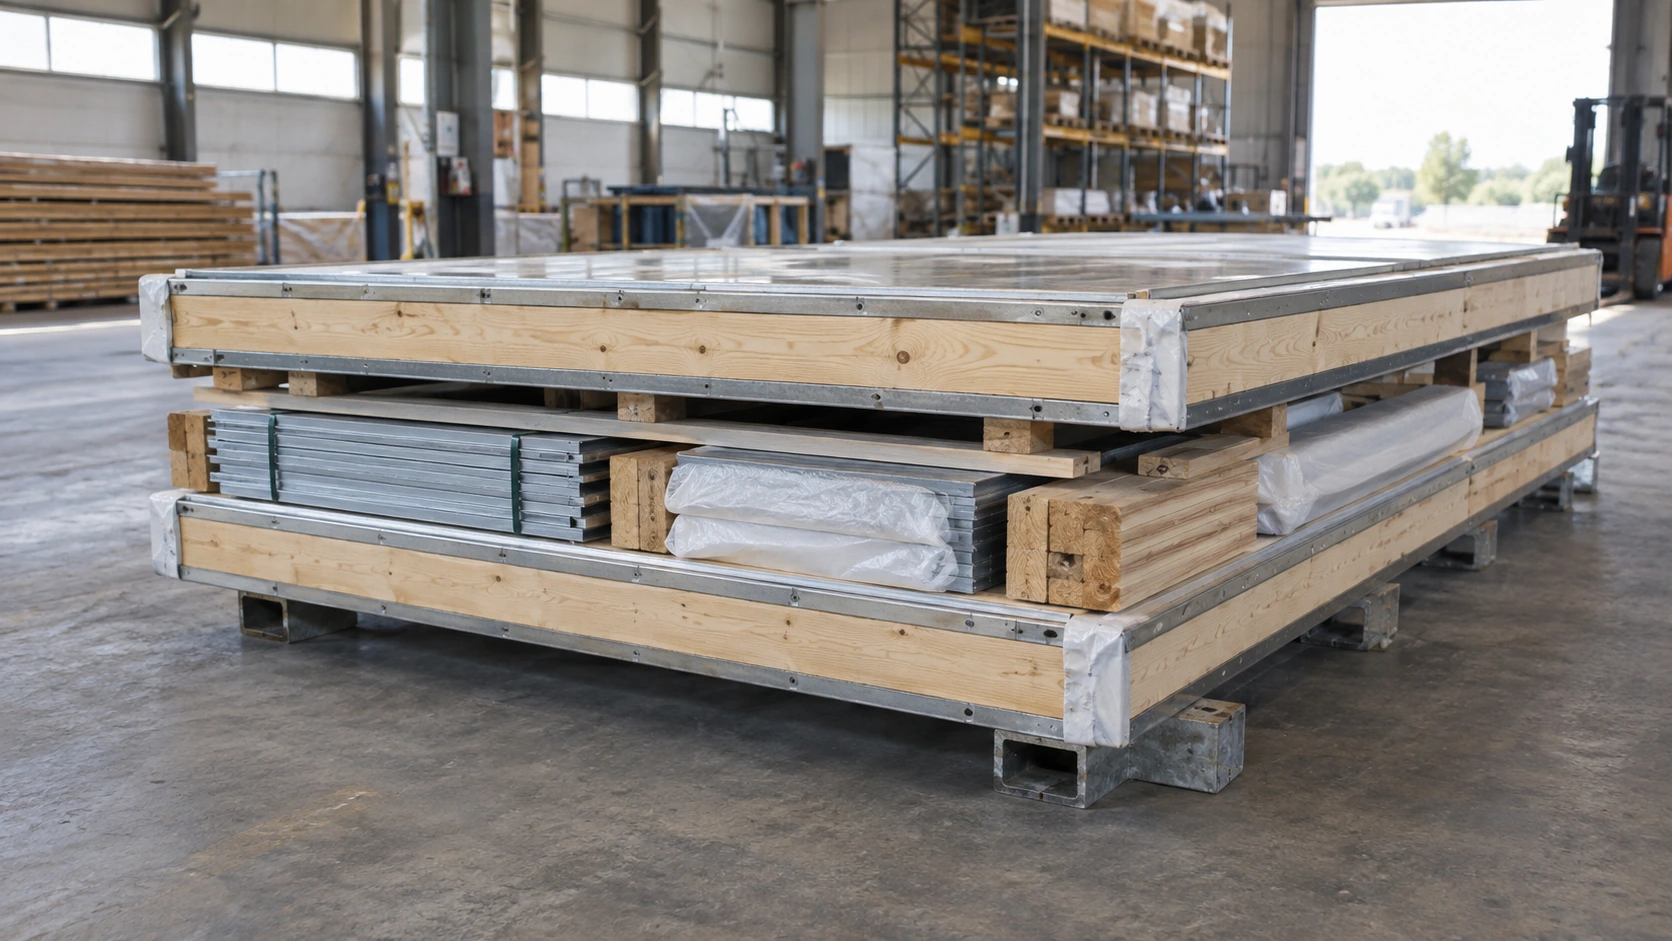
The Modular Building Institute’s explanation of modular construction describes an off-site production process followed by work on site. The process description does not settle the completion state of an individual kit. A buyer still needs a clear account of factory work, packed components and destination work for the particular proposal.
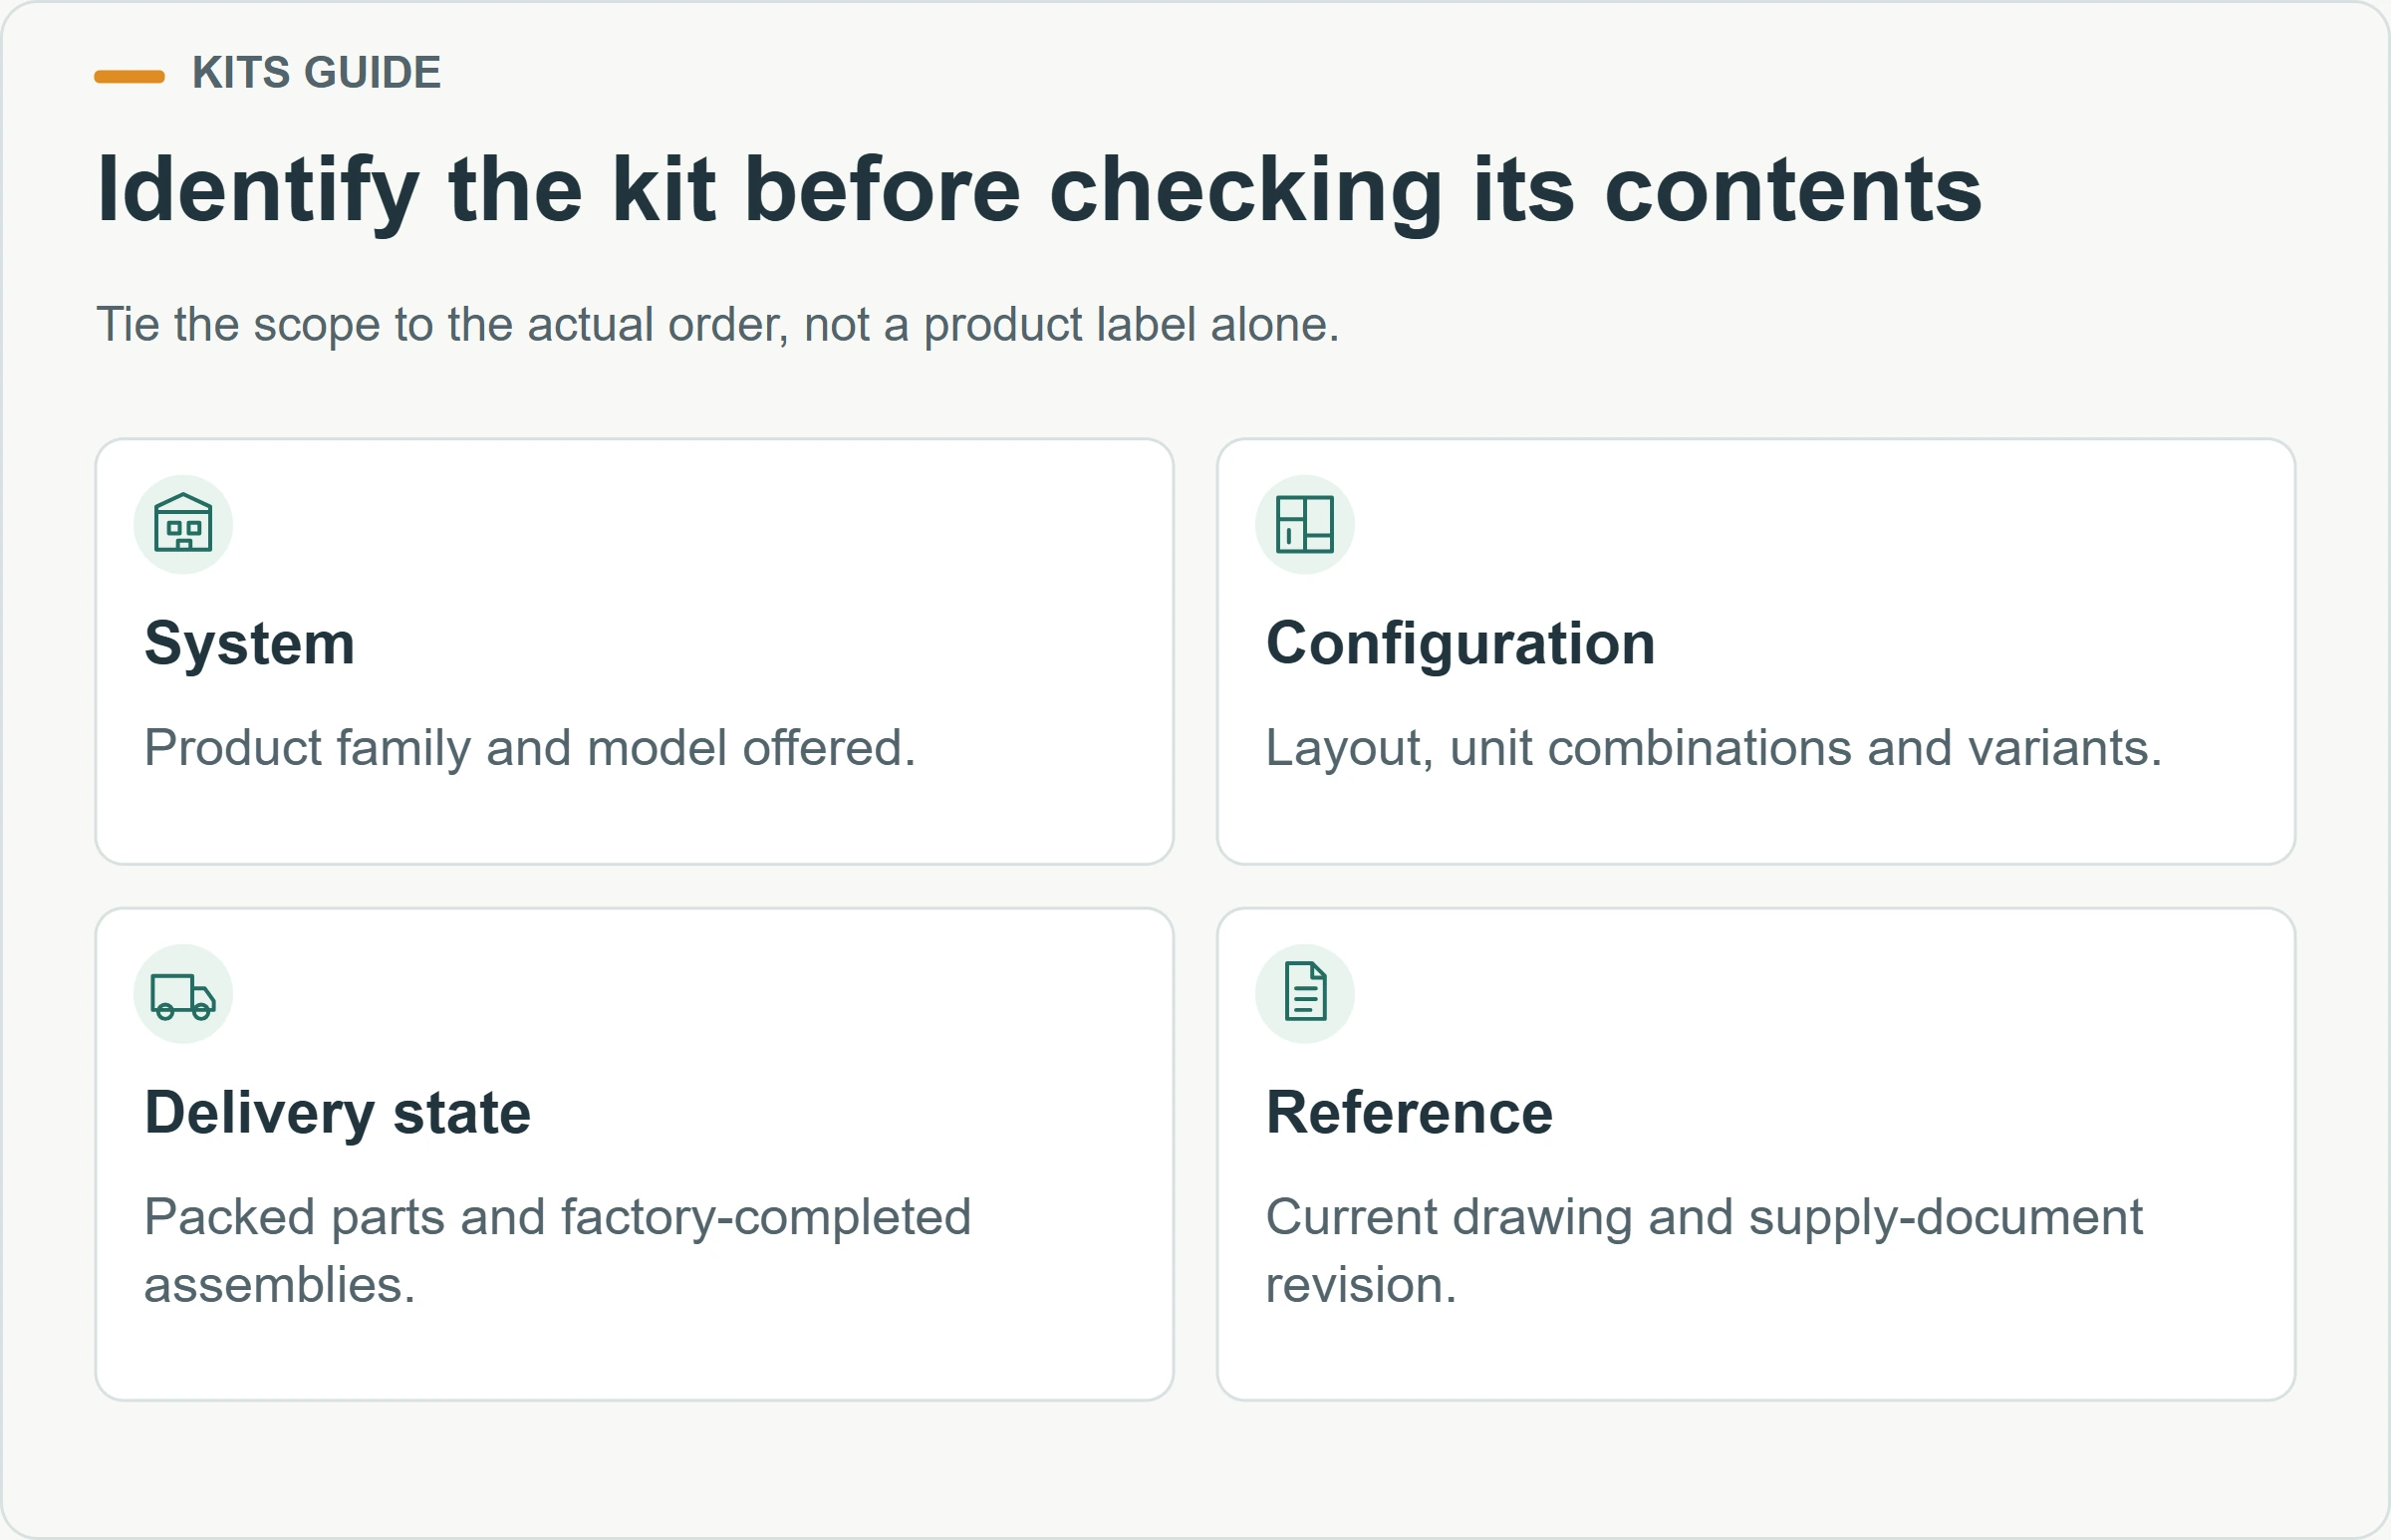
Begin with an identity sheet: product family, model, drawing revision, layout and the intended combination of units. Separate nominal product names from the dimensions relevant to use and delivery. If the order contains multiple room types, identify each variant. A single catalogue photograph should not stand in for several different configurations with different parts and interfaces.
Why should supplied, installed, connected and tested be separate fields?
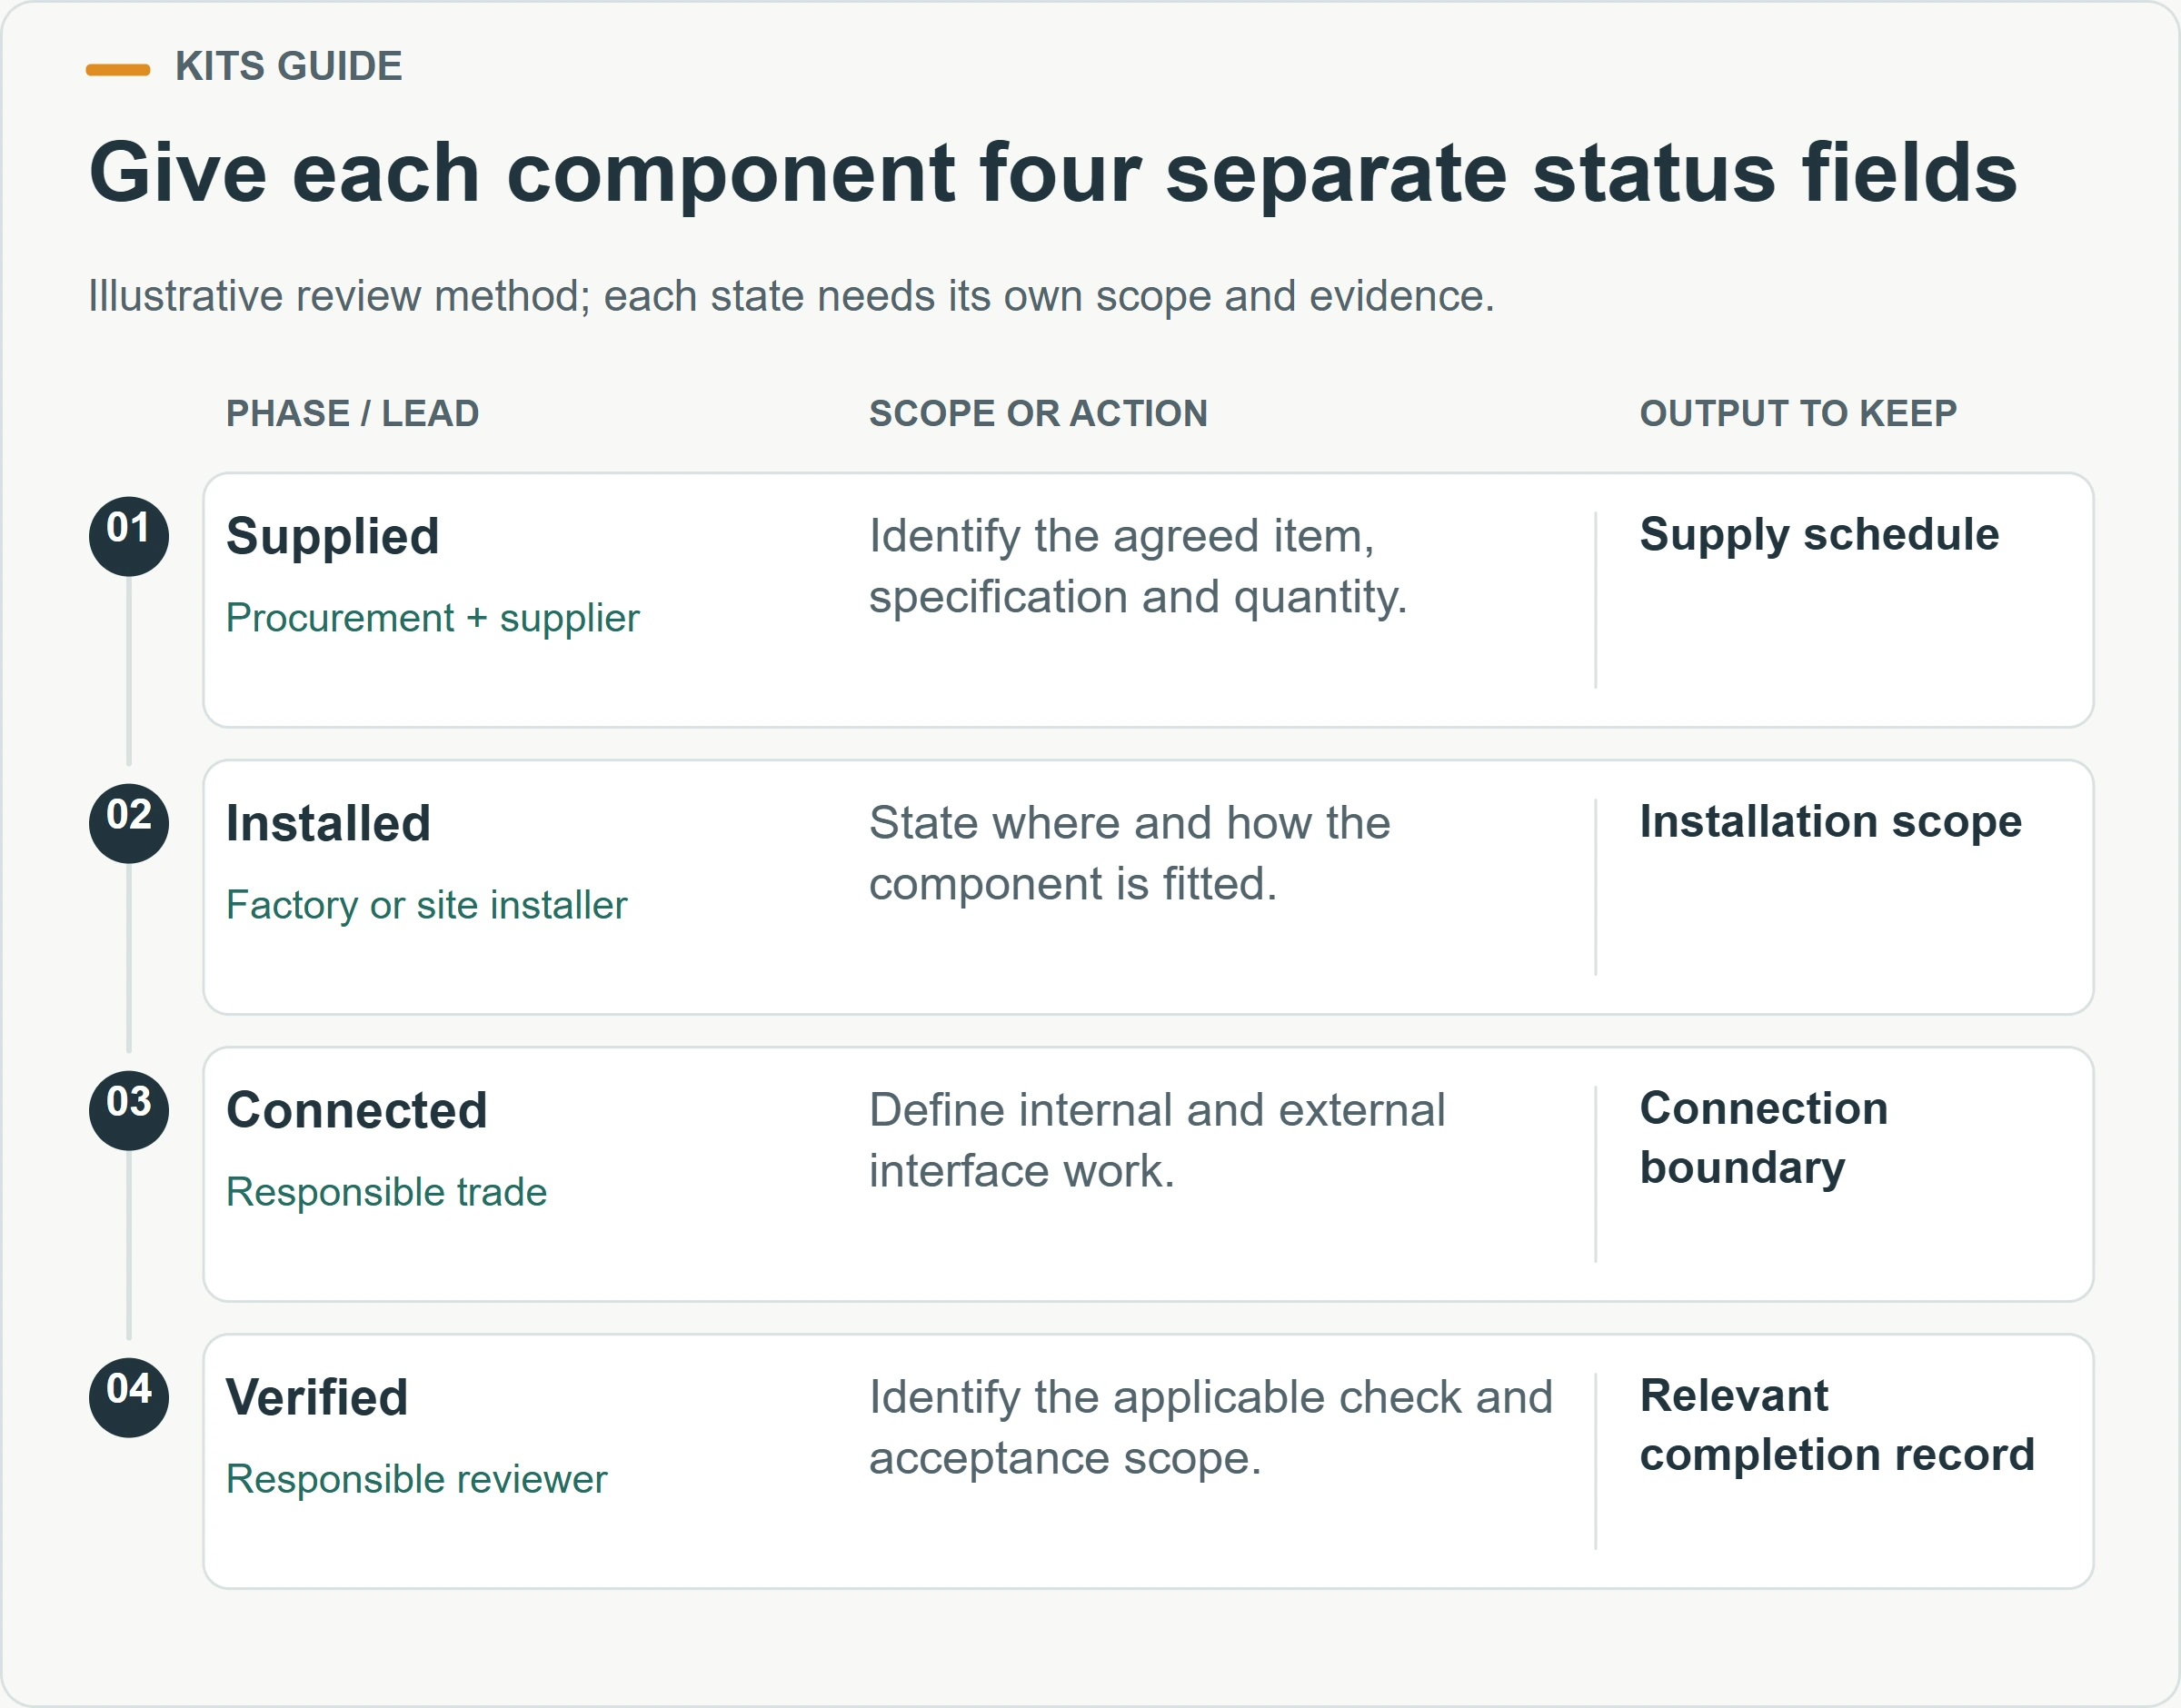
These four states answer different questions. Supplied means an item is part of the delivery scope. Installed describes its physical placement or assembly. Connected describes the relevant interfaces. Tested identifies the agreed verification activity and its boundary. Combining them into one tick beside the word included can conceal work that another party still needs to complete.
Consider a hypothetical light fitting. It could be packed loose, mounted in the factory, connected to internal wiring or checked as part of an agreed factory procedure. None of those descriptions alone confirms that the destination building has an accepted external supply and is ready for use. The scope review should follow the actual work and record, without assuming one state proves all the others.
| Item in an illustrative register | Supplied | Installed | Connected | Verification record |
|---|---|---|---|---|
| Internal light | Identify model and quantity | State factory or site installation | Define internal and incoming supply boundaries | Identify the applicable check and responsible party |
| Sanitary fixture | Identify fixture and accessories | State mounting responsibility | Define water and waste interfaces | Record the relevant completion and acceptance checks |
| Door assembly | Identify complete assembly and hardware | State delivery condition | Identify any relevant adjacent interfaces | Record operation and specified inspection |
| Climate equipment | Identify the selected equipment | State what installation is included | Define power and other required connections | Identify commissioning scope and records |
Use descriptive entries while the proposal is being clarified. A blank cell is ambiguous: it may mean excluded, unknown or not applicable. Give it an explicit status and an owner. Once the scope is agreed, connect the register to the current quotation and drawings so later packing or installation decisions use the same reference.
How much detail is enough for each line?
Detail is sufficient when another responsible person can identify the item, determine its intended location and understand the remaining work. A description such as bathroom included is too broad for this purpose. Break it into the actual supplied assemblies and interfaces, while keeping related items grouped so the register remains usable.
Which structural and enclosure parts should be identified?
Ask for the selected system’s component schedule and assembly information. It should explain which primary assemblies form the floor, roof and vertical structure, how they are identified and which connecting components belong to the package. The buyer’s task is to establish scope and traceability; the supplier and responsible designers define the actual system and technical requirements.
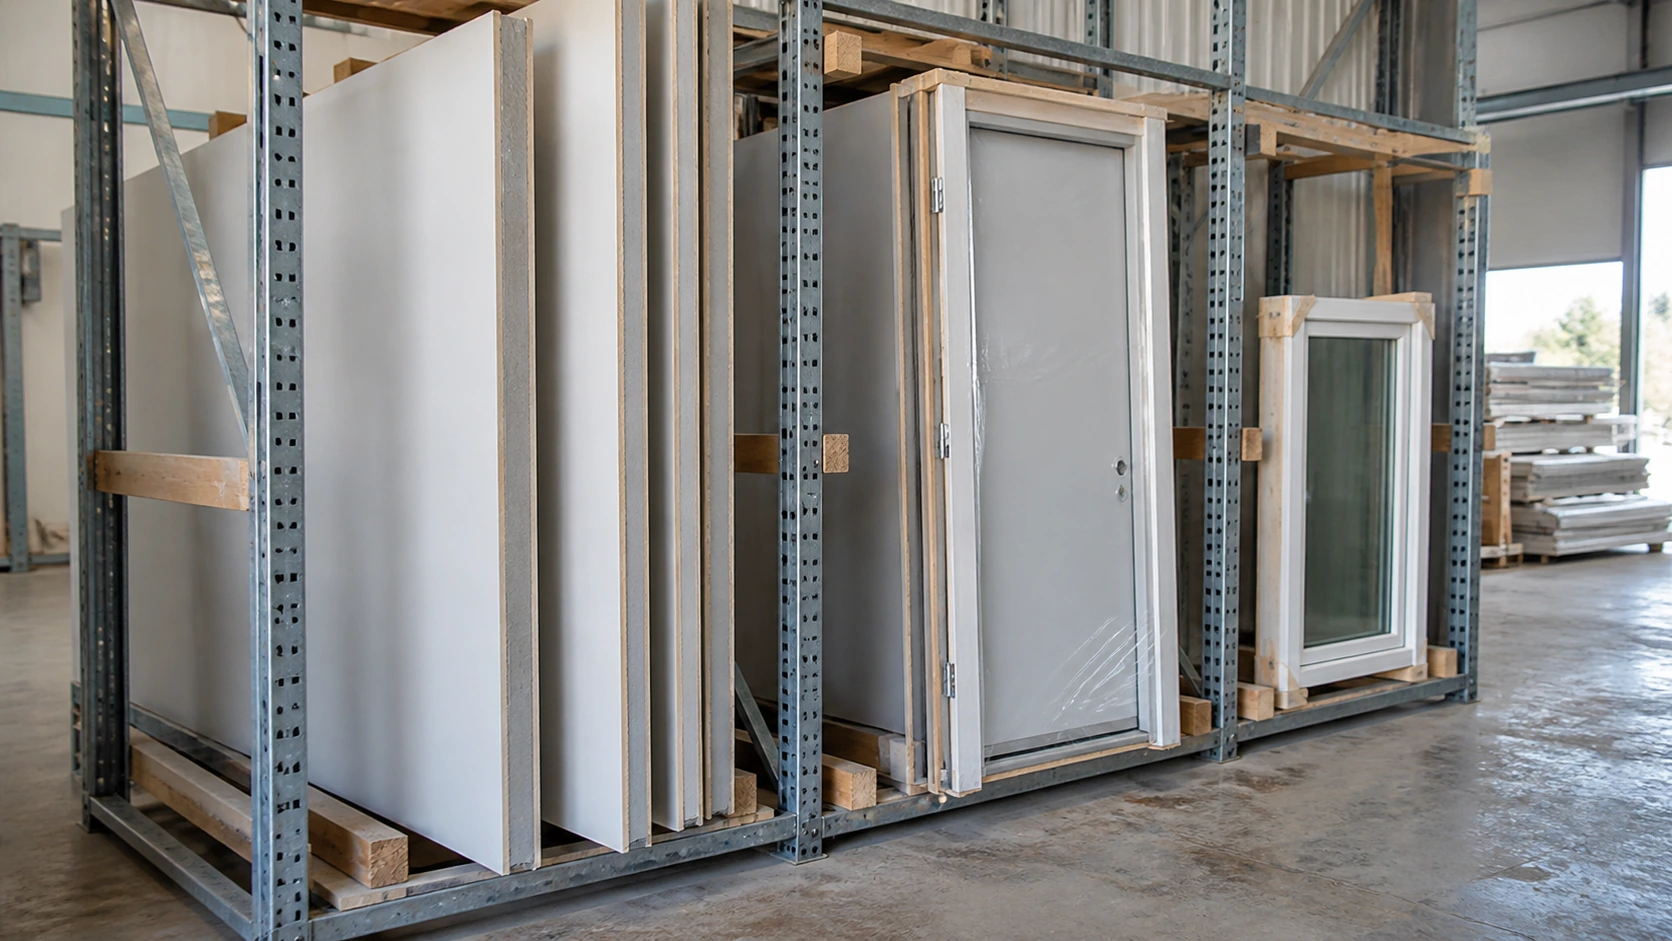
Follow the enclosure as a separate set of questions. Identify wall and roof panel types, openings, door and window assemblies, trims and the specified joint materials. Ask which pieces are factory-fitted and which are packed for site work. The visible panel surface is only part of the enclosure; the proposal also needs to account for how adjacent assemblies meet.
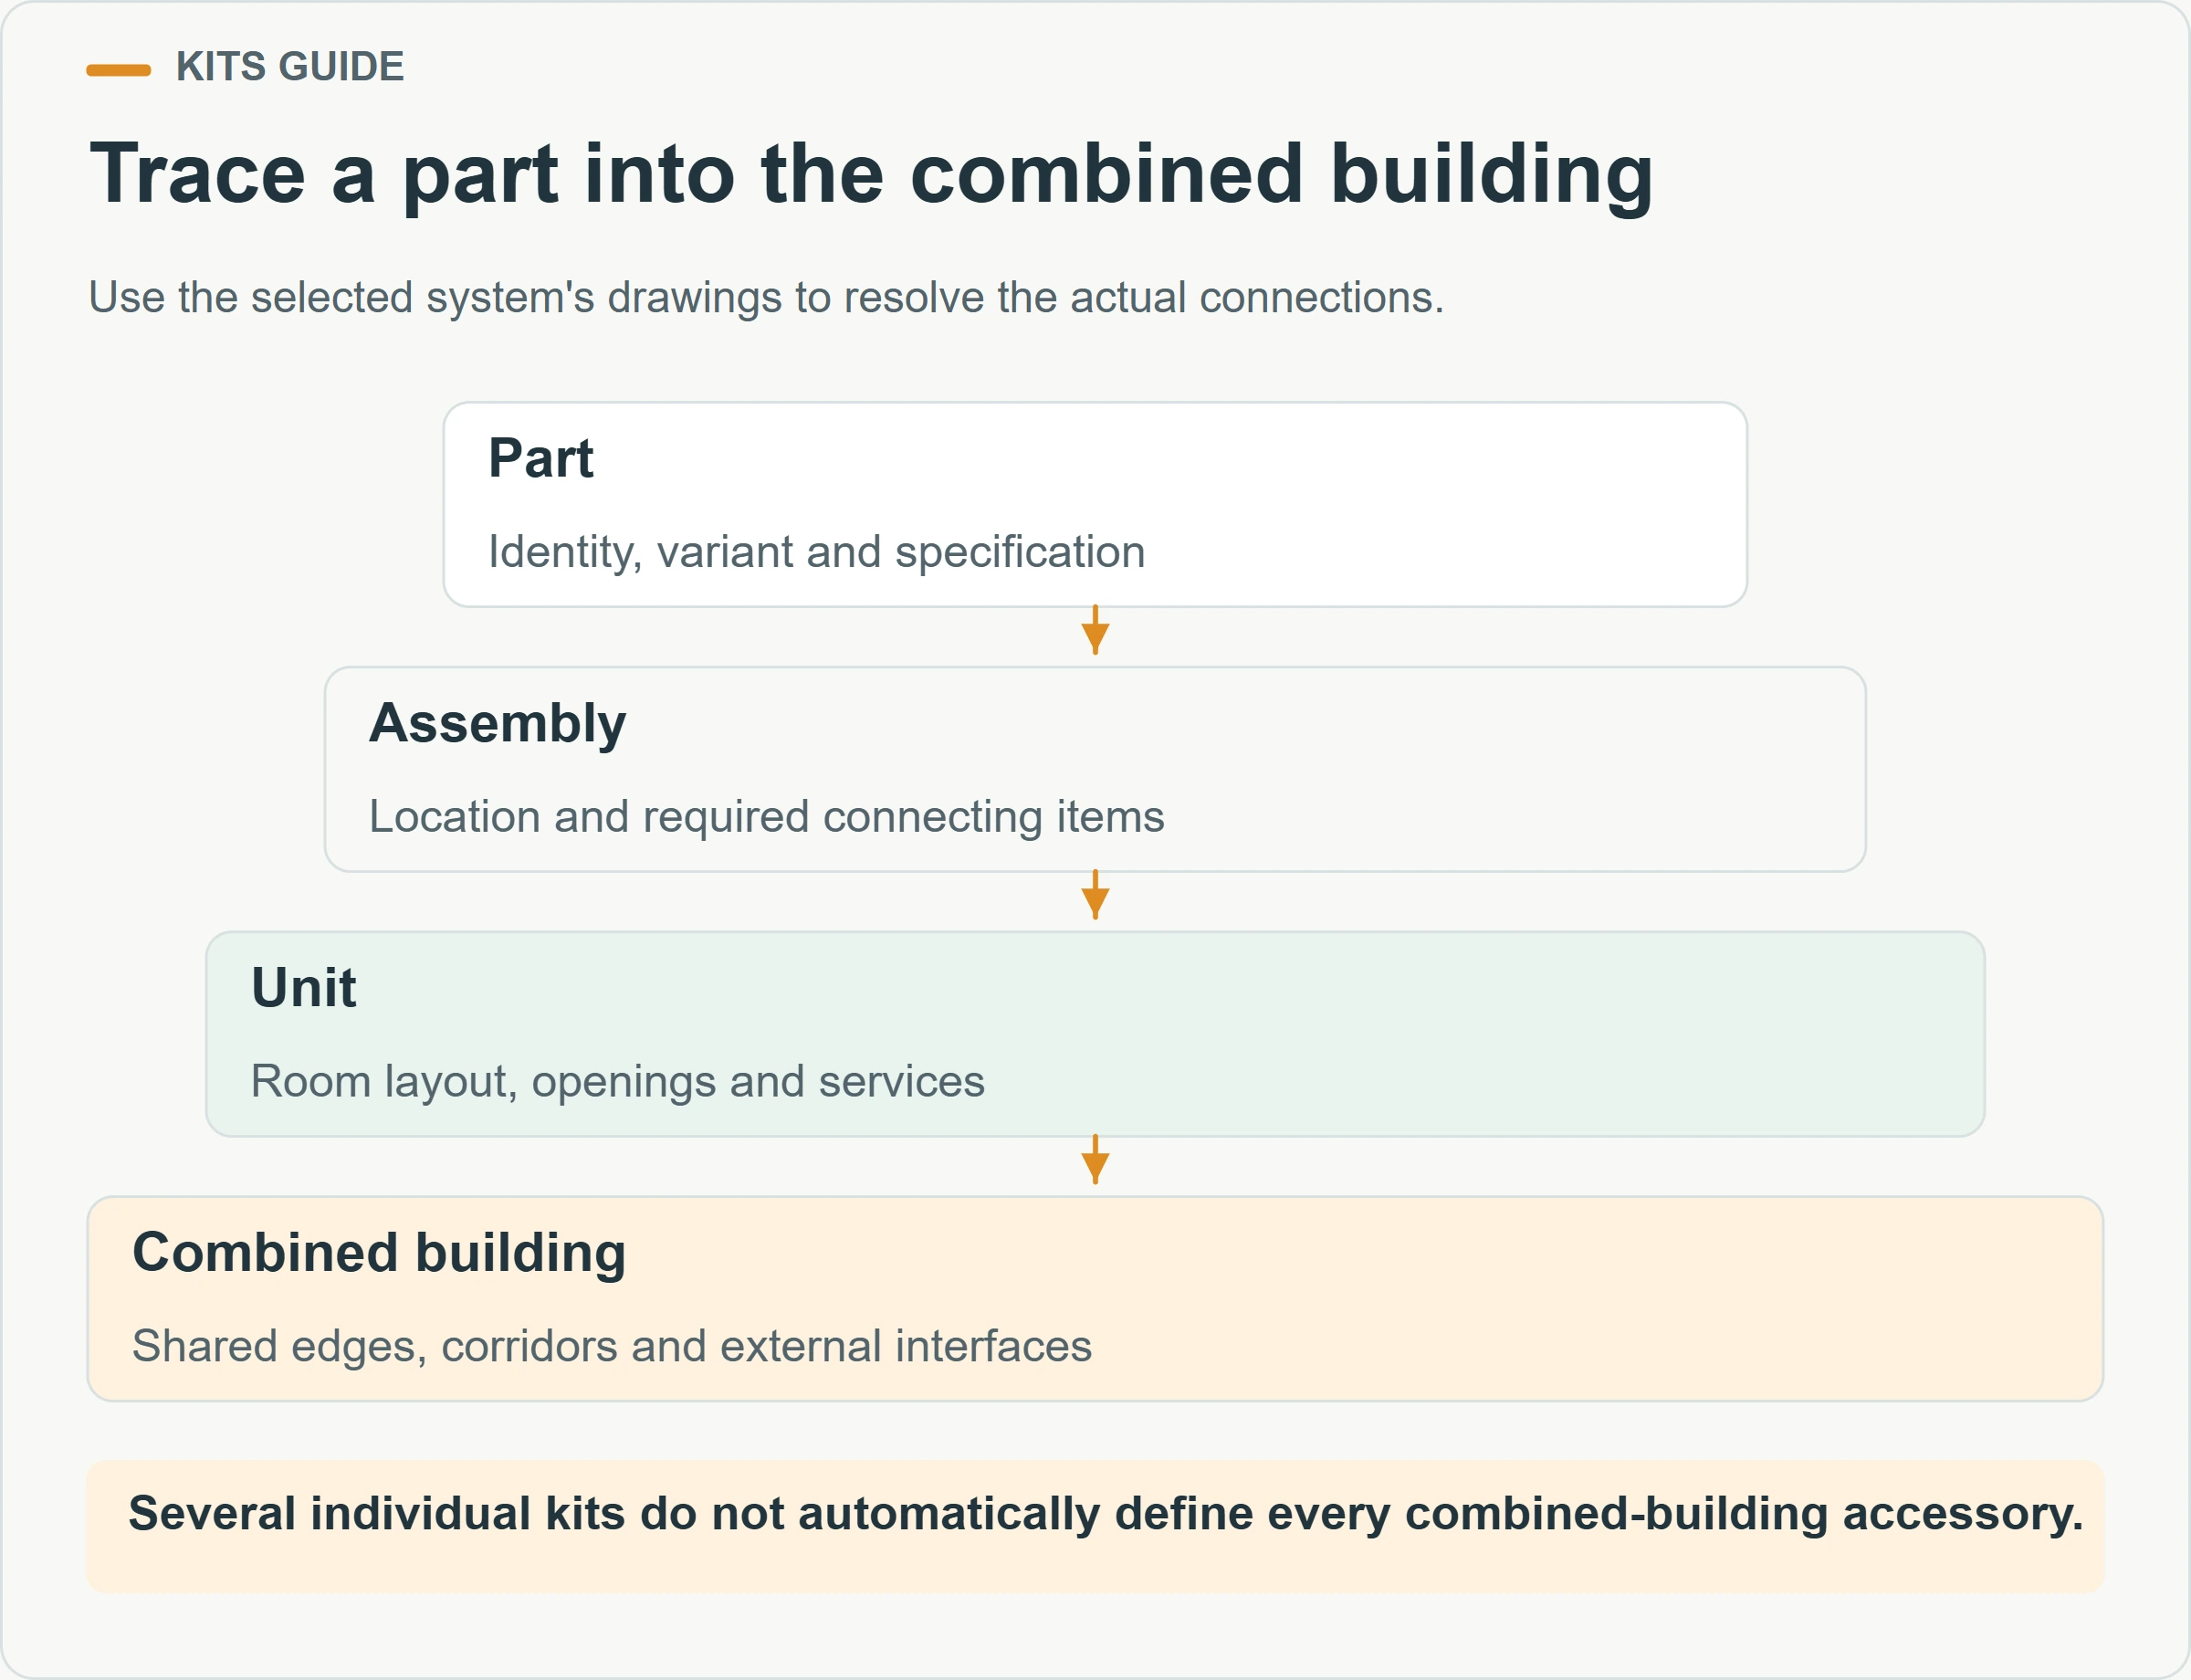
For a multi-unit building, distinguish a single unit’s standard edges from the connections between units. Joining rooms may change the parts required at a shared wall, floor junction, roof junction or corridor. Request the drawing and schedule for the intended combined arrangement. Ordering several individual kits does not automatically establish that every accessory for the combined building is included.
Record variants clearly. A panel beside a door, an internal partition and a panel at a service opening may look similar in a packing photograph while serving different positions. Useful identifiers connect the part, package and drawing location. Ask how handed items or layout-specific assemblies are distinguished so the receiving team does not have to infer the answer during installation.
What should a hardware and finishing review cover?
Review the smaller items by the assembly or interface they complete. The aim is to understand whether the supplied package contains the specified items needed for the agreed scope, including parts that are less visible than the main frame and panels. Ask the supplier to explain the hardware grouping and how the packing list identifies the relevant sets.
Do not replace a system-specific fastening or sealing requirement with a generic shopping list. The appropriate components, quantities and application requirements belong in the supplier’s current information. If an item is to be sourced locally, identify the required specification and the approval route for any alternative. Similar appearance or convenient availability does not establish compatibility.

Finishing items deserve the same clarity. A floor finish may be part of an assembly, packed for later work or excluded. Edge trims, skirting and transitions may depend on the selected room layout. Ask where the finish stops and what completes the interface with adjacent work. This is particularly useful when another contractor supplies stairs, a deck, external cladding or a canopy.
Are spare parts the same as installation consumables?
No. Materials needed to complete the agreed installation should be distinguished from additional parts intended for later replacement. Identify both where they are included. A spare-hardware allowance should not hide an unresolved assembly quantity, and an installation material should not be assumed available for future maintenance after it has been used.
Keep replacement identification practical. Record the relevant part reference and the process for obtaining the correct item later. For components with model or finish options, retain those details with the order. This makes future maintenance discussions more precise than sending a photograph and asking for something that looks similar.
How can buyers clarify bathrooms and electrical packages?
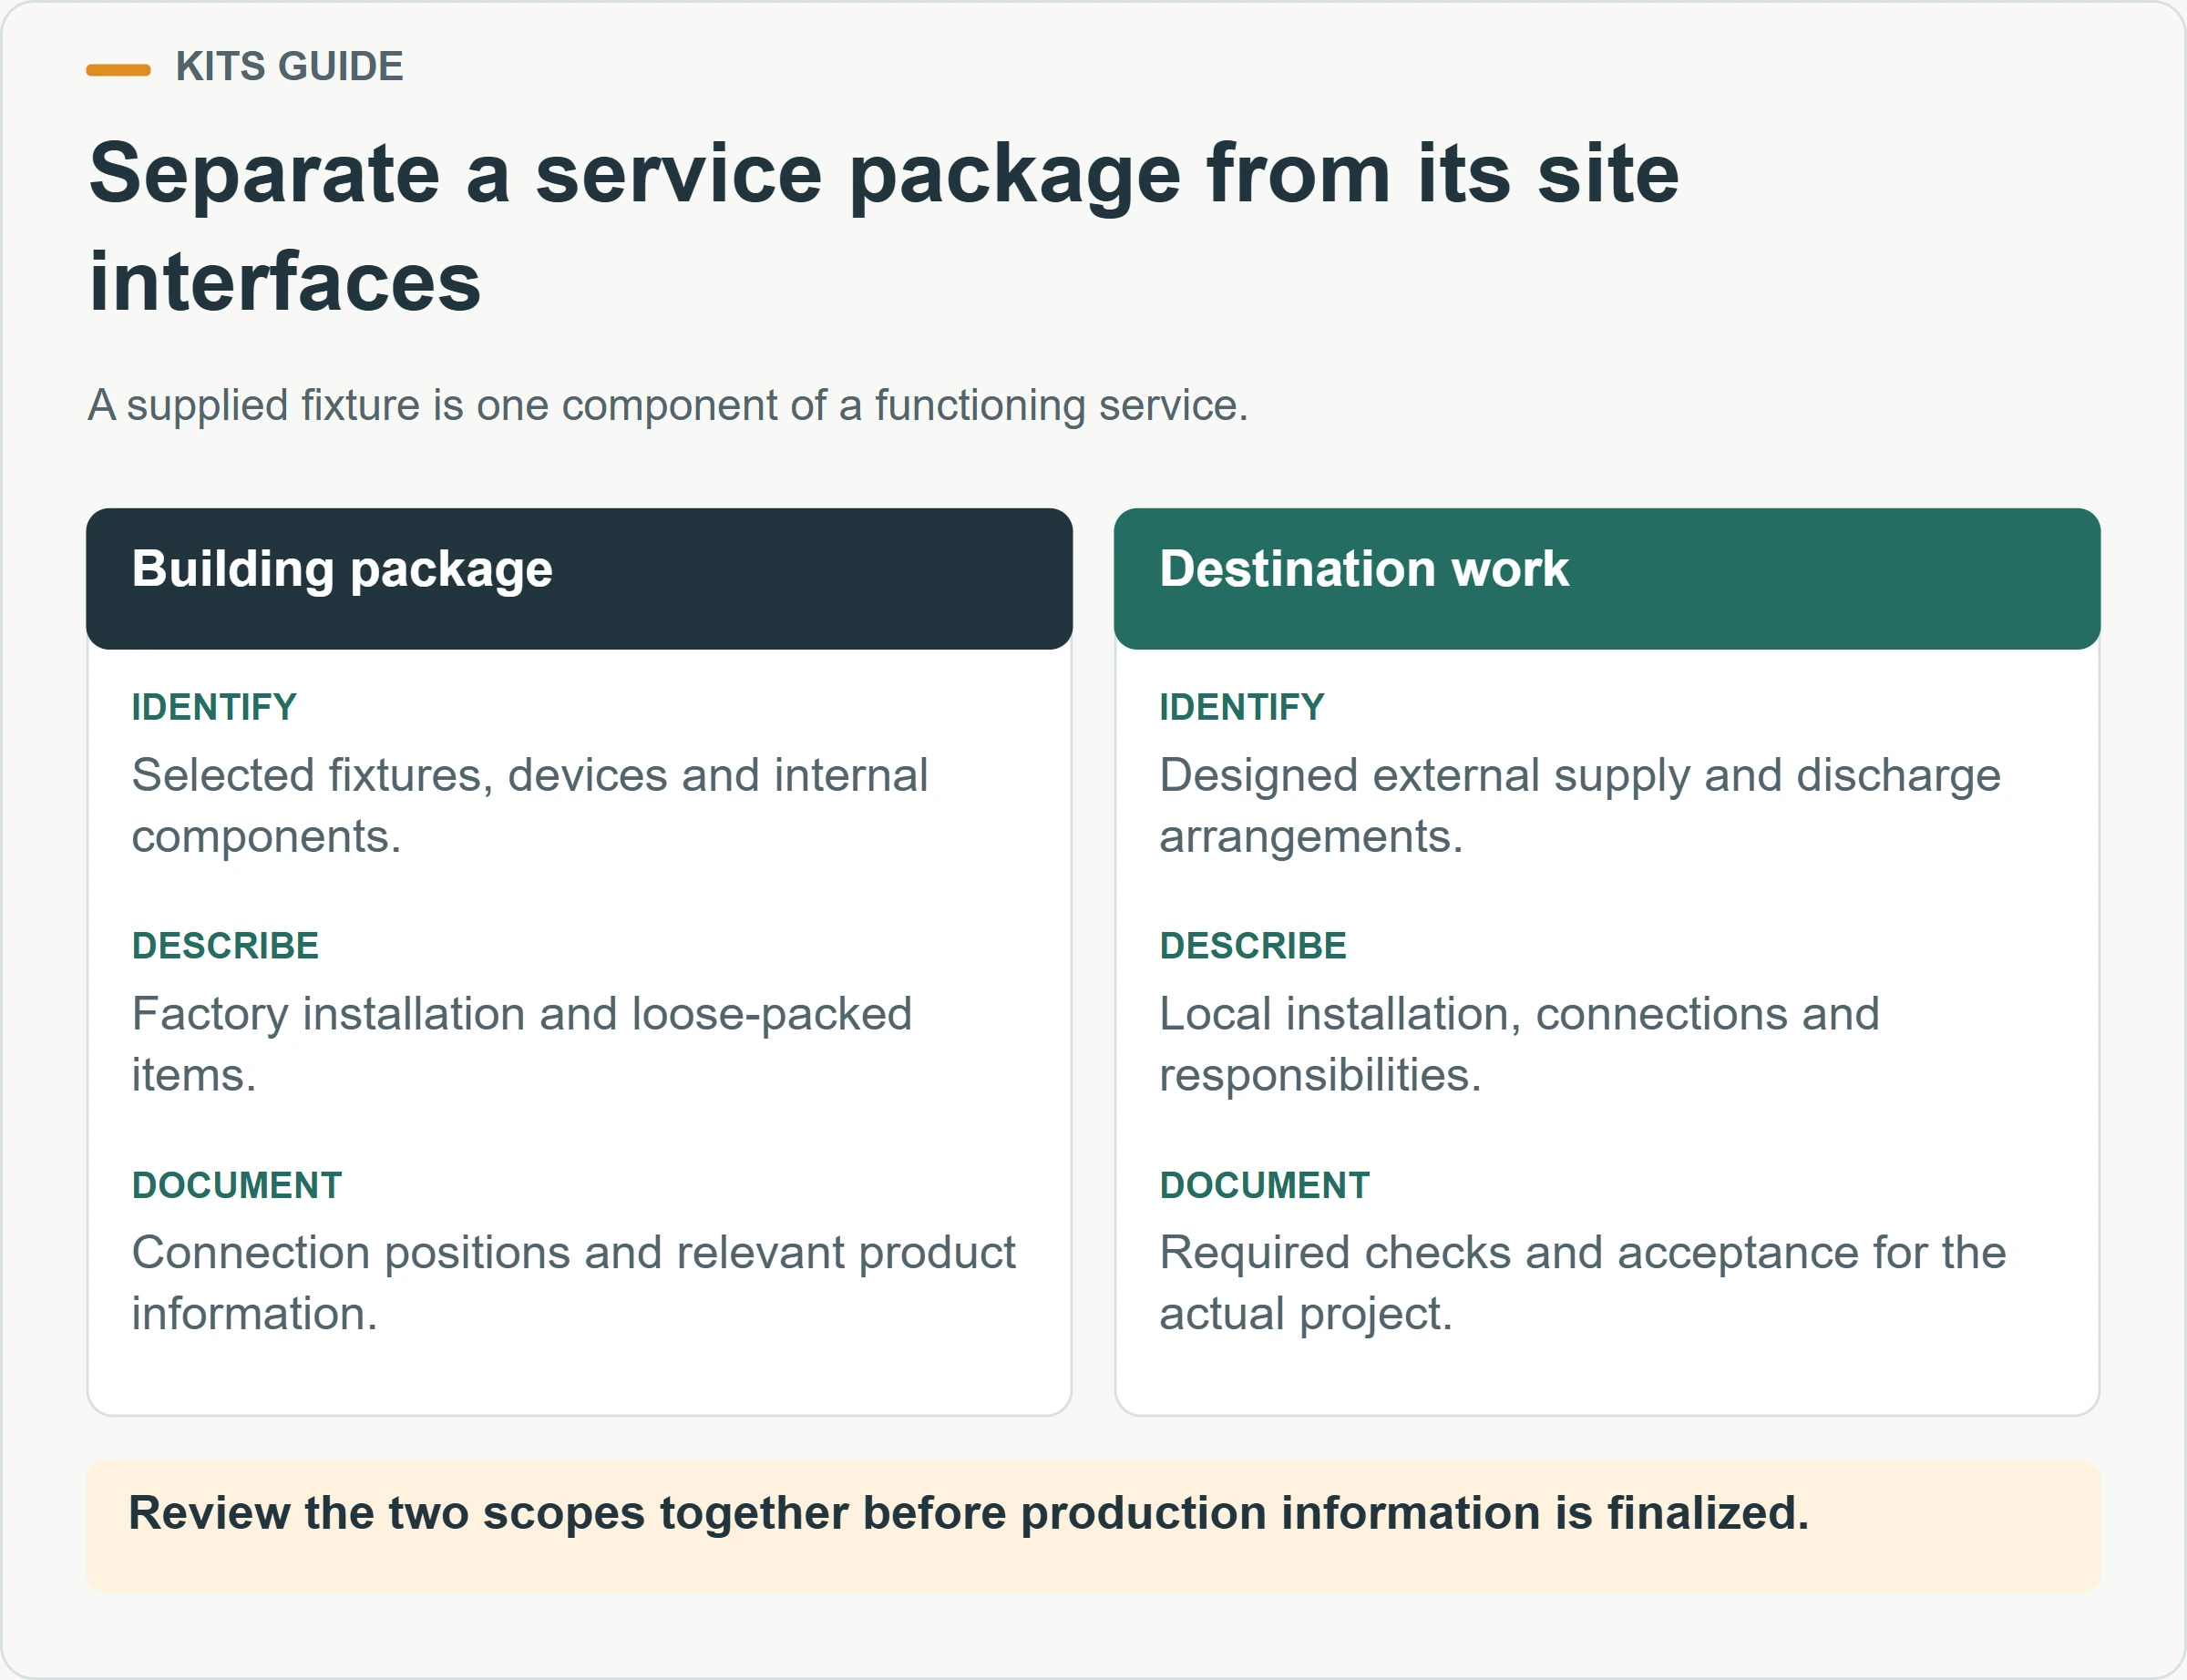
Treat each service package as a sequence of components and interfaces. Start with what the room is meant to contain, then trace how each component will become functional. Separate the fixture itself from mounting accessories, internal connections, external connections and the appropriate checks. Different parties may own different steps, but the boundary should be explicit.
For a bathroom, ask which fixtures, fittings, internal pipework and room finishes are offered. Identify where the supplied water and waste scope begins and ends. Coordinate the interface information with the destination team’s design. The existence of a factory-installed fixture does not determine the external service route, available conditions or the destination’s acceptance requirements.

For an electrical package, request the actual equipment schedule and relevant system information for local review. Identify the selected lights, switches, outlets and distribution equipment where they form part of the offer. Ask what is installed before dispatch, what is packed separately and which connections or checks remain at the destination. The responsible electrical professionals should determine suitability and complete the required work.
Equipment selection also affects the surrounding building. A proposed appliance may require space, access, supports or service provisions that a bare room drawing does not show. Review the equipment information together with the layout. If the buyer supplies equipment locally, give the supplier the relevant interface requirements before production information is finalized.
| Package description | Follow-up question | Boundary to record |
|---|---|---|
| Bathroom package | Which fixtures, fittings and finishes are actually selected? | Supplied assemblies and water/waste interfaces |
| Electrical package | Which devices and factory work are identified? | Internal work, incoming supply and destination checks |
| Air-conditioning option | Which equipment and installation activities are included? | Building provisions, connections and commissioning |
| Furniture package | Which pieces, quantities and mounting arrangements are selected? | Loose furniture, fixed items and local installation |
| External accessories | Which drawing defines their relationship to the building? | Accessory supply, support and adjacent site work |
How should packing documents support the installation plan?
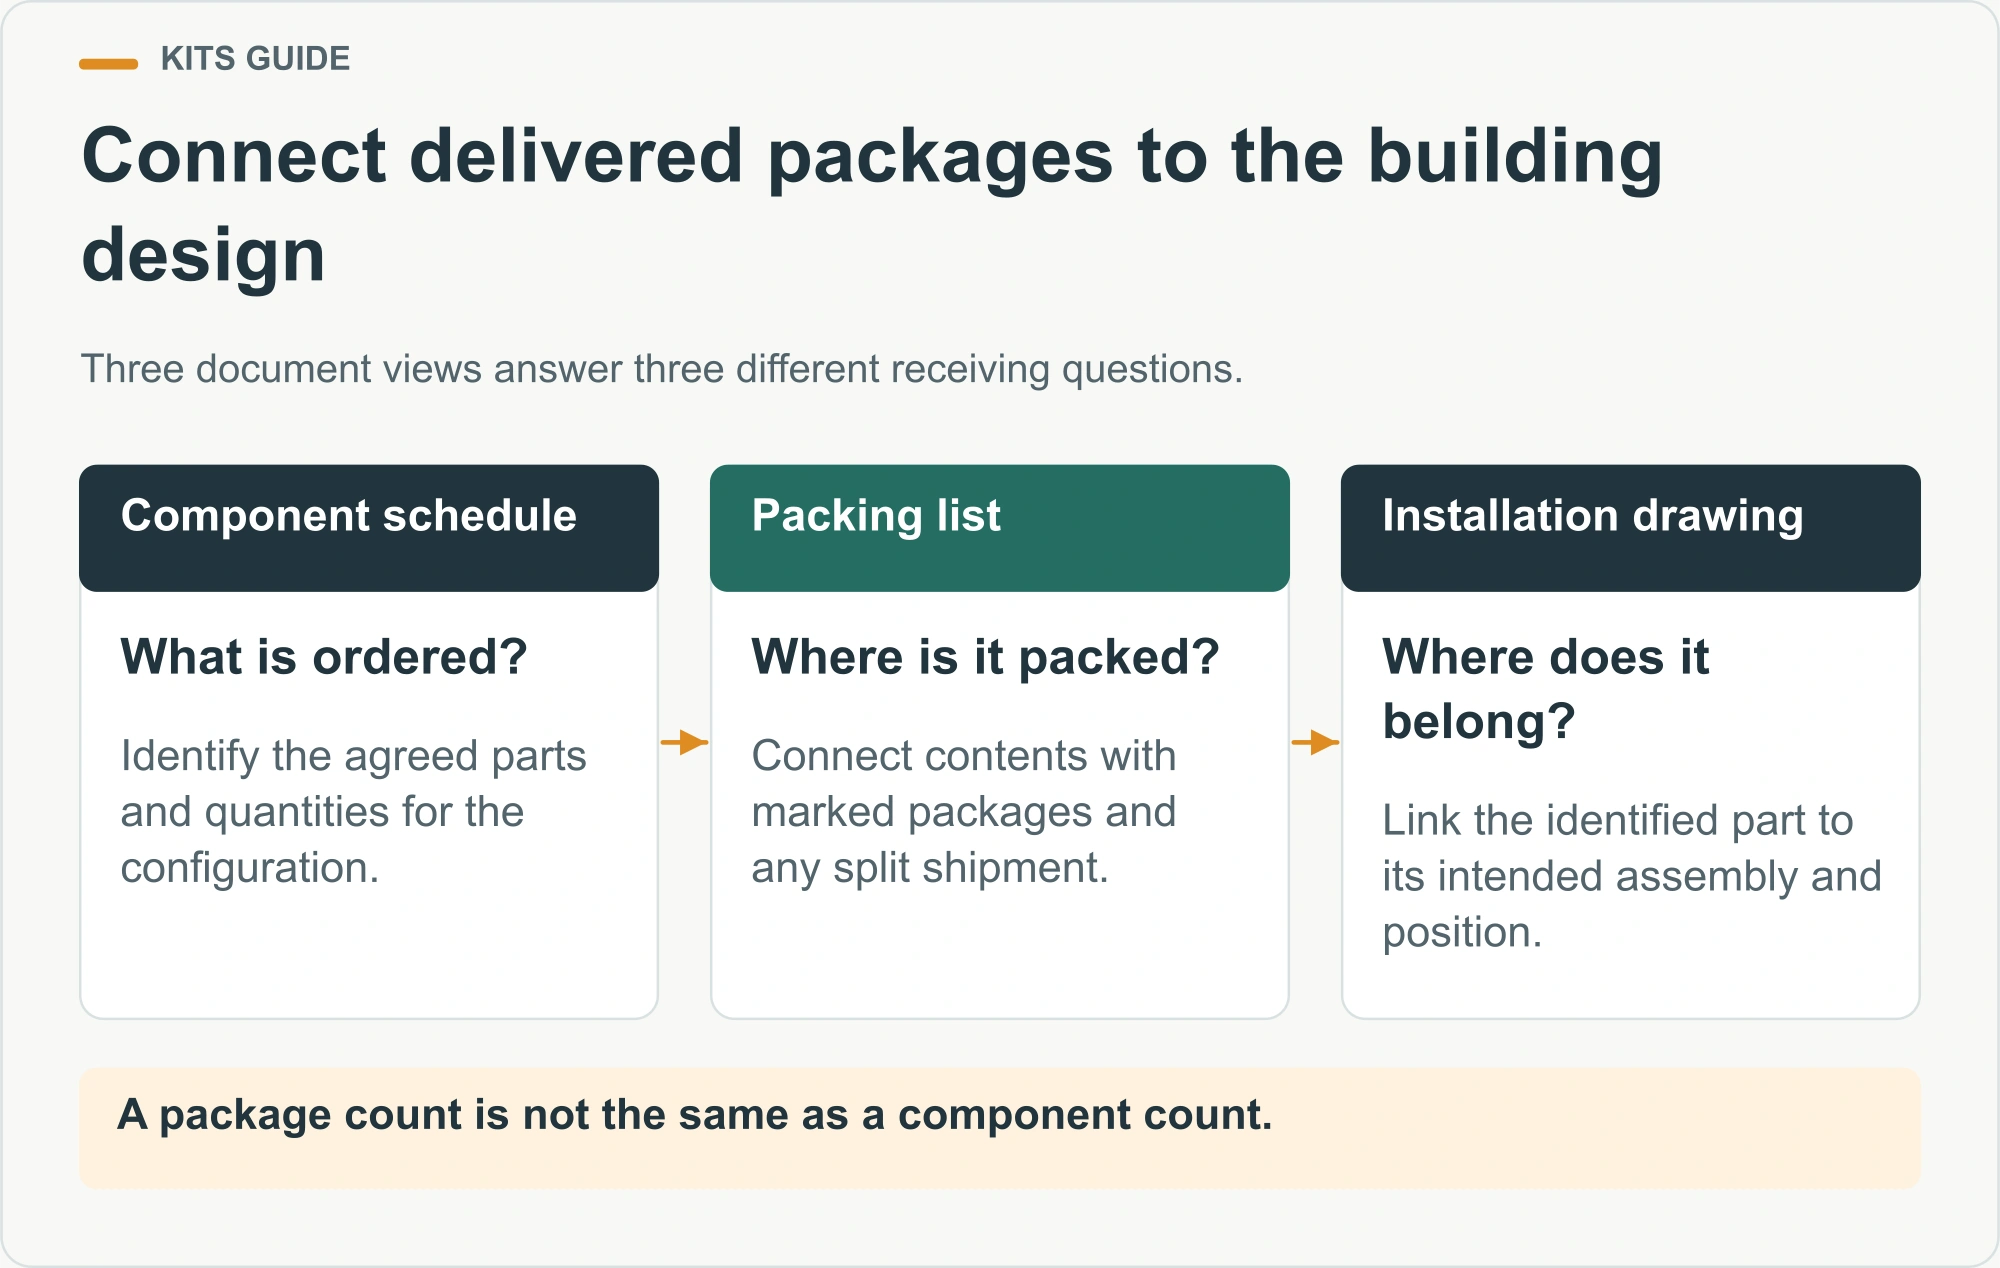
A packing list should help the receiving team connect delivered packages to the ordered building configuration. Ask how packages are marked and how the list identifies their contents. A shipment containing several room variants needs a way to distinguish shared components from parts belonging to a particular layout or unit.
Discuss the receiving sequence with the installation team before finalizing the shipment arrangement. They need to understand which packages are required for the first planned work and how the others will be protected and stored. The supplier should provide the appropriate handling and storage information for its products; the destination team should plan the actual facilities and operations.

The packing list and the bill of materials serve related but different purposes. The component schedule describes the agreed building content. The packing list describes what is assigned to delivered packages. The installation drawing explains where the relevant components belong. A useful document set allows the team to move between these views without guessing that package count equals component count.
If a package contains parts for more than one unit, make that relationship visible. If a component travels separately from the main kit, identify its shipment and expected availability. Record any agreed split delivery before work starts. Otherwise, a receiving team may mistake a planned later shipment for a shortage or begin work without a component needed to complete the next stage.
What happens when a discrepancy is found?
Use the agreed receiving procedure to record the package identity, expected item, observed condition and relevant photographs. Notify the responsible contact and keep the affected work’s status clear. The appropriate response may be clarification, replacement, an approved alternative or a revised sequence. It should not be an unrecorded substitution made simply to keep the installation moving.
Keep a discrepancy open until the response has been implemented and checked. Receiving a replacement dispatch notice is different from receiving the correct replacement at the site. The record should identify what resolved the issue and whether the relevant drawings or instructions changed. This helps both the buyer and supplier distinguish a closed item from a promise still in progress.
How do you compare kit offers without comparing unlike scopes?
Compare the intended completed function first, then identify what each offer contributes to it. Use the same layout, selected equipment and scope questions for every proposal under review. Differences can then be described explicitly rather than hidden in the term standard kit. This is a practical comparison exercise, not a presumption that the more inclusive offer is automatically the better choice.
One buyer may have a capable local installation team and prefer more site work. Another may prioritize factory completion because local resources are limited. Both arrangements need clear documents and responsibilities. The useful question is whether the proposed division of work matches the buyer’s resources, destination requirements and intended schedule.

| Comparison dimension | What should be consistent | How to record a difference |
|---|---|---|
| Building identity | Intended layout and configuration | State the different model or drawing basis |
| Component content | Same functional requirements | Identify each included, excluded or optional item |
| Delivery state | Explicit factory and site work | Describe the work remaining after delivery |
| Interfaces | Same local coordination questions | Identify connection information and responsible parties |
| Documentation | Required language, format and scope | List available records and unresolved requests |
Keep optional choices outside the agreed base scope until selected. Record the option reference and any linked change to the layout, packing or installation work. When an option is accepted, update the base documents rather than leave the team to combine an old quotation with a later message. A controlled revision prevents an attractive upgrade from becoming an ambiguous order.
What should be agreed before the kit is released for production?
Agree the configuration, component scope, delivery state and current document revision. Assign the remaining local work and identify any input still required before affected production can proceed. The release decision should be based on the actual project information, including unresolved interfaces that could change the manufactured parts.
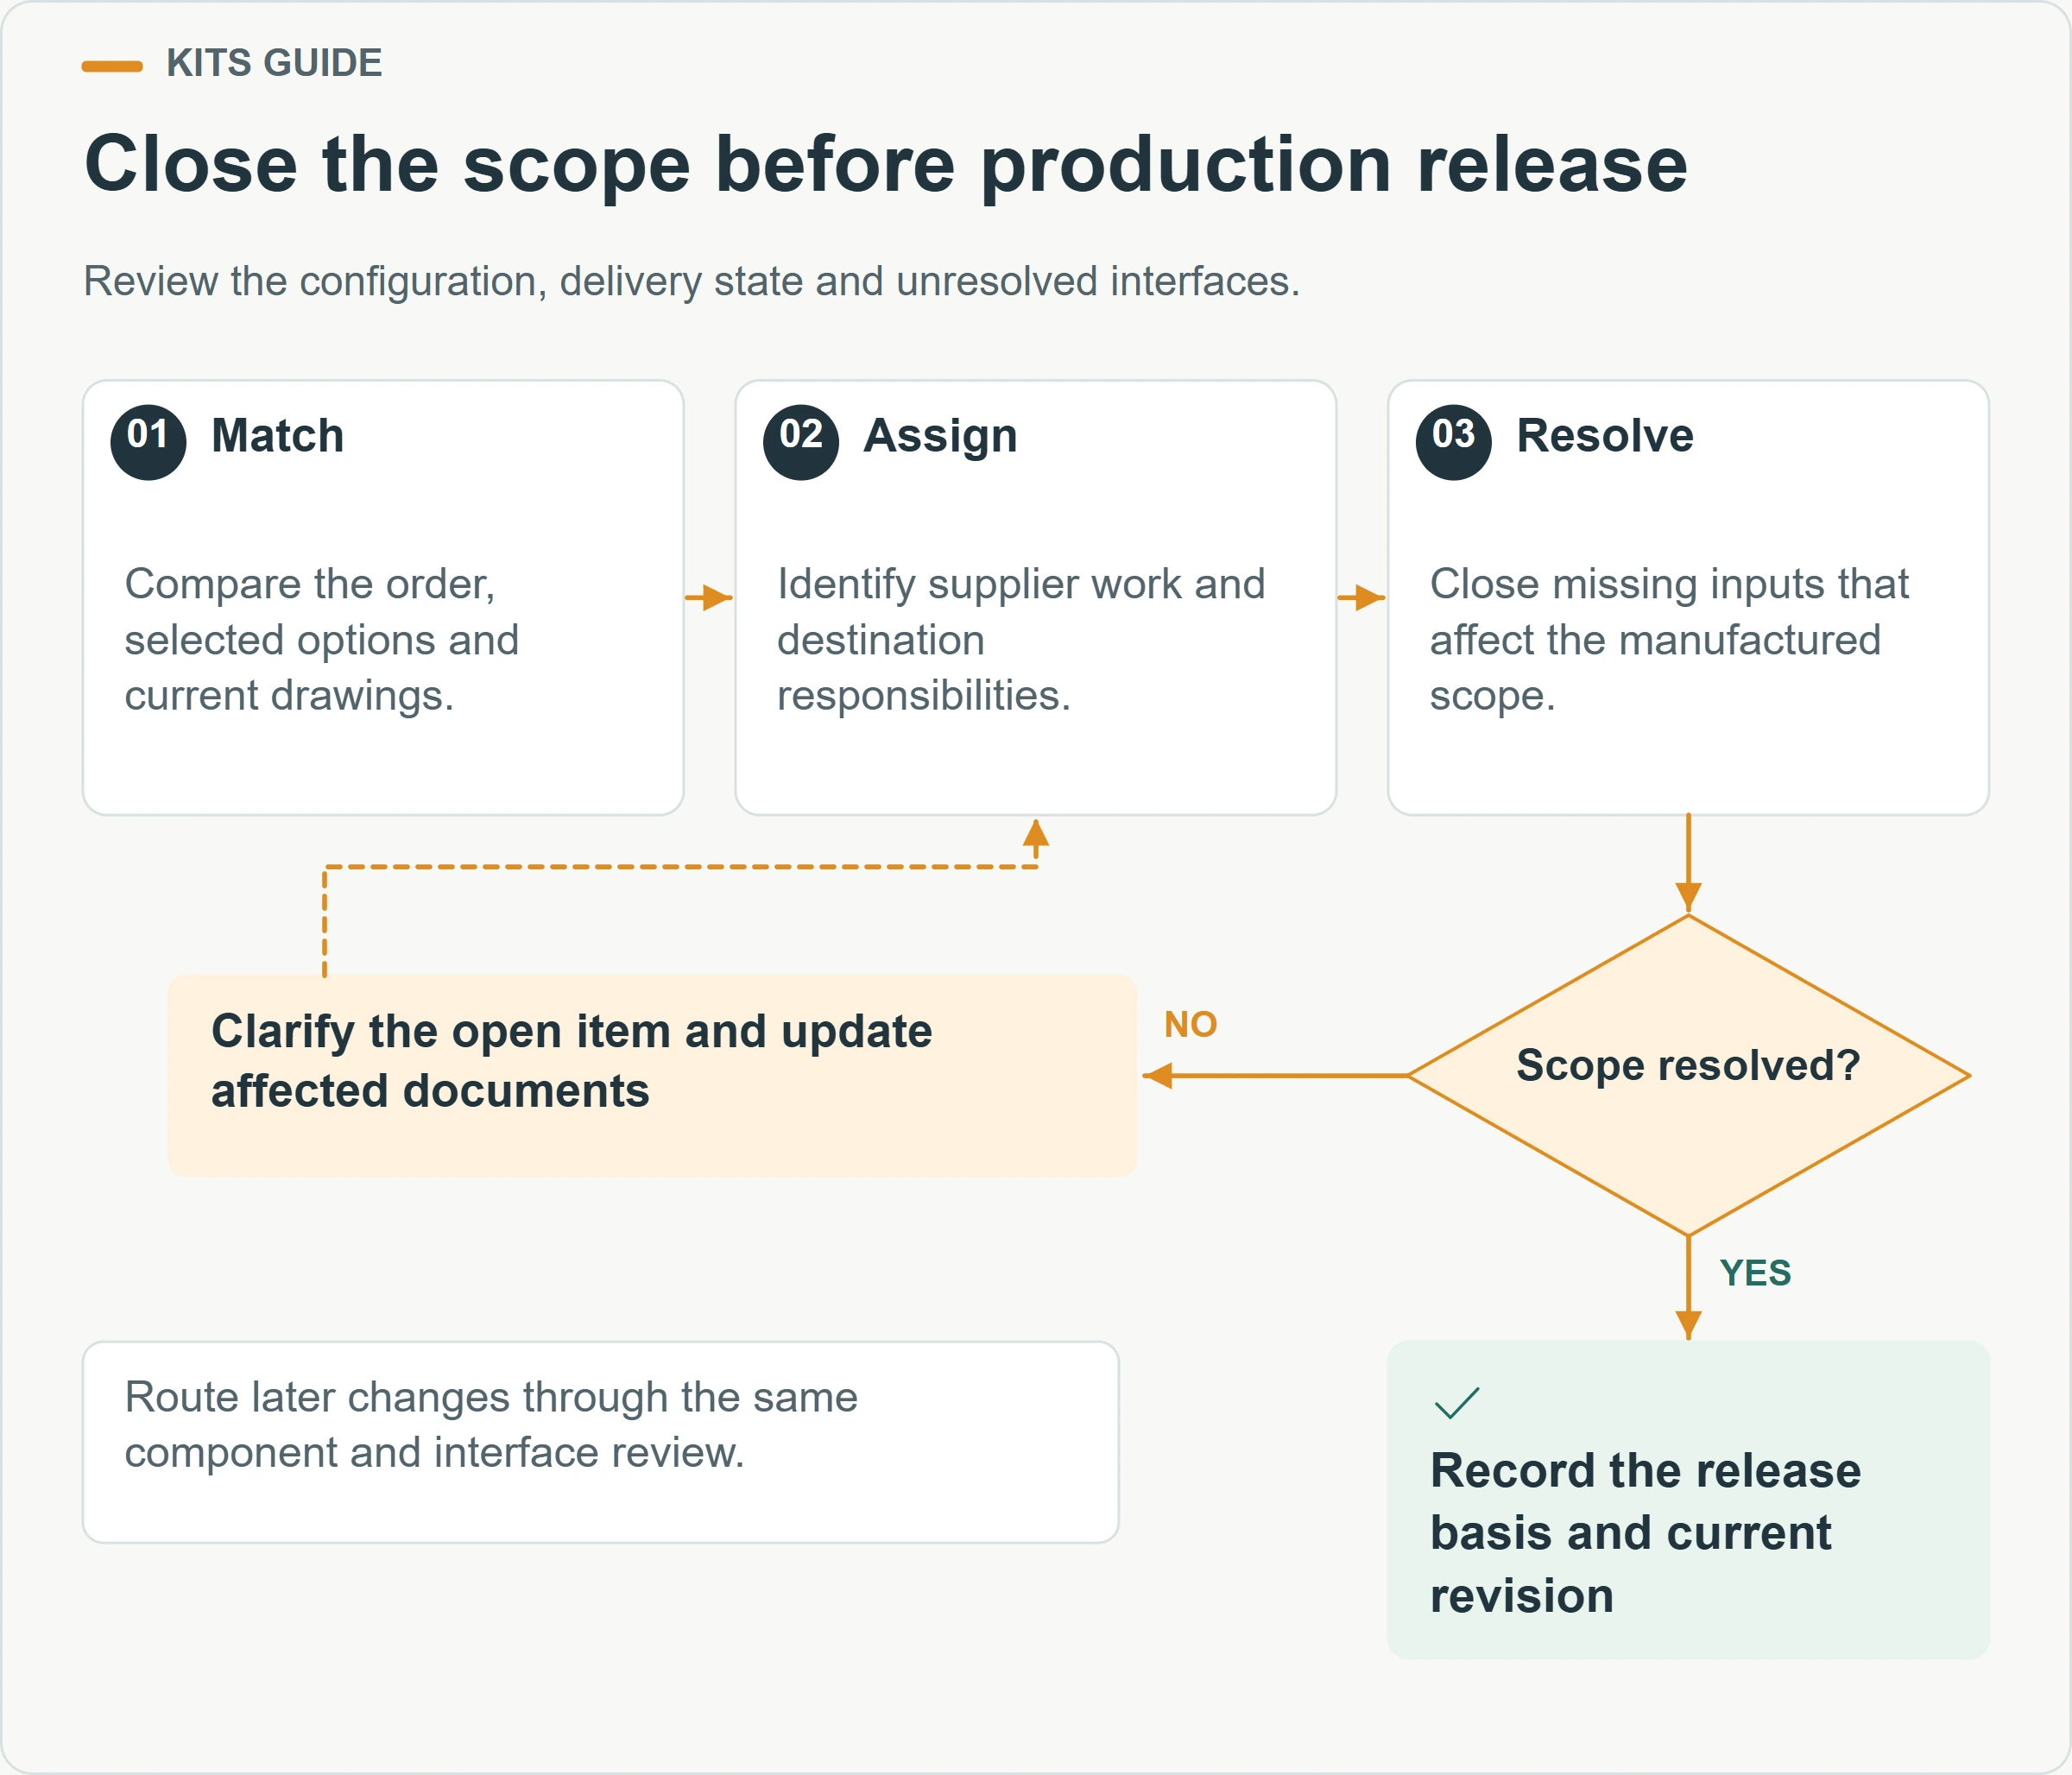
Confirm how future changes will be handled. A changed opening, fixture or accessory may affect more than its own line in the schedule. Require the responsible teams to identify the affected drawings, parts and interfaces before accepting the change. The buyer should retain a concise record of what changed and which revision now governs the order.
Does a kit purchase include site approval or permission to occupy?
Do not infer that from the product name. Establish the applicable destination approval route and the documents needed for the selected system and use. Confirm which information the supplier can provide and which work belongs to local professionals. A supplied component package and an accepted installed building are different stages of the project.
What should you send PQSE for a useful kit-scope discussion?
Send the intended use, destination, layout, quantity and available local installation resources. Mark the fixtures, finishes and accessories you expect, and explain which items you plan to source locally. Include the required document and interface questions so the proposal can identify both the offered supply and the work still to be arranged.
Review the flat-pack container house product as a starting point, then request a scope tied to your actual configuration. The goal is a package the receiving and installation teams can understand, with a clear path from delivered parts to the agreed building condition.
Request a container house kit scope review
Kit scope checklist — open the checklist
Copy these headings into your project brief. Add your own information and mark unresolved items for review.
| Record | Information to add |
|---|---|
| Included components | Frame, floor, roof, panels, openings and named accessories |
| Completion state | Factory installed, separately packed or site supplied |
| Services and options | Fixtures, equipment, connections and exclusions |
| Order reference | Quantity, model, specification and agreed revision |