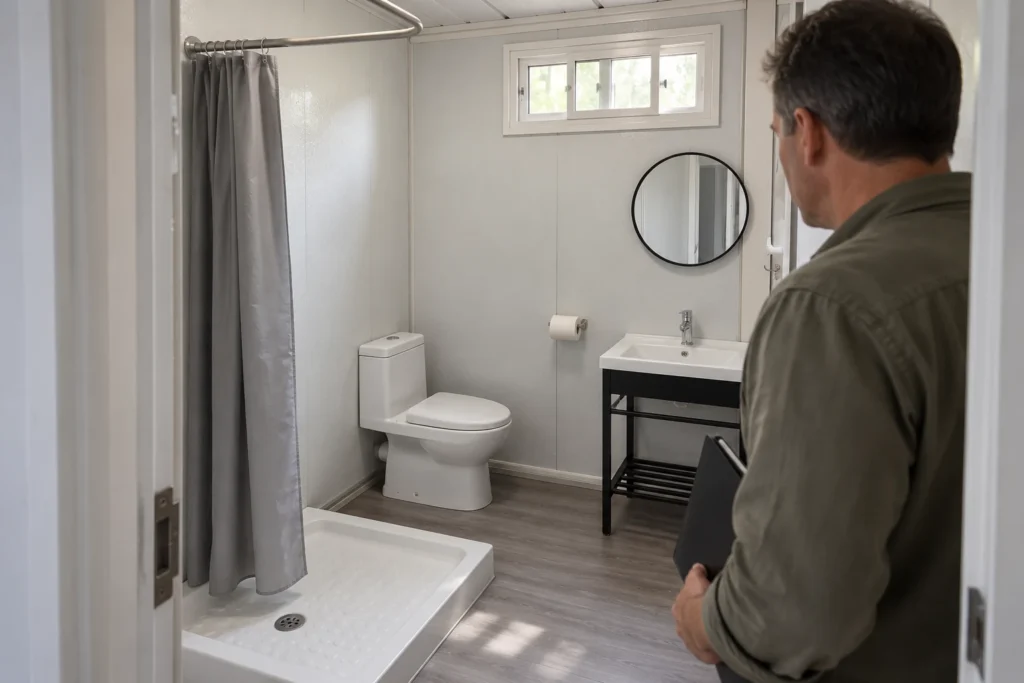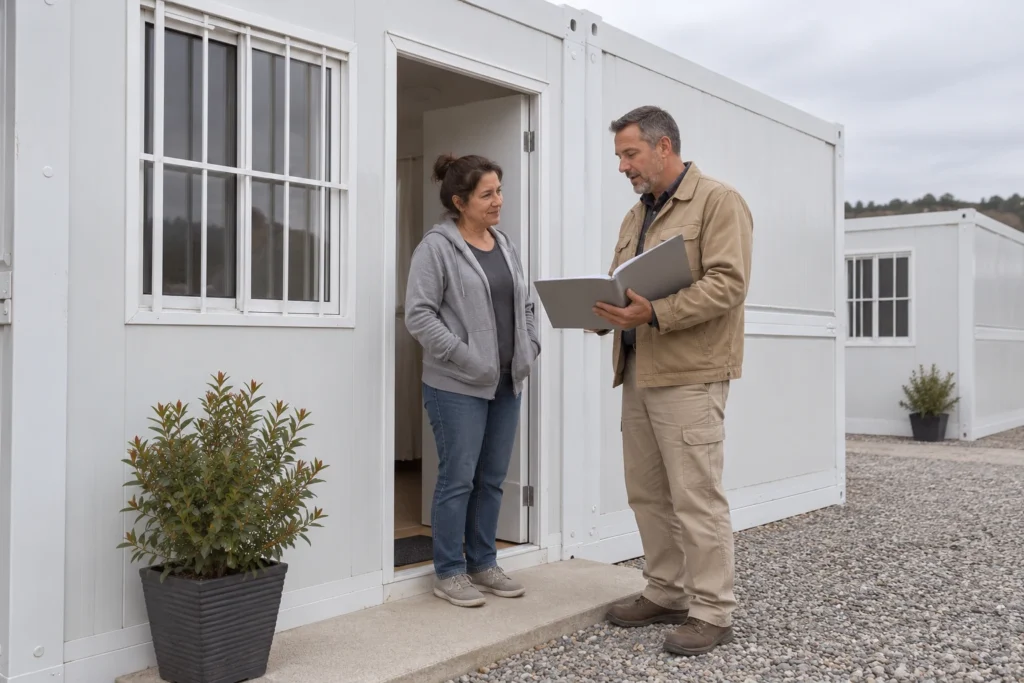
An expandable container house can be delivered in a compact state and opened into a wider building, but a small transport footprint does not make the destination site ready. Before dispatch, the buyer and installation team need to agree on a route for the vehicle and lifting equipment, an approved support layout for the selected unit, room to unfold both wings, a drainage approach, and the positions and responsibilities for power, water and wastewater connections. A delivery date should be released only when those interfaces have been checked against the latest model drawings and the actual site.
This guide is for project buyers coordinating a purpose-built expandable unit, its supplier, a local site contractor and the people who will operate the finished space. It does not provide a universal foundation design or a safe lifting plan. Those depend on the selected model, its verified loads and lifting points, ground conditions, local rules and qualified professionals. The useful output is a signed readiness record: what has been measured, what drawing controls each decision, who will do the work and what remains open.
The earlier expandable container house floor-plan guide helps compare rooms and furniture in the folded and expanded states. Here the question is different: can the chosen unit actually arrive, be placed, open, connect and remain serviceable at this site?
Treat site readiness as a series of release gates
Site readiness is not a single photograph of a level pad. It is a sequence of decisions with different owners. A site may pass a layout review but fail a vehicle turning check. It may accommodate the truck but have no safe position for a crane. The building may be placed successfully yet be unable to unfold beside a boundary wall. Finally, a physically complete unit may be unusable because the power supply or wastewater route ends in the wrong place.
For an expandable house, review five gates in order: the route to the site, unloading and placement, support and drainage, deployment clearance, and service connection and handover. An unresolved item in an earlier gate can change the method and cost of every later one. The Modular Building Institute describes site preparation, foundations, transport, setting, utility hookup and site restoration as separate elements that should appear in a defined project scope. Its guidance concerns modular construction broadly; the exact installation sequence for a PQSE unit must still come from the selected unit’s instructions and project documents. Source: Modular Building Institute.

The project lead should maintain one current readiness register rather than asking each trade to work from a different sketch. For every gate, record the drawing revision, measurement or test, responsible person, decision date and evidence file. A red item means the dispatch or installation method is not yet agreed. A green item means the relevant supplier and local team have checked it. This is a practical workflow, not a certification or an engineering sign-off.
| Release gate | What the buyer should be able to show | Decision owner to identify |
|---|---|---|
| Route and arrival | Measured access route, restrictions, delivery vehicle and booking window | Transport provider and local site lead |
| Unloading and positioning | Approved handling method, equipment position, lifting data and exclusion zone | Qualified lifting planner and installation lead |
| Base and drainage | Approved support drawing, survey, ground assessment and water-flow plan | Local engineer or foundation designer |
| Expansion | Marked open footprint, panel movement zone and working access | Supplier and installer together |
| Connections and handover | Connection schedule, inspection responsibility and recorded tests | Licensed local trades and project owner |
Start at the public road, not at the pad
The delivery path begins where the transport vehicle leaves the public route and ends where the unit can be safely unloaded. A drawing of the finished building does not prove that a truck can pass a narrow entrance, turn without striking a wall, cross a weak culvert or stop on ground that supports the handling operation. Ask the transporter for the actual vehicle and packed-load dimensions before checking the route. Model labels such as 20 ft or 40 ft do not settle height, weight or turning geometry for a configured shipment.
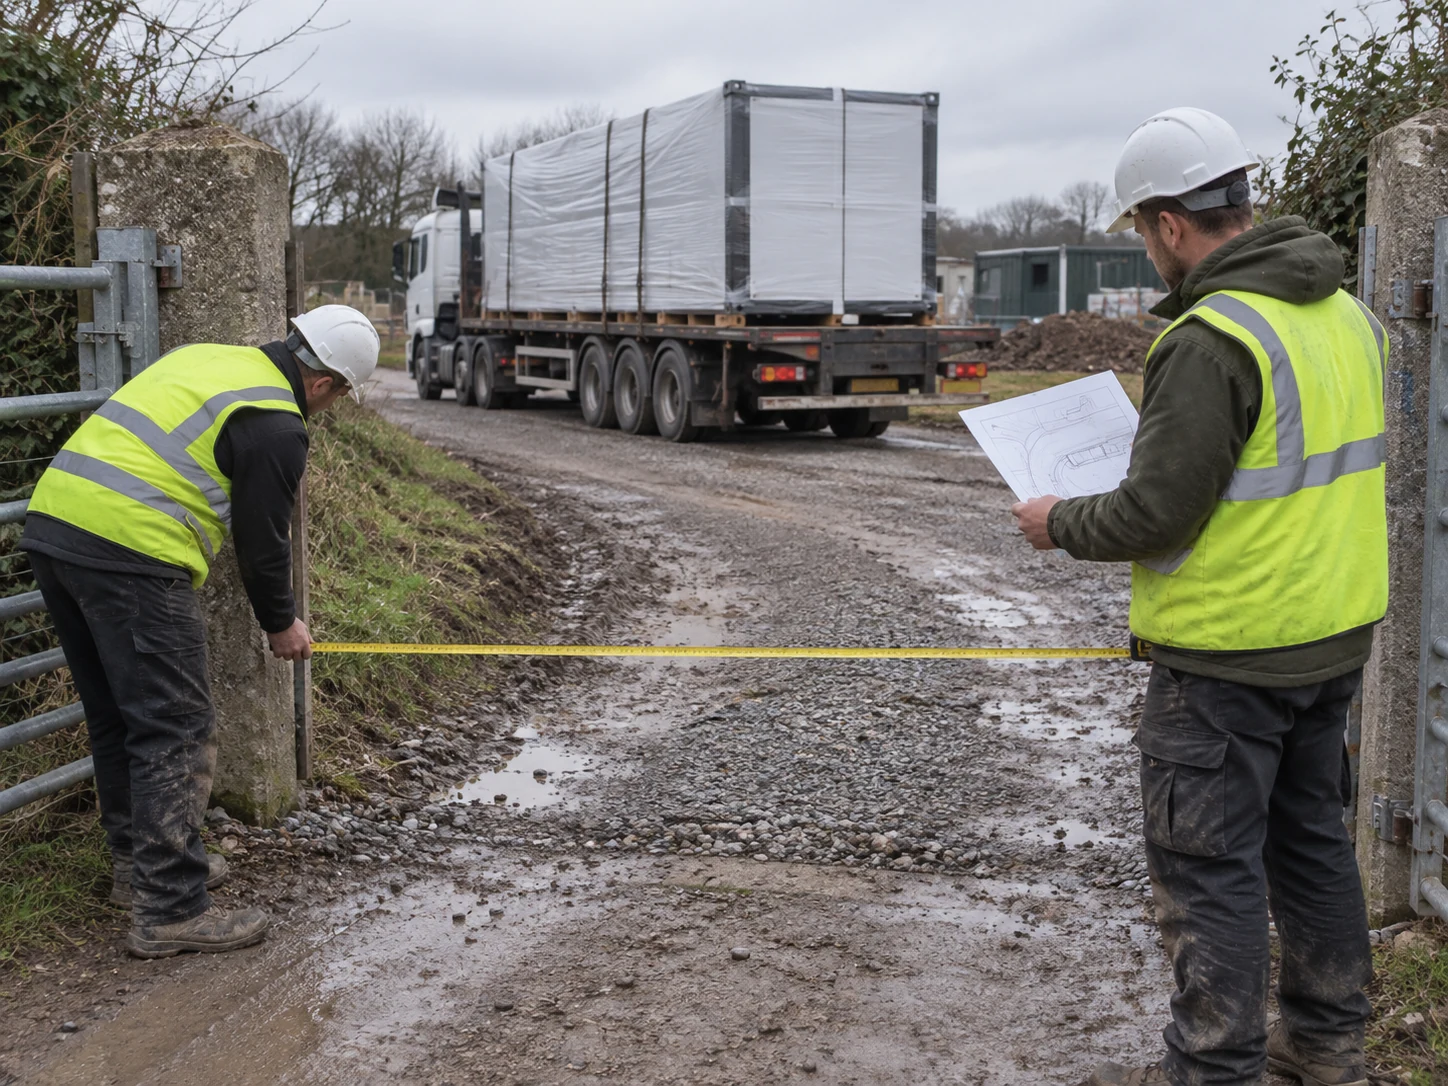
Walk or survey the route with the local transport and site teams. Record gate clear widths, changes in level, tight corners, overhanging trees, signs, cables, neighboring property constraints, surface condition and seasonal waterlogging. Identify where a truck can wait and whether reversing is permitted. If a road is shared with residents, workers or operating equipment, agree on delivery hours, spotters and temporary segregation. A distant or difficult unloading point may add a second handling step, which belongs in the method statement and quotation rather than appearing as a surprise after arrival.

The container house loading and international shipping guide explains the earlier shipping and packing decisions. The destination check should pick up where those decisions end: confirm the final packing list, protection, gross weights and unloading sequence for the specific order. A container-house kit, loose fittings and a preassembled expandable unit can require different handling. Do not infer a lifting point from a generic product photograph.
Separate vehicle access from lifting access
A vehicle may reach a pad while the lifting equipment cannot. A crane needs a position with suitable ground and reach; a forklift or telehandler needs its own route and rated capacity for the actual load and load center. Overhead services, buried utilities, nearby excavations and slopes can change whether the planned equipment is appropriate. The equipment provider and a qualified lifting planner should define the lift, including support or outrigger conditions and an exclusion zone. The supplier should provide verified lifting information for the selected unit. This article cannot assign a universal crane size, personnel count or safe distance.
If the original method fails, hold the delivery decision. A short delay to agree a different route or machine is preferable to an improvised lift around a building, power line or soft verge. Record the revised method and who accepted it. The same evidence is useful when comparing quotations: transport, unloading, placement and deployment should be separate line items, not one ambiguous promise to “install on site.”
Design the supports for the selected opened unit
Support design follows the actual load path of the selected expandable system and the ground below it. The center box and the two opened wings may transfer loads through different points. Their supports must be located and set to the model-specific drawing; a generic grid of blocks placed by eye does not establish alignment or long-term performance. The local designer must consider soil conditions, site grading, frost or flood exposure where relevant, duration of use, anchoring requirements and local approvals.
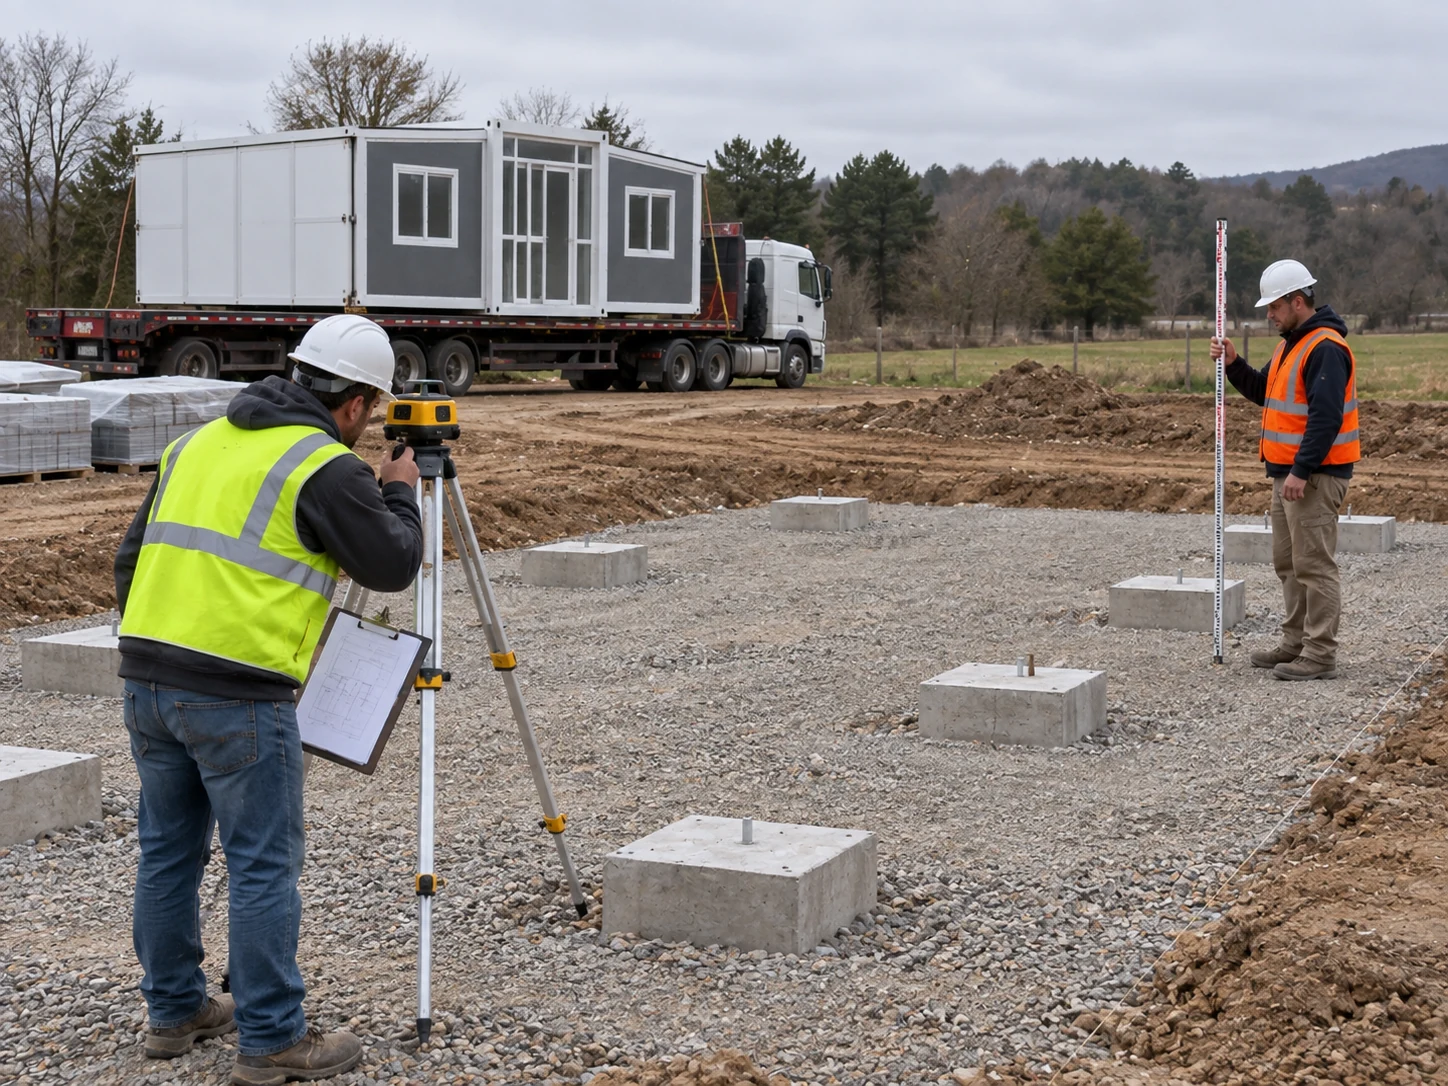
Obtain the latest general arrangement, support layout, foundation reaction information if available, opening sequence and installation tolerances from the supplier. The local engineer or contractor should compare those with the survey and ground investigation. If an existing slab or platform is proposed, do not treat its presence as proof of suitability; confirm its condition, dimensions, level, bearing arrangement and any required connections. If a removable or adjustable base is proposed for a temporary site, document how its level and stability will be checked after use begins.

Another expandable-house supplier publishes reference pad counts and relative heights for its own models, while explicitly saying actual foundation arrangements depend on ground, drainage, slope and local requirements. Those figures are not PQSE specifications and should never be copied into a PQSE tender or site drawing. The transferable lesson is to request a project-specific support drawing before construction. Source: UMD House installation guide.
Survey the as-built base before dispatch
The base should be checked after construction, not only approved on paper. Record position, level, support elevations, intended anchor locations and access to connection points against the accepted drawing revision. Photograph and date the as-built condition. Where concrete or other work needs curing or verification, the local professional should define the release criterion. Do not book an expensive arrival based on an unverified promise that the base will “probably be ready.”
Ground changes during a project. Rain, adjacent excavation, backfilled trenches or heavy vehicles can alter a previously acceptable access or support condition. Reinspect after a significant change and record who decided that the installation may proceed. If the base does not match the supplied unit’s support arrangement, stop and resolve the discrepancy through the designer and supplier rather than adding unapproved shims or moving pads while the unit hangs in a lift.
The general container-house installation guide follows the broader sequence from site preparation through handover. Expandable units add a separate deployment geometry that must be checked before either the base or nearby works are finalized.
Give surface water a route that does not use the building
A prepared site needs more than a level support plane. Surface water should drain away from the building, its supports and the working area without discharging into a neighbor’s property or undermining an access route. The local drainage plan should show finished ground levels, low points, runoff direction, any channels or outlets and how these will be maintained. A unit set in the lowest part of a yard may be easy to place and difficult to operate after the first heavy rain.
Check both construction-stage and occupied-stage water paths. Packaging, temporary stockpiles and vehicle ruts can block a planned route during installation. Later, stairs, skirting or landscaping can change how rainwater moves around wing supports and under the unit. If the site has flood, coastal or freeze-thaw exposure, the designer should address those conditions in the project-specific base and drainage solution. Avoid a blanket claim that a gravel layer or a single foundation type works everywhere.

Keep drainage distinct from wastewater. Rainwater management concerns the site surface and roof discharge. Wastewater requires a designed, approved receiving system and correctly placed, accessible connections. Treating the two as one trench or one arrow on a layout can hide a serious interface problem.
Mark the full deployment and working envelope
The unfolded building footprint is wider than the transport package, and the space needed for safe installation can be wider again. On the current site plan, draw the compact placement position, final outside edges of both wings and the working envelope specified by the installer. Include roof and wall sweep paths during opening, temporary props or tools, door and window movement, access steps, utility equipment and a path for later inspection. Use the actual approved drawings rather than a brochure image.
Mark that outline physically on the ground before delivery. A string line, paint line or survey stakes can reveal a conflict that is easy to miss on a screen: a fence on one side, a retaining wall on the other, a low eave, a tree canopy or a service cabinet inside the wing movement zone. Check vertical clearance as well as floor area. If the site has several units, repeat the envelope check for each location and for the delivery route between them. One unit that opens into another unit’s working space is not a complete layout.

The expandable product page explains that the folded delivery dimensions and expanded use dimensions must both be reviewed. Its illustrations are discussion aids. The selected model drawing, including packed dimensions, final footprint and connection details, should control the field marking. The floor-plan guide is useful for room decisions, but a good room plan cannot repair missing physical clearance.
Keep future maintenance reachable
The minimum space to open the unit may not be enough to inspect seals, supports, water outlets, exterior equipment or service shutoffs later. Ask the installer and operator where a person must stand to inspect, clean or repair each interface and where access equipment could safely go. A boundary line or neighboring structure that just clears the wings today may make ordinary maintenance impossible. Put that access in the site plan before pouring permanent paths or installing fences.
Do not place utilities where they will be trapped under a wing or hidden by a step after opening. Mark isolation points and service panels on the same plan as the final footprint. This also helps the owner understand what is and is not included in the supplier’s package.
Coordinate utilities as interfaces, not product accessories
A factory-wired light or a bathroom shown in an illustration does not mean the destination site has a compliant electrical supply, safe water, a wastewater route or inspection approval. Identify each interface by its exact location, service requirement, supplier scope, local contractor scope and required test. Start with the selected quotation and drawings. If an item is optional or shown only for illustration, have the supplier state whether it is included in this order.
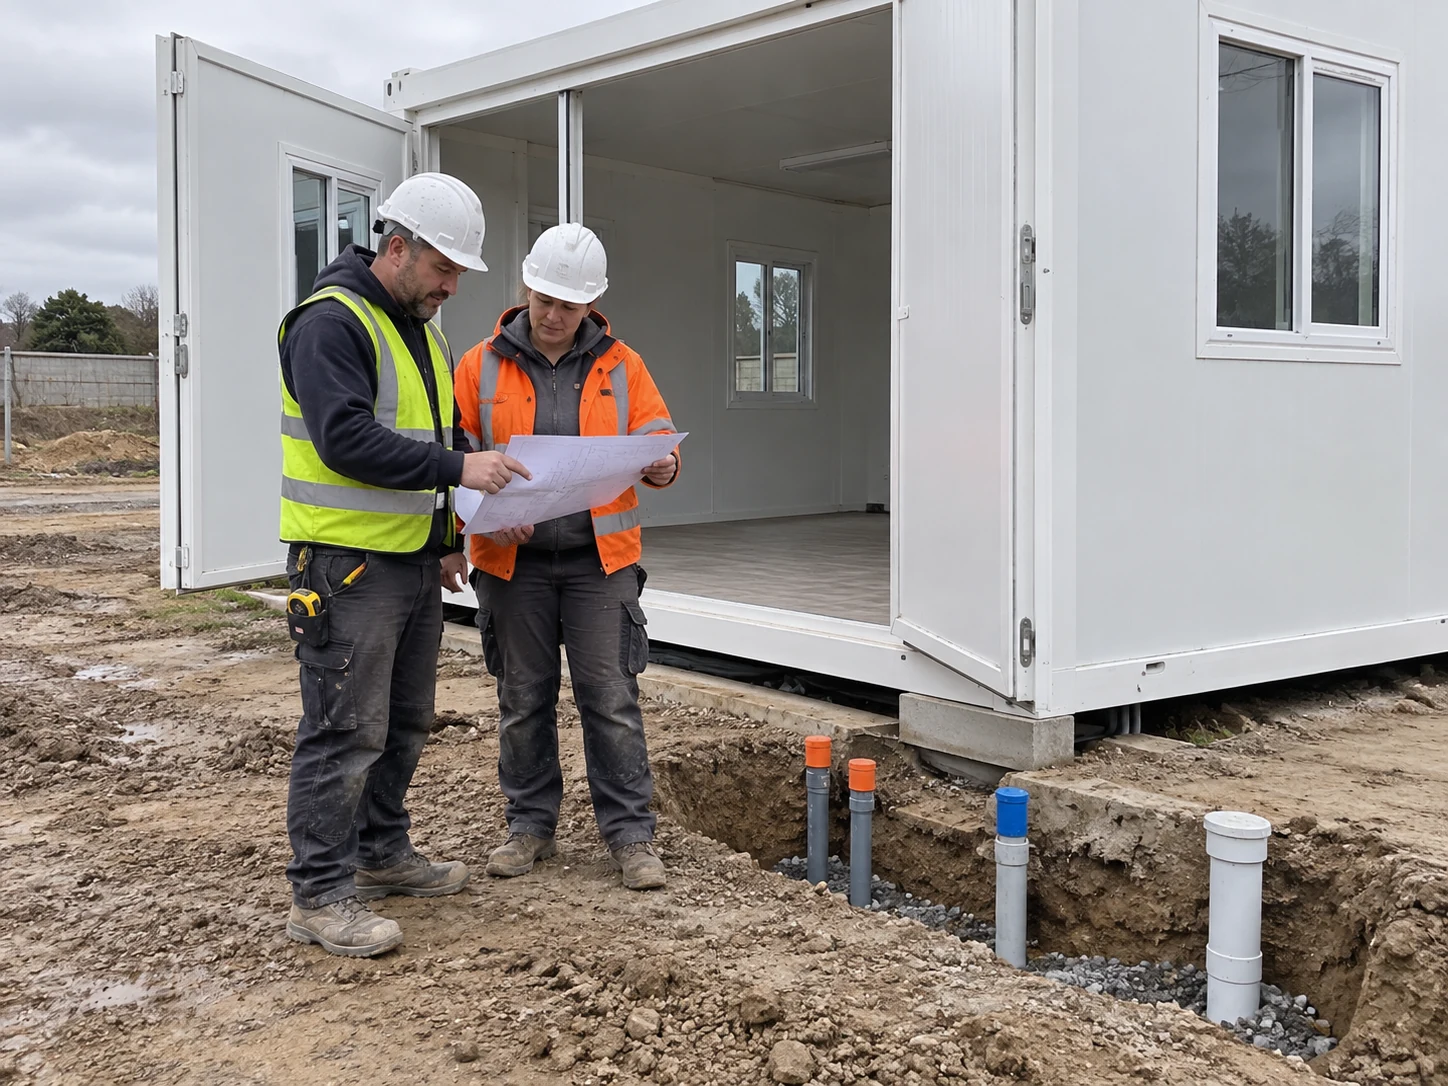
For power, obtain the confirmed electrical schedule and the local supply characteristics. The local qualified designer or electrician should determine the connection, protection, earthing or grounding and inspections required in the destination jurisdiction. For water and wastewater, confirm the inlet and outlet positions, available pressure or receiving system, pipe routes, isolation and access for maintenance. For cooling or ventilation equipment, determine whether equipment and external units are factory supplied, site supplied or excluded. Do not assume a completed internal fit-out includes every external connection.

The modular-building utility planning guide provides a fuller interface register for electrical, water, drainage, ventilation and communications. The expandable-unit readiness meeting should translate that register into exact field positions and handover tests. The Modular Building Institute likewise identifies factory/site utility tie-ins and structural connections as points where unclear responsibility can create rework; its examples concern other modular systems, so use the coordination principle rather than its project-specific numbers. Source: Modular Building Institute.
| Interface | Drawing or record to agree | Question that closes the gap |
|---|---|---|
| Power | Selected unit electrical schedule and site supply plan | Where does factory work end, who connects, and who tests? |
| Water | Fixture schedule, inlet position and local supply plan | Is the available supply suitable, and who provides isolation? |
| Wastewater | Outlet elevation, route and approved receiving system | Can flow and servicing work after the wings are open? |
| Climate equipment | Equipment list, outdoor location and service access | Which equipment is supplied and who commissions it? |
| Communications | Needed service, pathway and entry point | Is this included, optional or a local separate contract? |
Resolve permits and use before treating the date as firm
The intended use of the building can change what the destination authority requires. A temporary site office, private accommodation unit, public-facing room or worker camp room may trigger different reviews of location, foundation, fire safety, accessibility, sanitation or services. The exact requirements depend on the jurisdiction and project. Neither a factory brochure nor a blog article can issue that approval. Ask the local design and approval team to identify the applicable path early, then share those requirements with the supplier before finalizing the specification.
The container-house permits and codes guide organizes questions to resolve before ordering. Use it to assign owners, not to assume that a permit from one country applies elsewhere. If the project is still comparing different building systems, the container-house product range may help identify alternatives that fit the site, but changing the product type still requires a new review of transport, support, services and approval.
Set a release rule for shipment and installation. The local project lead should know which approvals, inspections and site evidence must exist before transport is booked and which can properly occur after installation. A delivery slot is a logistics event; it is not permission to occupy the building.
Use one responsibility matrix for price and execution
Many site disputes start with an undefined verb: “provide,” “install,” “connect,” or “commission.” For every item, separate supply, delivery, unloading, placement, installation, connection, inspection and operation. One company may cover several steps, but the quotation should say so. A buyer can then compare two offers without treating different scopes as the same price.
For example, an offer for an expandable house may include the unit and packed transport to a destination port. The buyer may still need inland transport, lifting equipment, engineered supports, local labor, licensed service connections and inspection. Another offer might include part of that work. The container-house cost guide helps keep product, shipping and site costs in the same comparison. Use a project-specific schedule of responsibilities rather than a generic allowance copied between sites.

The matrix also needs a revision owner. If a door position, bathroom layout, equipment list or model size changes, the support and service drawings may need a new check. Record what changed, what drawings were superseded and who accepted the new field plan. Do not let a transport booking freeze the site to an obsolete model.
Hold a pre-delivery review with evidence, not reassurance
Before dispatch, bring the supplier, transport provider, local site lead, installation team and service contractors into one review. Use the current drawing set and a short evidence pack: route survey, packed-load data, lifting method, base survey, drainage plan, marked expansion outline, utility schedule and approvals status. Ask each owner to confirm what is ready, what remains open and the consequence of proceeding with an open item. A meeting note should distinguish a genuine acceptance from a target date.
A useful readiness decision is go, go with a controlled condition, or no-go. A controlled condition is appropriate only when the responsible professional can define the remaining work, deadline and safe limit. An unresolved lifting method, unverified base or obstructed wing movement is not a minor cosmetic item. Recheck the site after major rain, excavation, route changes or a model revision. Keep the evidence with the final handover record so later maintenance staff can see the as-built decisions.

At handover, compare the installed unit with the approved drawings and agreed scope. Record support and connection checks, doors and windows operating after deployment, visible joint and drainage condition, service tests, outstanding defects and the documents delivered to the owner. A successful opening demonstration is only one part of a usable building; the owner also needs a clear record of how to isolate, inspect and maintain it.
Questions buyers should ask before committing
Can an expandable house be placed on any flat surface?
No. A surface that looks flat does not prove adequate bearing, correct support positions, drainage, anchoring or compliance. The selected unit drawing and the local site assessment must determine the base. An existing slab or gravel area can be considered, but it needs the same check as a new foundation.
How much space is needed around the unit?
Use the actual folded, expanded and installation envelopes for the selected model. Add the space needed for vehicle movement, unloading, worker access, doors, steps, service equipment and future maintenance. There is no reliable universal side-clearance figure for every supplier and configuration.
Should services be installed before the unit arrives?
Their routes and connection points should be designed and coordinated before arrival. Some works can be completed later, but the schedule must identify who supplies, connects, tests and approves each service. Do not bury a line or fix an outlet position until the final unit drawing and site plan agree.
What if the delivery route is too narrow?
Ask the transport and installation teams to assess another vehicle, unloading location or staged handling method against actual load data and site conditions. That may change the price and schedule. Do not assume the compact shipping state guarantees access or improvise lifting after the truck has arrived.
What should PQSE receive with an enquiry?
Send the intended use and destination, selected or candidate model, site plan and photos, measured route restrictions, ground and drainage information, preferred location, required services and target date. Ask for the relevant model drawing, packed-load details, support and expansion requirements, supply boundary and installation documents. PQSE and the local project team can then discuss an actual configuration rather than a size label. For a coordinated proposal, contact PQSE.