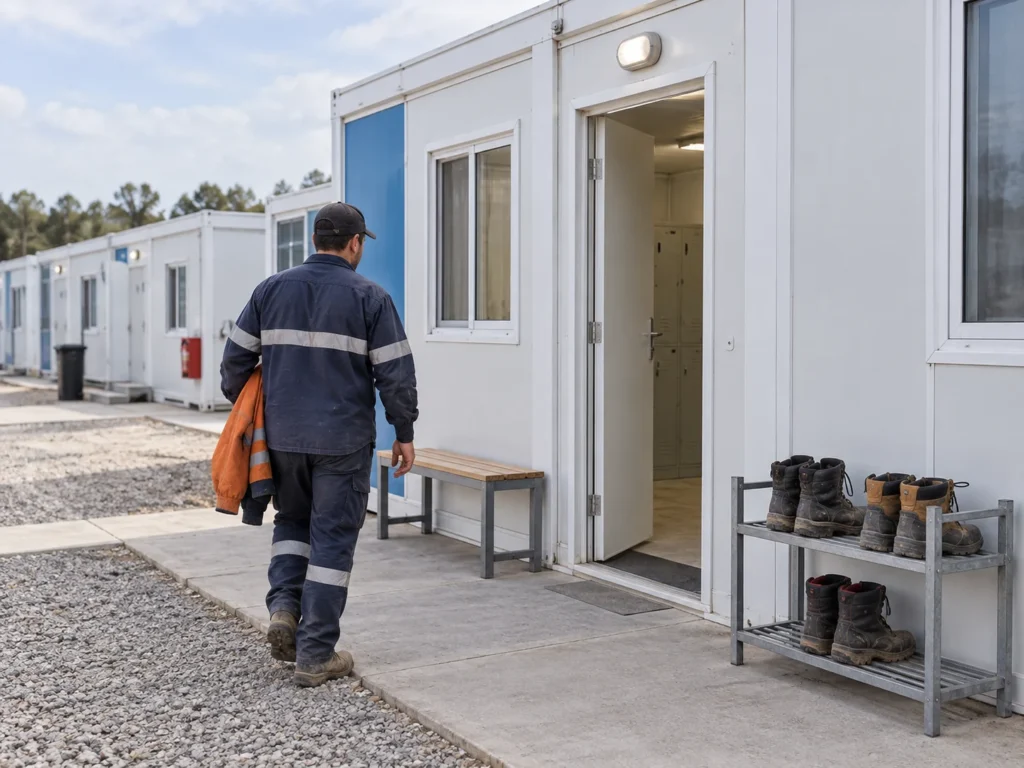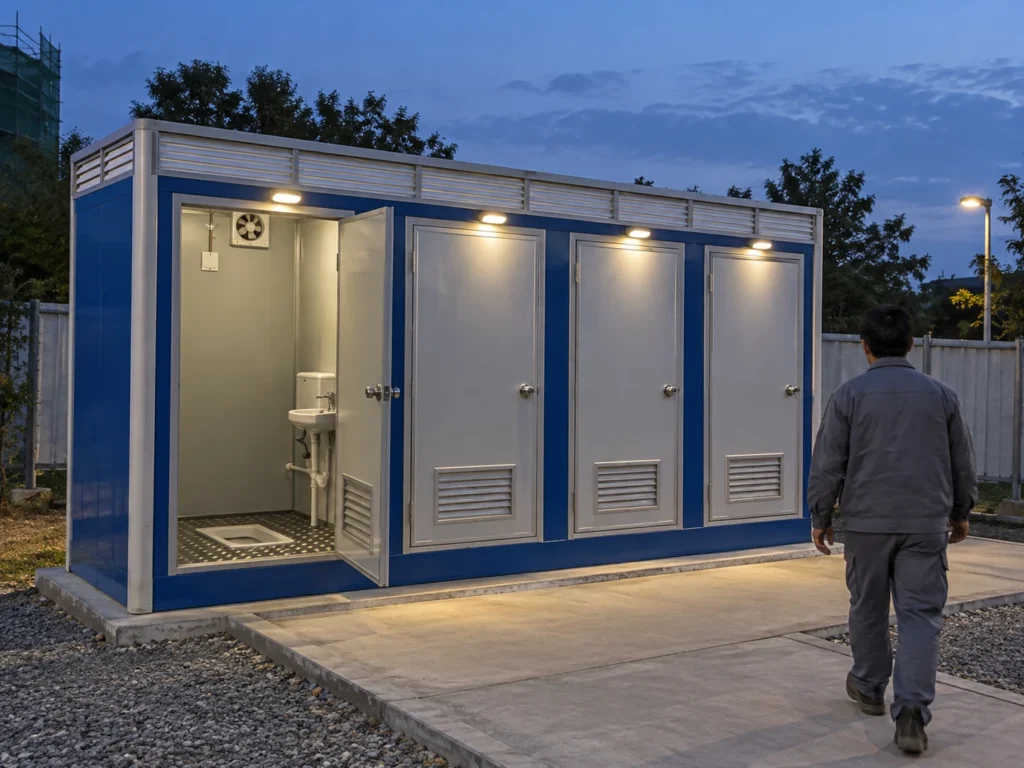
Emergency housing access routes should be reviewed as complete resident journeys: from the actual arrival point to the dwelling, then to the shared facilities that household members need. Before choosing the site arrangement, ask for a connected drawing, resolved entrance details and named responsibility for the work between buildings. A ramp at one door cannot settle the rest of that journey.
Consider a resident arriving with luggage, using a walking aid, or accompanying someone who needs assistance. The housing door may be easy to identify while the bathroom route leads around a service enclosure. The useful buying question is whether that person can reach and use the intended destinations under the proposed operating conditions. This article offers a procurement review method; its selected U.S. 2010 ADA references need project-specific scoping.
Trace a resident’s complete journey

Start with a named arrival point and follow the resident to the assigned dwelling and essential shared destinations. Draw the return journey too. This reveals decisions hidden by separate building quotations, especially where the accommodation supplier, groundwork contractor and site operator each describe only their own part of the arrangement.
On a first plan, identify where people actually leave transport or enter on foot, where they obtain arrival information, and which dwelling entrance they will use. Keep truck delivery, lifting operations and emergency responder access in their own coordinated plans. Those activities matter to the site, but their successful completion does not answer a resident’s everyday pedestrian access question.
For covered U.S. projects, the Access Board’s route guide connects provided accessible arrival points to the accessible entrances they serve. Its vehicle-only exception does not apply where the vehicular way provides pedestrian access. Use that scoped distinction when discussing the proposed arrival arrangement, rather than treating the gate as the only starting point.
When comparing modular emergency housing arrangements, mark the selected homes and shared amenities on one version of the plan. Wider household and shared-facility planning can establish who needs each destination. This route review then tests the connections between them. Record uncertainty about residents’ needs as an issue for the operator to resolve, not a reason to omit the connection.
Set the project scope first

Agree what the project is, who will occupy it and which requirements the appointed reviewer will apply before importing dimensions. Emergency use describes a circumstance, not a complete design brief. Keep the intended duration, owner or programme, destination jurisdiction and approval route together so quotations refer to the same proposal.
In the U.S. standards, covered temporary facilities are included; temporary status alone does not establish an exemption. The construction-process exception is specific, including toilets exclusively for construction personnel. It should not be transferred automatically to residents displaced from their homes. These distinctions come from Chapter 2; the project’s actual coverage remains a matter for qualified review.
Ask the local reviewer to identify the relevant use, required dwellings and shared spaces, and the documents needed to assess them. The buyer can organize those questions without pretending to decide legal coverage. Keep the answer with the design brief so that an early assumption does not become an unexamined instruction to the manufacturer or site contractor.
The destination approval questions are useful here because an access proposal and the wider building approval need compatible inputs. If the layout is still changing, show which decisions remain open and when they affect fabrication or site work. A clear scope allows bidders to explain exclusions and alternatives before a tempting unit price obscures the cost of joining the whole site together.
Connect the shared destinations
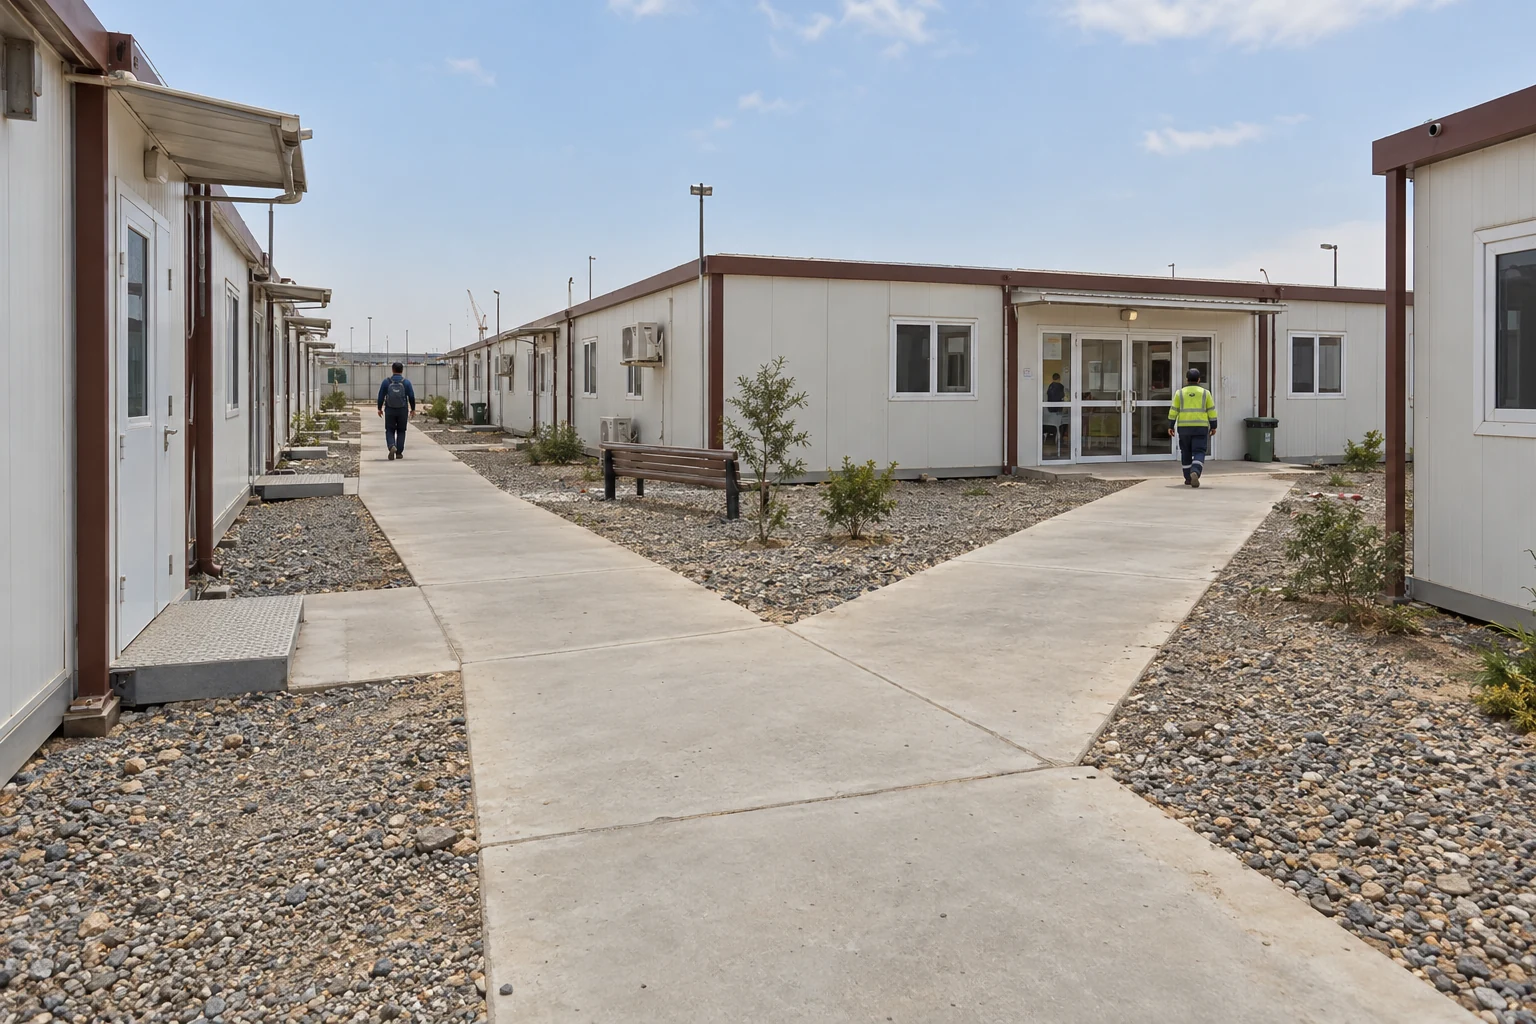
Give each required destination a recognizable name on the drawing: the selected dwelling, bathroom, washing facility and any daily service point included in the brief. Then identify the route used in both directions. A line ending beside a bathroom block is incomplete for this exercise if no one has selected the entrance or explained which room residents are meant to use.
Chapter 2’s on-site provisions connect the accessible buildings, facilities, elements and spaces required by the applicable scope, with a limited vehicle-only exception. The route guide places accessible routes in the same area as general circulation. Neither statement supplies a universal maximum journey to a bathroom.
For procurement, the table below assigns questions to interfaces rather than claiming that a particular company normally owns them. Replace the suggested roles with the actual parties. A good response names a document and a decision-maker for the connection, not merely someone willing to provide an accessory. This is especially useful when several buildings are bought under separate orders.
Review availability alongside location. If the designated washroom is locked overnight, the drawn connection does not explain the resident’s next step. Ask the operator to identify the available alternative and how residents will learn about it. This is an operating decision proposed here, separate from determining the formal accessibility obligations of the site.
| Connection | Evidence to request | Party to appoint |
|---|---|---|
| Arrival → site path | Named arrival point on the site plan | Site-design coordinator |
| Ground → access structure | Levels and joining-surface detail | Groundwork and access designers |
| Access structure → dwelling | Selected entrance and coordinated access drawing | Access designer and building supplier |
| Dwelling → shared facilities | Destination list and connected routes | Operator and local design reviewer |
| Facility entrance → use point | Selected room and fit-out drawing | Fit-out designer and operator |
Review the installed ground surface
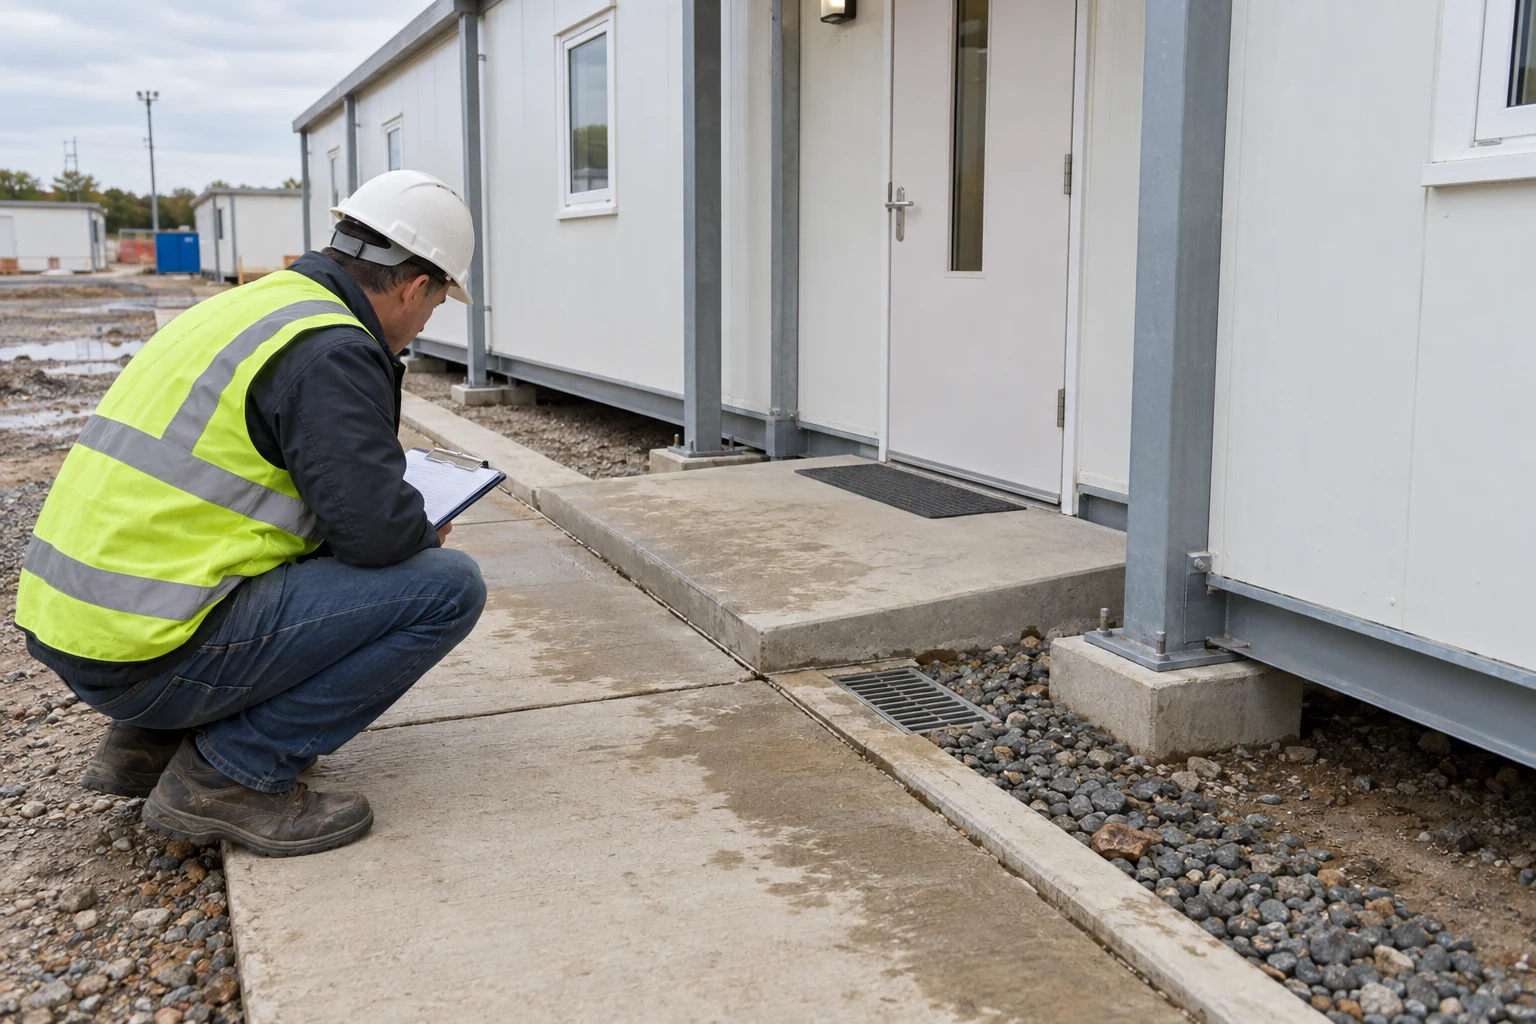
Treat the ground between modules as part of the access proposal, including the small joins at each end. Ask what will actually be installed after excavation, drainage and utility work. A smooth-looking site photograph cannot establish the performance of the finished connection or the measurements needed for its design review.
Applicable ground surfaces must be stable, firm and slip resistant under Chapter 3; changes in level have their own conditions. This does not approve a material by name. Ask the designer to assess the proposed surface and transitions in their installed context, using the evidence appropriate to the selected system.
Follow each join on the drawing and then on site: paving to platform, mat edge to path, and drainage crossing to entrance approach. Note who finishes the last strip after adjacent work is complete. A path can appear finished in the groundwork quotation while the access installer assumes that its end will be prepared by someone else. Resolve that gap before it becomes an improvised connection.
Record the direction of travel for each measurement so the reviewer knows which surface is being assessed. Where a route changes direction or meets a drain, ask for a detail rather than extrapolating from a convenient straight section. For proposed temporary surfacing, also agree who checks its position after nearby service work. These requests establish useful evidence without assigning an unsupported friction value or promising that an illustration represents the finished site.
Separate passage, passing and queues
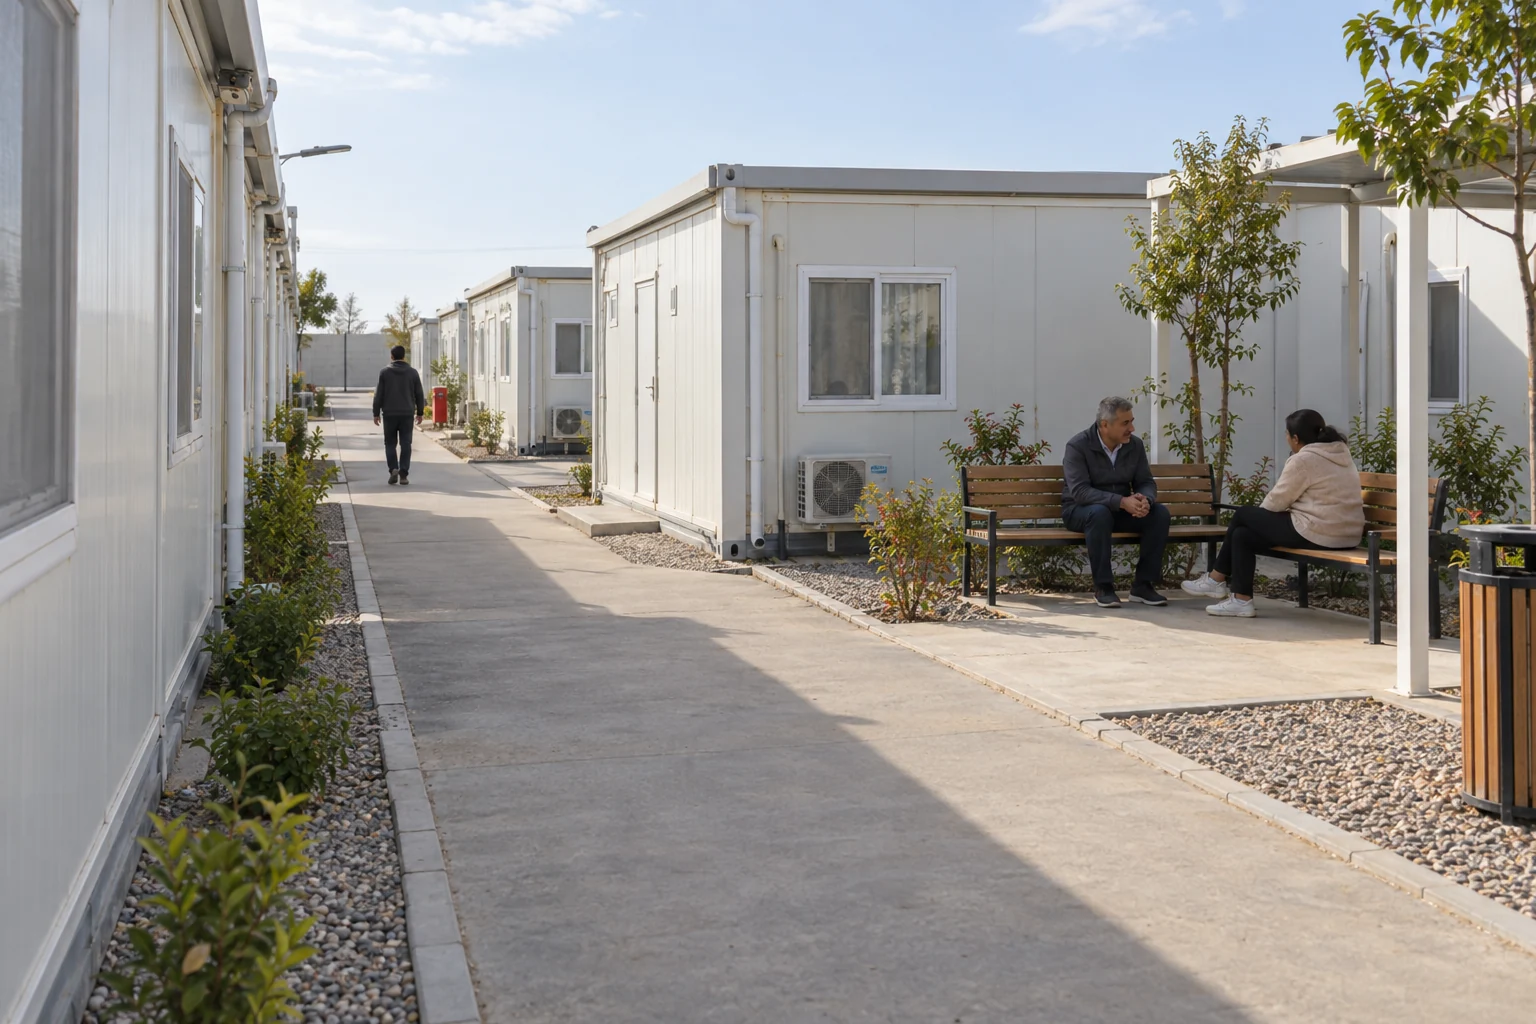
Ask the designer to show the space a resident will actually travel through, then locate waiting and storage elsewhere on the plan. The outside width of paving is a poor purchasing description when posts, parked carts or a service queue occupy part of it. Keep each movement question attached to its location.
Use the U.S. 2010 ADA examples below only for covered projects. This compact table separates measured objects; it does not cover every clause. Ask the appointed reviewer to identify the conditions relevant to the drawing rather than treating a convenient dimension as approval for the entire housing arrangement.
A resident approaching a busy service hatch presents a different planning question from two people meeting between buildings. Ask the operator to sketch where a queue forms and where deliveries pause. Then compare that proposed activity with the movement area on the design. If operations require residents to step aside into an undefined patch of ground, settle the waiting arrangement before agreeing the final service location.
Test the supplier’s answer against a specific point: which edge is measured, what is excluded, and what activity is expected beside it? Keep future furniture, bins and signs on the same layout. A purchase decision based only on an empty walkway can leave the operator with an avoidable conflict once ordinary equipment arrives. This review is a project planning recommendation, not an invented occupancy rule.
| Object | Value and condition |
|---|---|
| Walking slopes | Running ≤1:20; cross ≤1:48. |
| Walking clear width | Generally ≥36 in (915 mm); turns/reductions checked separately. |
| Passing interval | Route <60 in (1525 mm): ≤200 ft (61 m), with qualifying passing geometry. |
| Ramp run | Running ≤1:12; rise ≤30 in (760 mm) per run. Steeper slopes: space-limited existing-site exception. |
| Ramp landing | Length ≥60 in (1525 mm); width ≥widest run; review direction changes. |
| Hinged opening | ≥32 in (815 mm), face-to-stop at 90°. Depth >24 in (610 mm): ≥36 in (915 mm). |
Coordinate the raised entrance
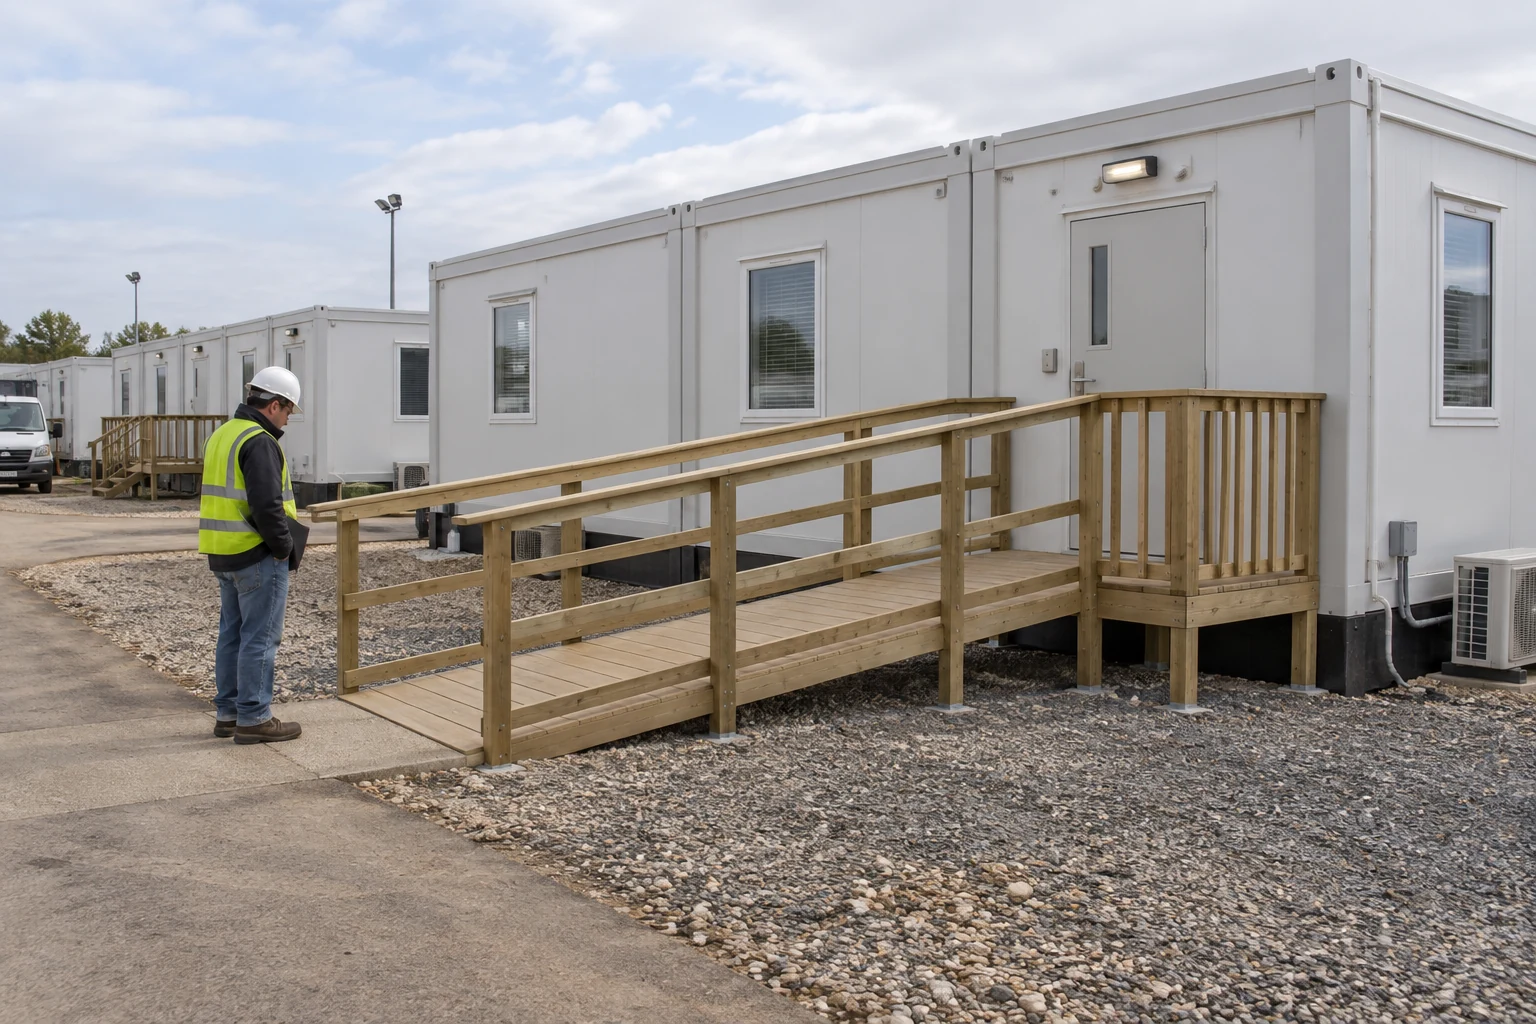
Fix the access arrangement against the selected entrance and its installed floor level. Request a drawing that joins the ground, access structure and doorway, rather than accepting separate sketches that happen to meet on paper. A later change to the building position can alter the access decision even when the module itself is unchanged.
The Access Board’s ramp guide measures clear width between handrails where provided and notes that egress requirements may demand more. It also explains that multiple runs can be strenuous for manual wheelchair users despite intermediate resting points. Meeting selected geometry therefore cannot promise independent use for every resident.
For the buyer, the useful comparison includes the proposed footprint and the route that continues beyond it. An access structure that fits beside one home may interfere with the adjoining home’s entrance or the service corridor. Ask the designer to show those neighboring uses before accepting the package. If a different placement can simplify the journey, compare it while ground and building positions are still adjustable.
Selected flat-pack accommodation layouts provide a starting point for discussing the actual door and floor arrangement. Obtain the order-specific drawing rather than estimating from a product photograph. Where residents may need help, ask the operator to plan appropriate support with them. That conversation complements the design review; it should not be used to excuse unresolved geometry or to claim that everyone can use the same entrance in the same way.
Check how the door is approached
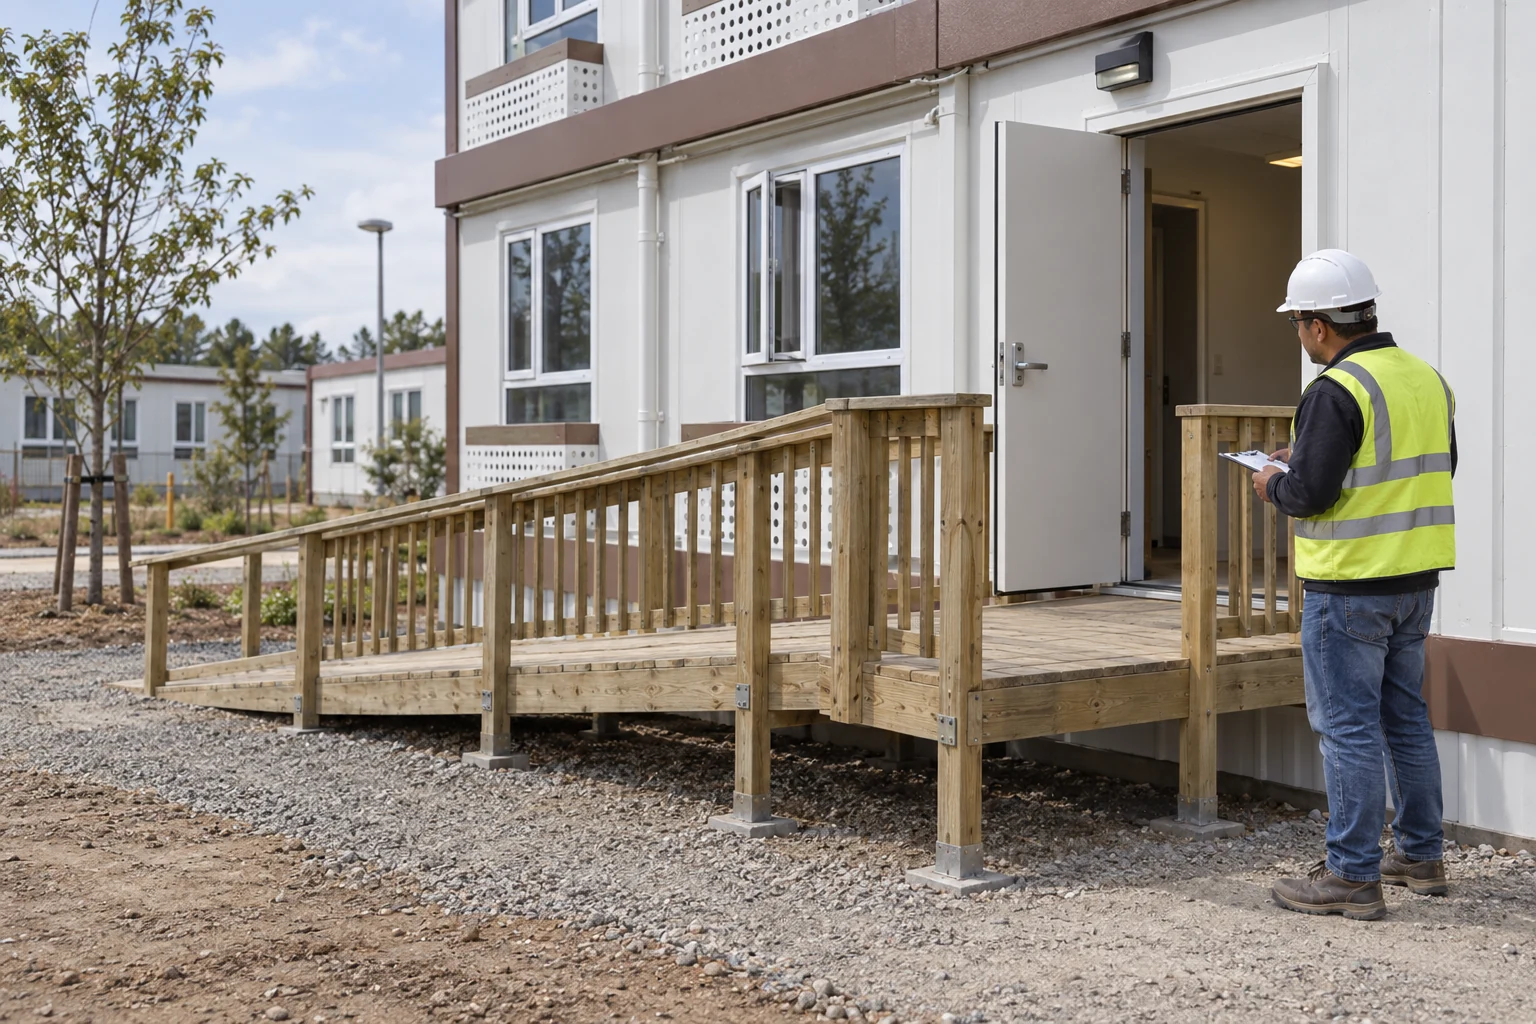
Door maneuvering conditions depend on approach, push or pull side, and specified hardware under Chapter 4. Request the selected case on the actual drawing. A label saying “wide entrance” leaves the reviewer guessing how a resident arrives, where the person waits, and how the door will be operated.
Imagine the resident arriving with a bag or accompanied by a helper. Where can they pause while obtaining a key? Which direction do they leave after opening the door? These are useful questions for the brief, not substitute measurements. Add the proposed furniture and external equipment to the drawing so a later bench, bin or storage box does not occupy a space the entrance design relies upon.
The ramp guide allows required door maneuvering clearance to overlap a landing. Locating door swing outside the landing is its safety recommendation, not a blanket ban. Have the reviewer resolve the chosen relationship rather than treating either a photograph of an open door or the recommendation alone as a decision.
Coordinate this entrance with room-layout and circulation planning. Show what happens immediately inside, including the intended arrival area and furniture position. If a requested door reversal affects the internal layout, issue a coordinated revision to both suppliers. Otherwise a change intended to improve the outside approach may introduce a new conflict on the other side.
Continue into a usable bathroom
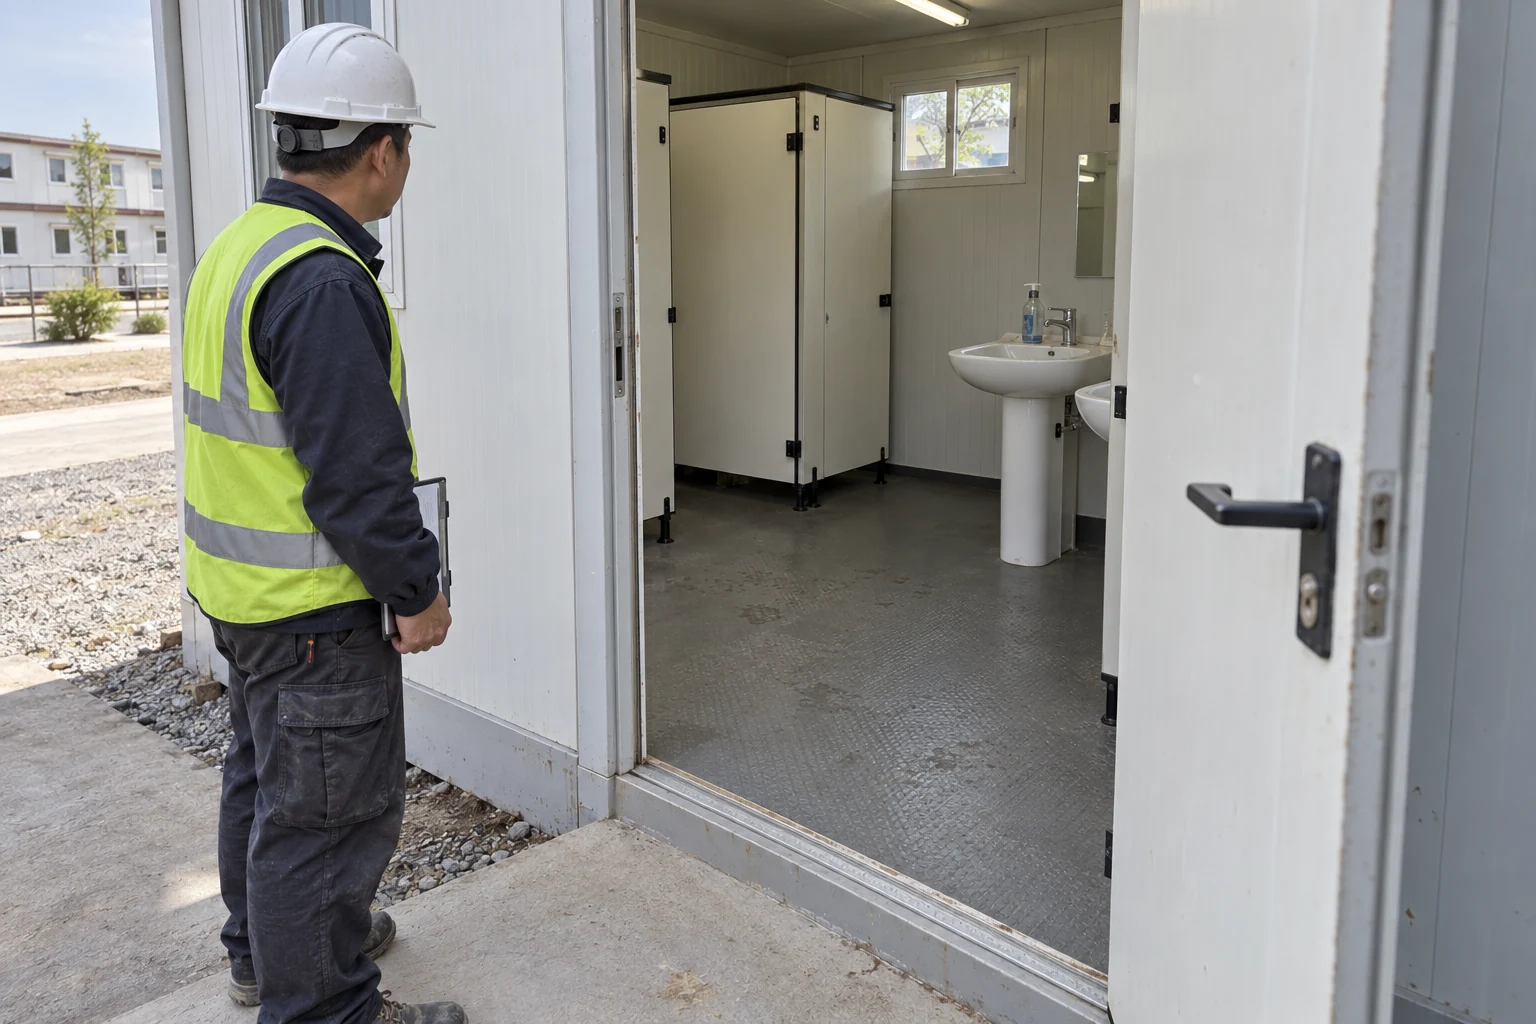
Follow the resident beyond the bathroom entrance to the intended activity. The project needs a selected sanitary layout and an explanation of how it will operate, not just a destination symbol on the site plan. Keep the room review connected to the external route so neither team assumes the other has settled it.
For rooms covered by the applicable scope, Chapter 6 addresses turning space, fixture clearances and door relationships separately, with specific overlap permissions and exceptions. Reaching the entrance does not establish that the selected fixtures are usable. The fit-out reviewer needs the actual room arrangement, not merely the block’s outside dimensions.
When discussing combined portable bathroom layouts, identify the room intended to serve the resident group and request its fixture and door drawing. Show accessories proposed by the operator as well as factory items. A later decision to store cleaning materials or spare supplies inside can change how that room is used, even when the original delivered configuration has not changed.
Ask the operator how residents find the intended room, learn whether it is available and obtain assistance while preserving privacy. Agree how cleaning and maintenance closures are communicated. These are proposed service arrangements, not assertions about what every regulation requires. If only one selected room serves the group, discuss the practical consequences of its unavailability before approving the site plan. An alternate should be reviewed for the resident journey and intended use, rather than named solely because it is nearby.
Plan for ordinary route changes
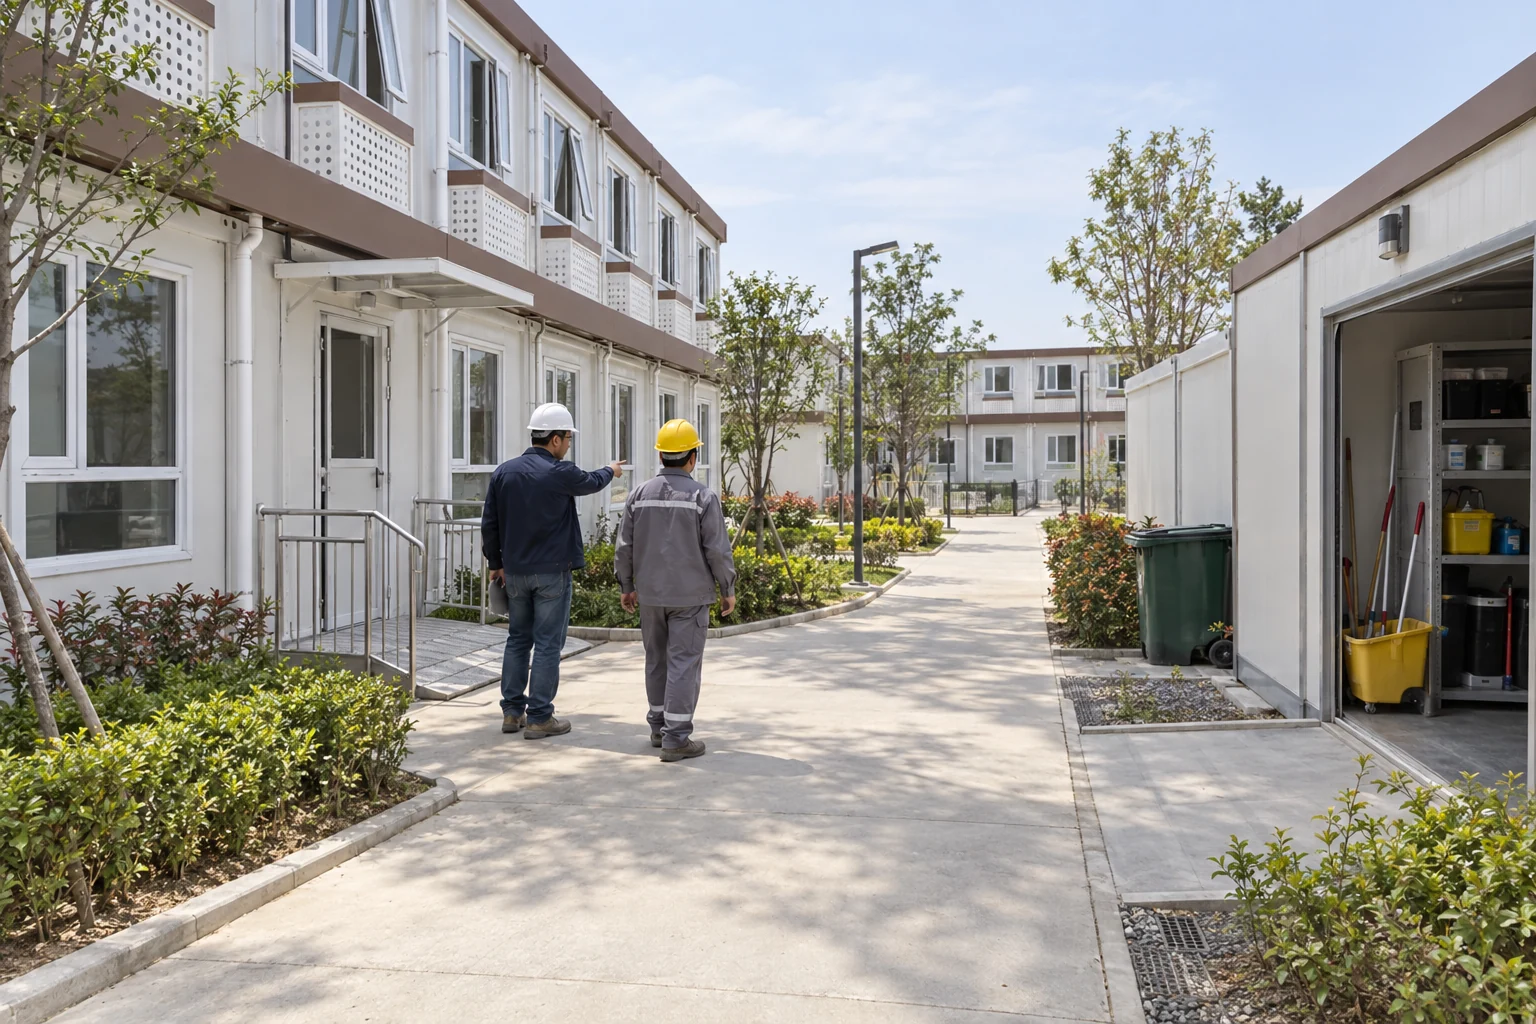
Use the operating plan to identify changes that could interrupt the journey after installation. Deliveries, cleaning, rain and repairs can alter an otherwise tidy arrangement. Agree how those changes are reported and resolved, with a location and named contact, so residents do not have to discover the problem after setting out.
For covered U.S. ramp landings subject to wet conditions, the wet-conditions provision requires design that prevents water accumulation. Separately, the operating questions below are editorial review triggers. They do not establish a mandatory inspection frequency, a lighting value or evidence that any pictured platform performs in wet weather.
Consider an evening trip to a shared bathroom during maintenance elsewhere on site. The resident needs to identify the available route and destination, while staff need to know what was closed and why. Agree how notices and assistance work for the intended population. Review lighting and information with appropriate project expertise rather than borrowing an unrelated numerical target to complete the specification.
A temporary closure should have a decision attached to it: who authorizes the arrangement, how the alternative is assessed and when the usual route returns. The same applies when a delivery cart or repair cable is left beside a doorway. Keep the response proportionate to the observed condition. A useful change record explains what residents can do now and what physical or operating action remains outstanding.
| Change | Question for the project team | Update to retain |
|---|---|---|
| Wet or debris-covered landing | What corrective work or cleaning is needed here? | Location, action and follow-up owner |
| Cable, hose or supplies across a path | Which movement area and alternative are affected? | Obstruction and agreed temporary arrangement |
| Door hardware or furniture changed | Does the selected entrance arrangement still work? | Revised entrance and fit-out drawing |
| Ground or access structure altered | Which joining details need another review? | Interface revision and review outcome |
| Shared room closed | Which reviewed alternative is available to residents? | Destination notice and operating contact |
| Night information changed | Can residents identify the route and obtain help? | Information arrangement and support owner |
Name the parties at each interface
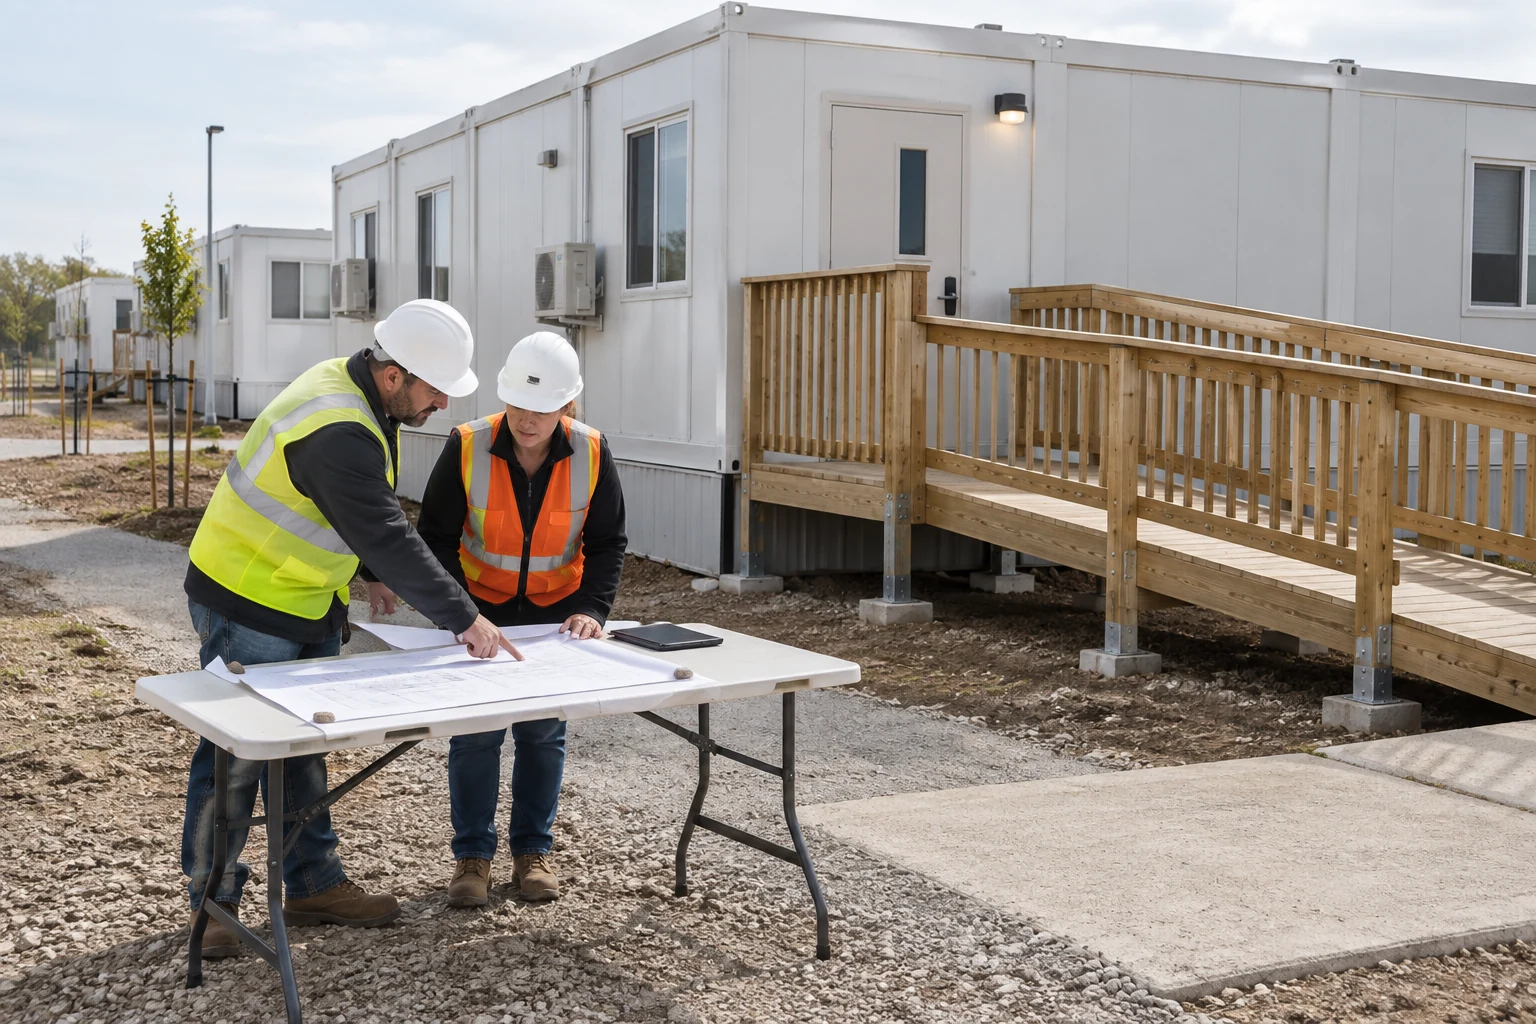
Turn the connected plan into a supply and work schedule. For each interface, state who designs it, who provides the components, who installs the connection and who supplies the agreed acceptance evidence. These are proposed contract questions. They should be answered for this order, without assuming an access structure or external groundworks are included in a standard building package.
The distinction between building-package and local-work boundaries is especially useful where a supplier offers the module but another party controls the site levels. Request a common drawing revision that both parties can identify. If the entrance changes, specify who tells the access designer and whether affected work can continue. An email describing a change is not helpful if one installer still holds the previous drawing.
Bring utility interfaces into this discussion at the point where they meet the resident route. Ask the service installer to show proposed access for maintenance and any crossing or enclosure beside the path. The objective is coordination before work is fixed. It is not to prescribe an improvised cable cover or to encourage site staff to modify an access detail without the appointed reviewer.
A quotation response should expose an unresolved interface rather than hide it within “by others.” Ask for the named party, required input and decision date. Where that party has not yet been appointed, retain the open item in the order review. This lets the buyer compare complete proposals while preserving responsibility for design decisions that a building supplier cannot determine from the available brief.
Review the journey and retain changes
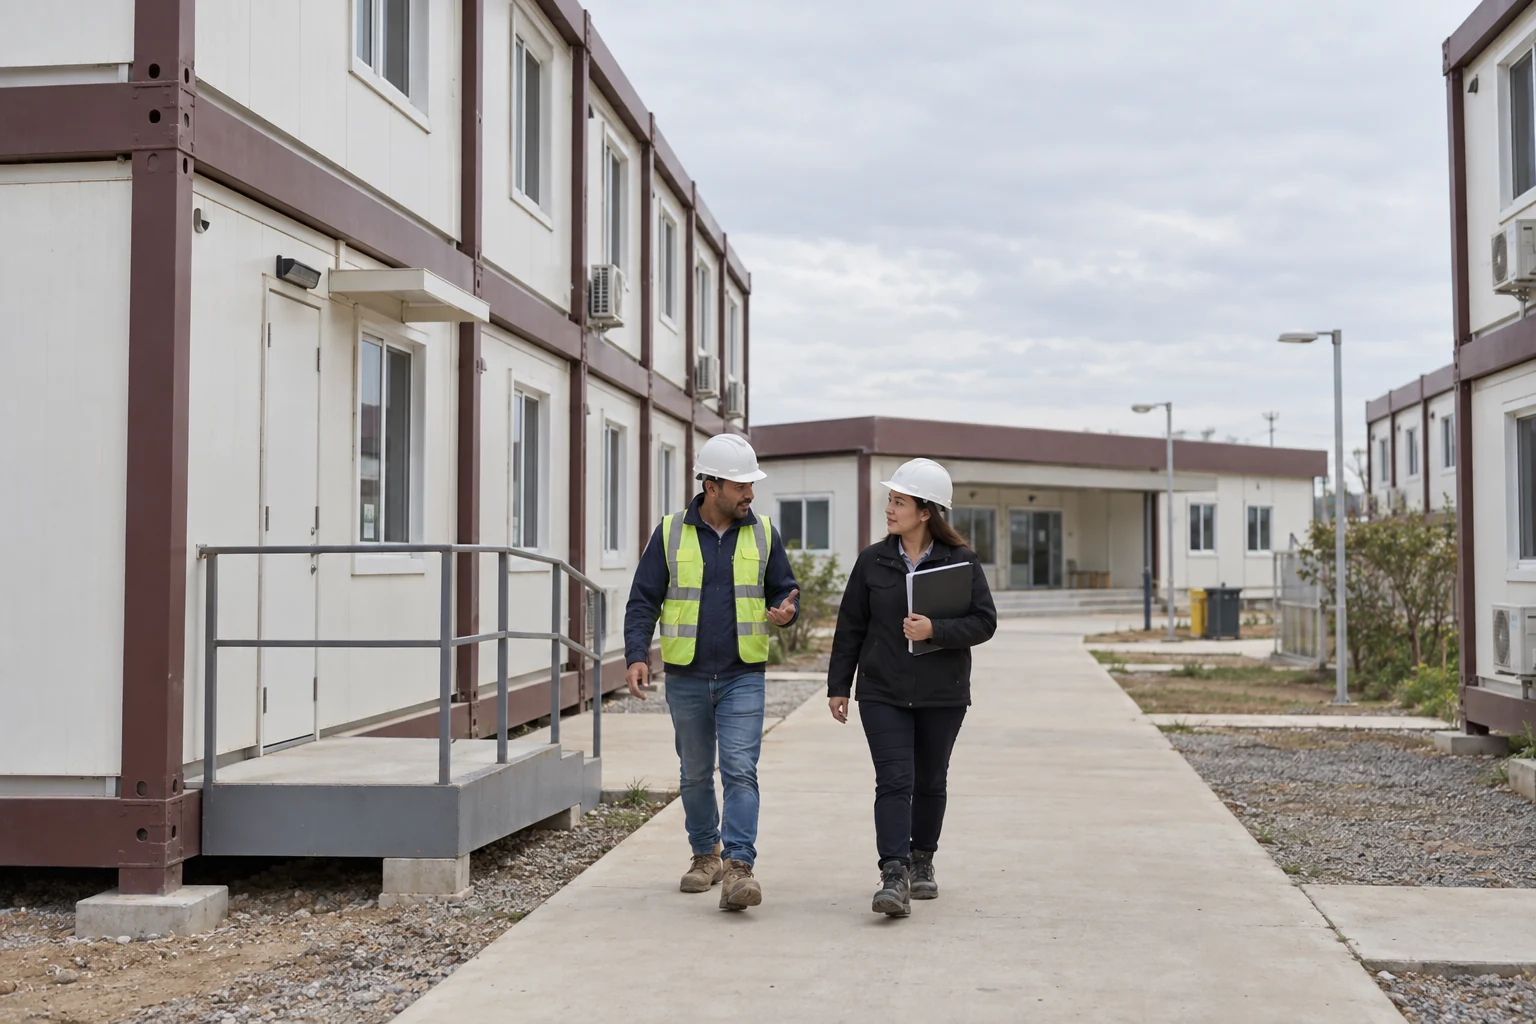
Before residents rely on the arrangement, bring the drawing, installed route and operating plan together. Review the journey with appropriate project expertise and resident participation where suitable. Record the limitations as well as completed work. An acceptance discussion is more useful when it explains what was assessed and what remains unresolved.
Begin at the identified arrival point, visit the selected dwelling entrance, then continue to each required shared destination and the intended use point. Review the return direction and relevant operating arrangements. Any walk, roll or demonstration should be planned safely; residents can inform usability discussions without being asked to act as compliance inspectors or to attempt an uncertain connection.
Retain measurements and review documents with enough context to identify their location, configuration and drawing revision. Record who assessed the item, the decision reached and any action still required. A wide site photograph can support location information, but it cannot establish a dimension or certify accessibility. If a doorway or facility is replaced later, the old acceptance record should not be assumed to describe the new arrangement.
Close the purchase review with practical questions: Is the whole resident journey drawn? Does each join have an agreed design and work owner? Has the actual sanitary use been reviewed? Can the operator explain what happens during a closure? Keep unanswered items visible until the appointed parties resolve them. The result is a project-specific basis for purchasing and operating a connected arrangement, rather than confidence borrowed from an isolated module, ramp or marketing image.
Buyer questions
Does emergency or temporary use remove the need for access review?
No automatic exemption should be assumed for a covered temporary facility. Ask the appointed local reviewer to establish the actual project scope and required destinations before deciding the access package. Keep that decision with the brief so building, site and operating teams use the same assumptions.
Does a passing-space interval set the distance to a shared bathroom?
No. A passing-space interval is not a bathroom travel limit. Ask the project reviewer and operator to agree shared-service locations for the intended residents, then review the journey and chosen room. Their decision needs the actual site and use brief.
What should the buyer request before accepting an access package?
Request coordinated drawings, identified site interfaces, the selected door and sanitary layouts, and agreed evidence for the installed work. Name who resolves open items and who maintains the operating information. Photographs can help identify a proposal, but should accompany the project documents and measurements rather than stand in for them.
Sources and scope
- U.S. Access Board — Chapter 2: Scoping Requirements. Temporary structures, construction exceptions and on-site connections; covered U.S. projects.
- U.S. Access Board — Chapter 3: Building Blocks. Applicable ground surfaces and changes in level.
- U.S. Access Board — ADA Chapter 4. Selected route clauses; conditions and exceptions apply.
- U.S. Access Board — Accessible Routes Guide. Arrival connections, vehicle-only boundary and circulation location.
- U.S. Access Board — Ramps and Curb Ramps Guide. Width measurement, user effort and doorway recommendations.
- U.S. Access Board — Chapter 6: Plumbing Elements and Facilities. Applicable toilet and bathing room review; selected fit-out requires detailed assessment.
The photographs illustrate resident-route planning situations. They are not measurements, accessibility certifications or evidence of the configuration, supplied scope or performance of a particular PQSE order.