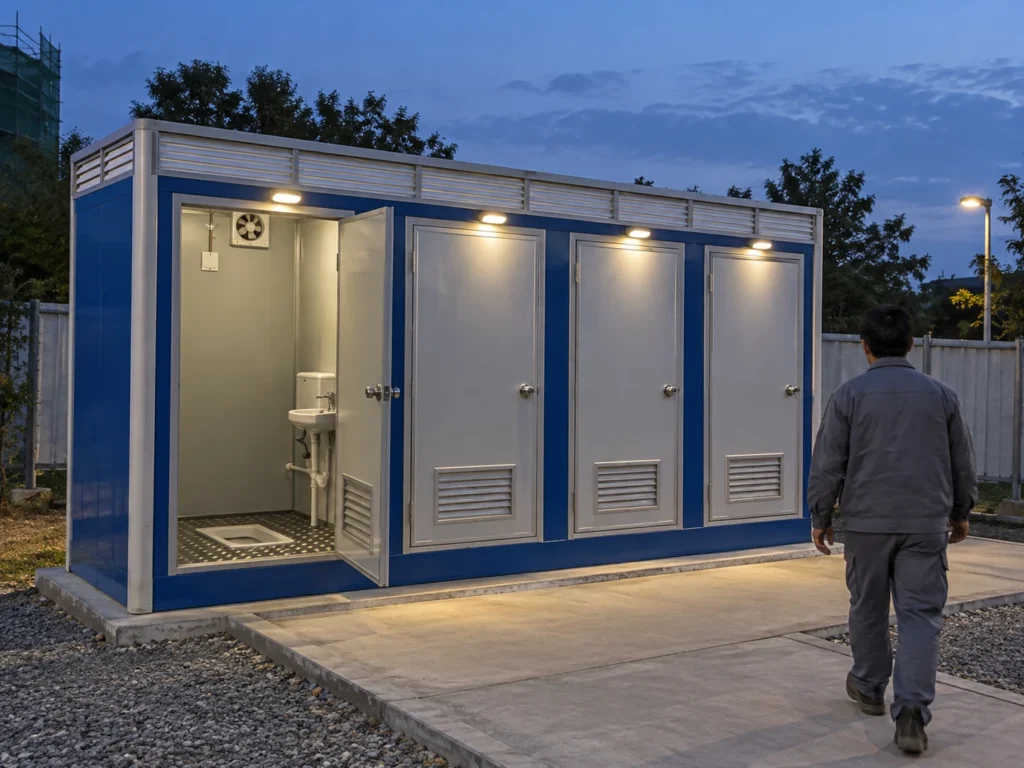
A portable bathroom needs space for two different activities: using the fixtures and keeping them in service. Plan both before approving the layout. Mark the water isolation points, drainage access openings, equipment that may need removal, and the space a person needs to inspect them. Then check those locations against the requirements that apply to the project. A tidy interior photograph cannot show whether a blocked drain or failed valve will be reachable after installation.
This guide concerns purpose-built portable bathroom modules, including combinations of toilets, washbasins and showers. It does not establish a maintenance clearance for every product. The dimensions and temperature values below come from identified public authorities; each has a defined location, jurisdiction and purpose. Use them to improve the questions on a drawing, not as evidence that a particular PQSE configuration already complies. The photographs illustrate planning situations rather than completed compliance inspections.
Start with the service task, not an empty rectangle
Imagine that a washbasin trap leaks during a busy shift. The first question is not whether the room contains a sink. It is whether the operator can identify the affected fixture, stop its water supply, remove the correct cover and contain the interruption without closing more facilities than necessary. A room can look spacious while a cupboard, cleaning cart or permanently fixed panel makes that sequence difficult.
Review the layout from the position of the person doing the work. Can a cover open fully? Is there somewhere to place removed parts? Will the worker kneel in the main entrance? Does replacing a component require cutting finished material? Those are practical questions, but the answers should come from the proposed installation and the equipment instructions, rather than a universal service-aisle number.
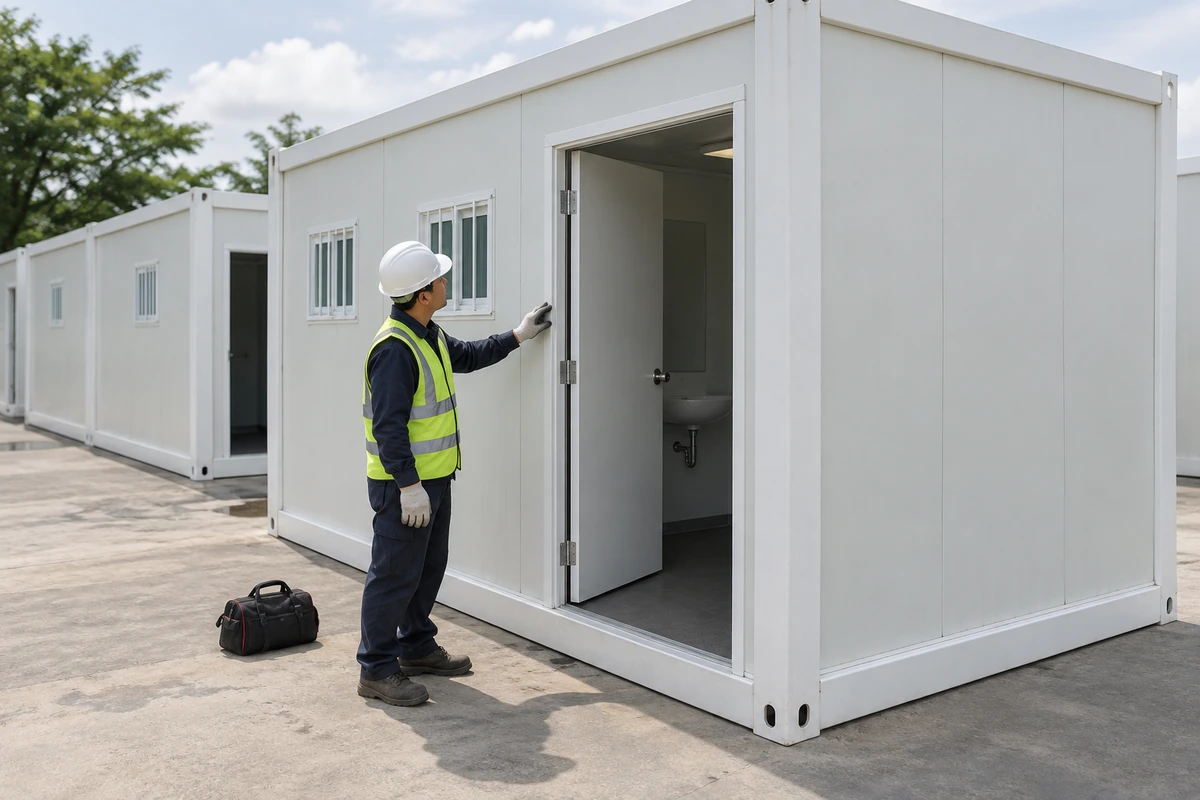
The portable bathroom product page is a starting point for identifying the module type. Follow that with an order-specific drawing showing fixtures, accessible service points and connections. For a combined shower and toilet block, identify what is shared and what can be isolated independently. Do not assume that a standard exterior outline fixes the arrangement behind every interior panel.
Separating these tasks early also improves the quotation. A request for “easy maintenance” is open to interpretation. A request showing the access side, removal direction and required records gives the supplier something concrete to confirm.
Make water isolation identifiable and reachable
A visible valve is useful only if its function is known. Ask the supplier to identify the module inlet, fixture-level isolation where provided, and any separate equipment connections on the drawing. Confirm which points will remain visible or accessible after the building is placed, connected and furnished. A valve that is reachable in the factory may face a wall or site-installed enclosure later.

A September 12, 2026 homeowner discussion about a plumbing access panel described a valve handle projecting beyond the finished wall and complicating the cover. It concerned a residential installation, not a portable module. The planning question transfers: review the handle movement and cover together, not just the hole in the wall.
Distinguish module isolation from fixture isolation
Closing a module inlet and isolating one washbasin have different operational consequences. Record which fixtures each valve affects and how the operator will identify that relationship. If local fixture isolation is not included, make that an explicit procurement decision rather than an assumption. The operator then needs a plan for the larger interruption and its effect on users.
Another September 19 homeowner discussion about a main water shutoff described a valve label that did not match the isolation the resident expected. That user report is not a technical diagnosis; it illustrates why the handover should identify actual isolation boundaries rather than rely on an ambiguous label.
The same approach applies to separate portable shower units. A shower block may share incoming services while having several outlets. Its maintenance plan should reflect the actual arrangement. Avoid labels that imply a pipe serves only one outlet unless the drawing supports that statement.
Check access in the installed position
Show nearby walls, tanks, steps and equipment as well as the module. Ask how the valve is operated and whether the person can reach it without moving a permanent obstruction. Qualified personnel should confirm isolation and safe working methods for the installed system; a buyer’s access sketch does not replace them. The useful procurement outcome is a clearly identified point, its function and a workable route to it.
| Service situation | Question to resolve on the drawing | Useful confirmation |
|---|---|---|
| One washbasin requires repair | Can that fixture be isolated, and what else stops working? | Valve identification and affected fixtures |
| A concealed component needs replacement | Which cover opens, and in what direction does the component come out? | Access and removal detail linked to the equipment |
| A drain needs clearing | Where is the relevant opening, and what space remains in front of it? | Drainage drawing and applicable clearance requirement |
| A shared shower block is taken out of service | How will users be directed to the remaining facilities? | Operator’s temporary service arrangement |
| The module is relocated | Which connections, supports and checks must be reinstated? | Connection schedule and recommissioning responsibilities |
Make drainage access measurable
Drainage is an area where a small access opening can conceal a larger space requirement. A cleanout must be found, opened and approached with suitable equipment. Showing its location alone leaves the working side unresolved. Mark the direction of access and the obstruction that will be nearest to it after installation.

A specific example is the New York City 2022 Plumbing Code, Chapter 7. Section 708.1.9 specifies clearance in front of cleanouts: at least 18 inches for pipe sizes of 6 inches or smaller, and 36 inches for 8 inches or larger. The clearance is measured perpendicular to the cleanout opening toward an obstruction. Sections 708.1.10 and 708.1.10.1 address access and permanent covering. These are NYC requirements for the described cleanouts, not general widths for portable bathroom corridors. NYC Department of Buildings, Chapter 7.
| NYC cleanout pipe-size category | Required clearance in front of opening | Published metric value | Meaning for the access drawing |
|---|---|---|---|
| 6 inches or smaller | At least 18 inches | 457 mm | Show the opening face and the nearest obstruction along the perpendicular access direction |
| 8 inches or larger | At least 36 inches | 914 mm | Reserve the applicable space in the installed arrangement, rather than only marking an access hatch |
The accompanying chart visualizes those two published requirements. It contains no measurements from a PQSE bathroom and makes no claim about drainage performance. The two pipe-size categories are retained exactly; no value has been invented for an intermediate category.

For the buyer, the broader method is useful even when a different code applies. Ask the drainage designer which access points are required, what clearance governs each one and whether site work changes that clearance. A tank, perimeter fence or paving detail added after delivery can change the space beside an external connection. Keep the relevant approval and installation responsibility visible in the order documents.
For a toilet-only project, the portable toilet product range can help define the facility being requested. It does not settle the receiving drainage system, waste-service arrangement or local access requirements. Those interfaces deserve their own drawing and scope confirmation.
Protect user space while planning service space
A maintenance area and an accessible user’s required space can overlap in a drawing review without being interchangeable. The first concerns how a task is performed. The second concerns the user’s approach, movement and operation under applicable accessibility requirements. Reserving one does not automatically satisfy the other.
The U.S. Access Board’s ADA Standards provide a clear example. Section 305.3 specifies a clear floor or ground space of at least 30 by 48 inches, with published metric dimensions of 760 by 1220 mm. Section 404.2.3 generally requires at least 32 inches of clear width at an accessible-route door. For a swinging door, the measurement is between the door face and stop with the door open 90 degrees. Openings more than 24 inches deep have a 36-inch minimum clear-width requirement under that provision. Sections 606.2 and 606.5 address approach to lavatories and protection against contact with supply and drain pipes below them. These provisions apply where those ADA requirements govern; they are not a universal specification for every exported module. Access Board, Chapters 3, 4 and 6.
| Item in an applicable ADA review | Published requirement or check | What the buyer should avoid assuming |
|---|---|---|
| Clear floor space, §305.3 | Minimum 30 × 48 inches; published as 760 × 1220 mm | That a service working area automatically provides the required fixture approach |
| Accessible-route door, §404.2.3 | Generally at least 32 inches clear, published as 815 mm; the provision has a separate condition for deeper openings | That nominal door-leaf width equals the usable clear opening |
| Lavatory, §606.2 | Required approach and knee/toe clearance, subject to the stated exceptions | That a storage cabinet may occupy the space needed by the user |
| Pipes below lavatory, §606.5 | Protection against contact, with the stated conditions | That adding a pipe cover resolves every accessibility or maintenance issue |
For a swinging door, measure the opening as the standard describes, not from a catalogue label. Keep equipment, bins and cleaning supplies in the review because they affect the room in use. A nominally clear layout may operate differently once those items arrive.
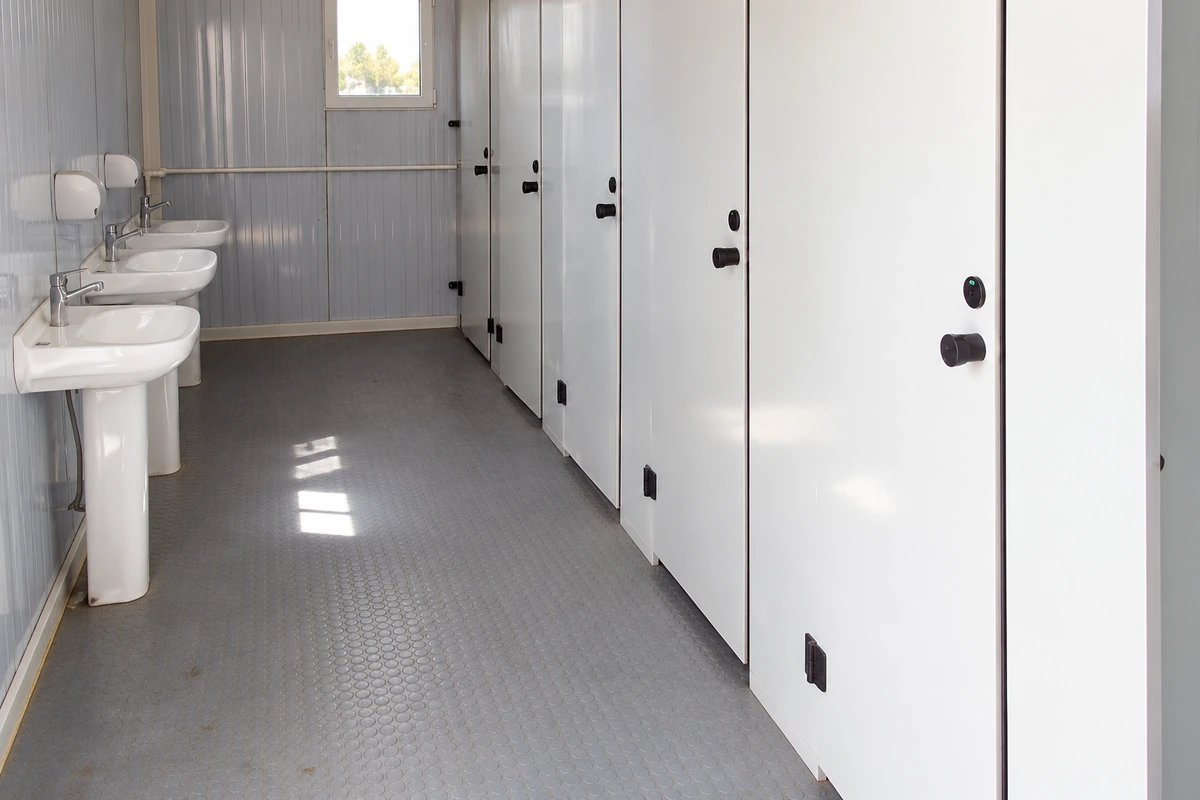
This distinction matters for worker accommodation facilities, where bathrooms may serve people with different needs over the project period. Identify the applicable accessibility brief before treating the room arrangement as approved. The maintenance plan should preserve the user’s route when work is not under way and address the temporary closure when it is.
Put water-temperature checks where they can be performed
Water-hygiene management is another reason to plan access before enclosing services. A system may require readings at storage, selected outlets or the hot inlet to a mixing valve. If those points are difficult to identify or reach, the operator’s inspection becomes harder to carry out and document.
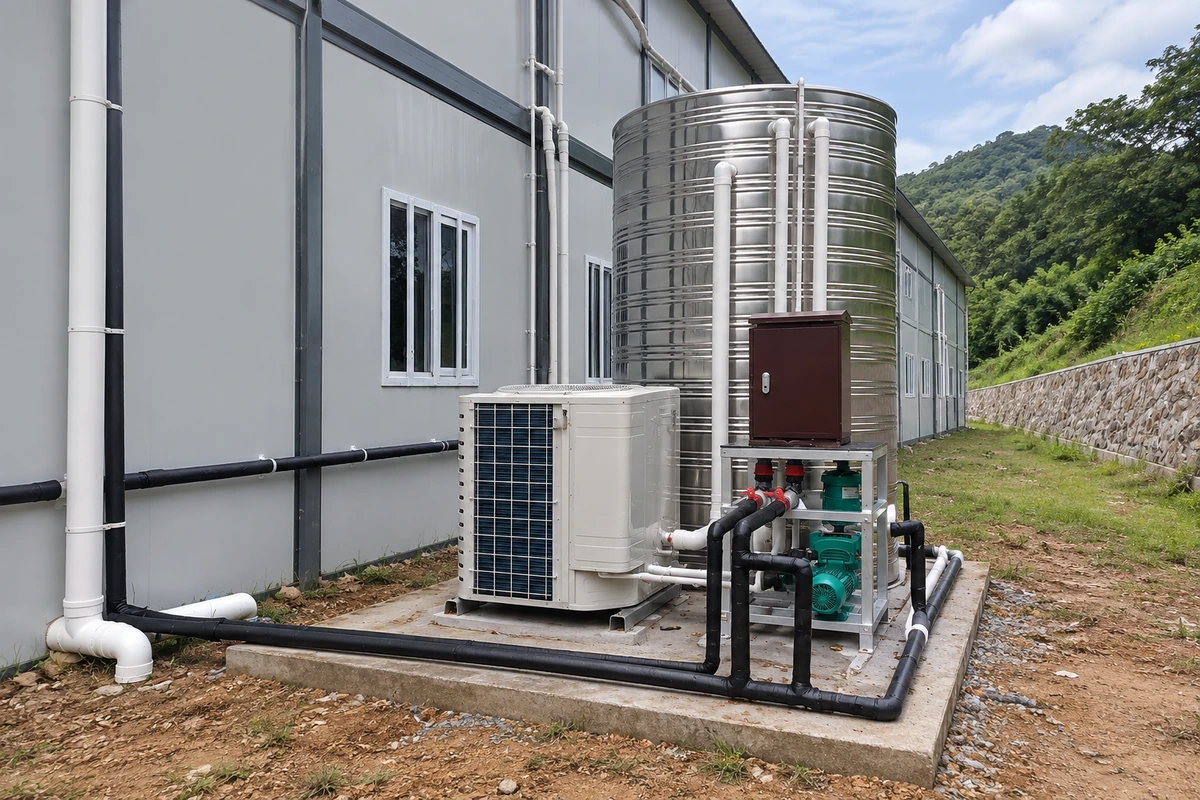
The UK’s Health and Safety Executive describes temperature-based controls for hot and cold water systems. Its guidance identifies hot-water storage at at least 60°C, a general hot-water check of at least 50°C within one minute, and cold water below 20°C after two minutes. HSG274 Part 2 specifies 55°C for the outlet requirement in healthcare premises; that different context should not be silently treated as the general value. It also describes monthly sentinel checks and recording. The locations and measurement conditions matter as much as the numbers. HSE, Hot and cold water systems: things to consider.
| HSE temperature-control check | Published value | Measurement context | Access question |
|---|---|---|---|
| Hot-water storage | At least 60°C | The storage system, where that temperature-control approach is used | Can the responsible person access the specified monitoring point? |
| Hot-water sentinel check | Generally at least 50°C within one minute; HSG274 specifies 55°C in healthcare premises | Relevant hot outlet; with a thermostatic mixing valve, check the upstream hot-water inlet to the valve, not the mixed shower discharge | Is the correct point identifiable without dismantling a permanent finish? |
| Cold-water sentinel check | Below 20°C after two minutes | The selected cold-water outlet under the stated running condition | Can the check be carried out and recorded in the operating facility? |
| Sentinel monitoring | Monthly in the described regime | Specified hot/cold points and records | Who owns the task and the record after handover? |
These figures are control values for the guidance’s water-system management context. They are not shower-user temperature targets, a single acceptable outlet-temperature band, or verified PQSE operating results. The project must also address scald protection, the selected mixing arrangements and the requirements applicable to its users. Do not resolve that question by setting every accessible outlet to the storage temperature.
HSE’s technical guidance also emphasizes making system components accessible for management and maintenance. That supports a practical procurement request: locate the relevant equipment and monitoring points on the service drawing, and confirm the access and instructions provided. HSG274 Part 2.
The portable shower planning guide provides broader layout and project-scope questions. Pair that project brief with the actual heater and mixing-equipment instructions. A diagram showing only fixture positions is not enough to identify the water-management responsibilities of a complete installation.
Review the room in two operating states
Check the normal occupied arrangement first, then the arrangement with a specific service task under way. In the occupied room, users need a clear approach, understandable fixture operation and places for everyday supplies. During maintenance, the affected part may be closed, covers opened and tools placed nearby. The second state needs a plan rather than an assumption that the first state has enough spare space.
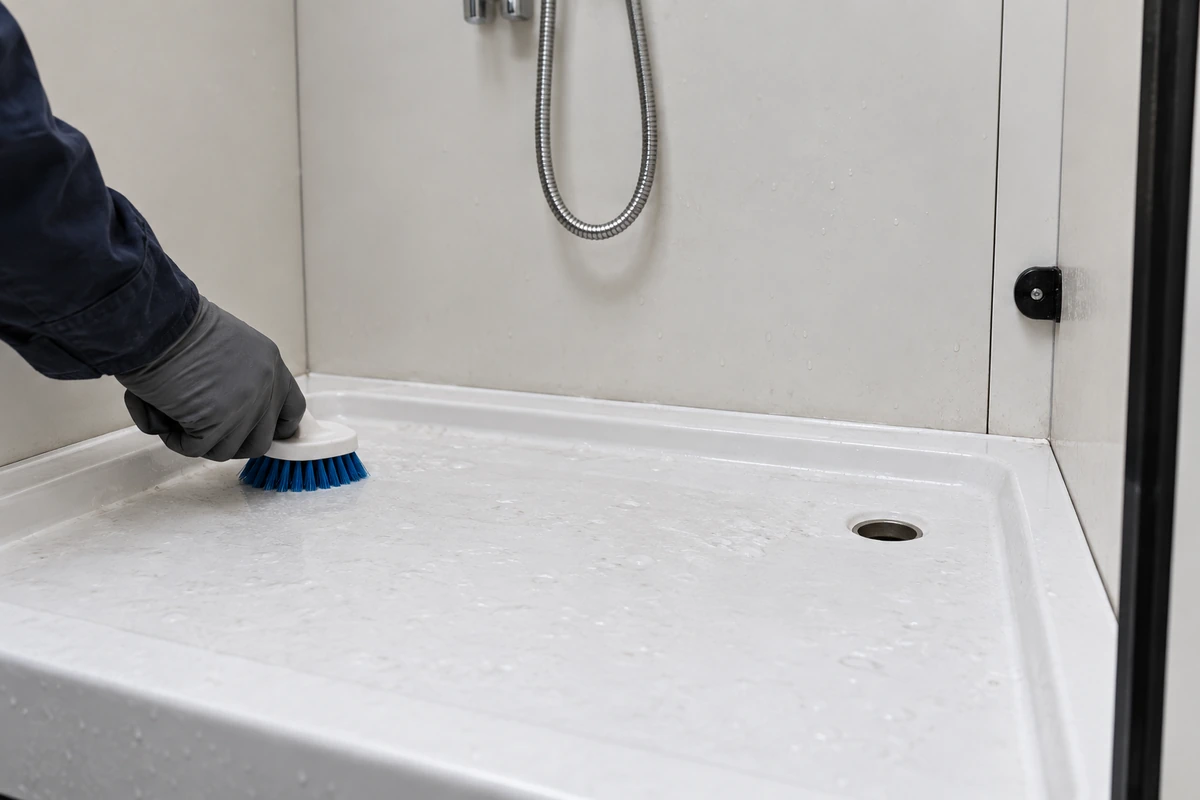
Take the shower tray as an example. The operator needs to identify the drain, understand the cleaning and inspection method, and reach the parts intended to be serviced. A clean-looking photograph does not establish how water drains or how the surrounding junctions are maintained. Ask for the actual detail and instructions. Do not infer a concealed channel or waterproofing system from a generic interior image. Use the wet-floor observation guide to record any pooling reported after installation.
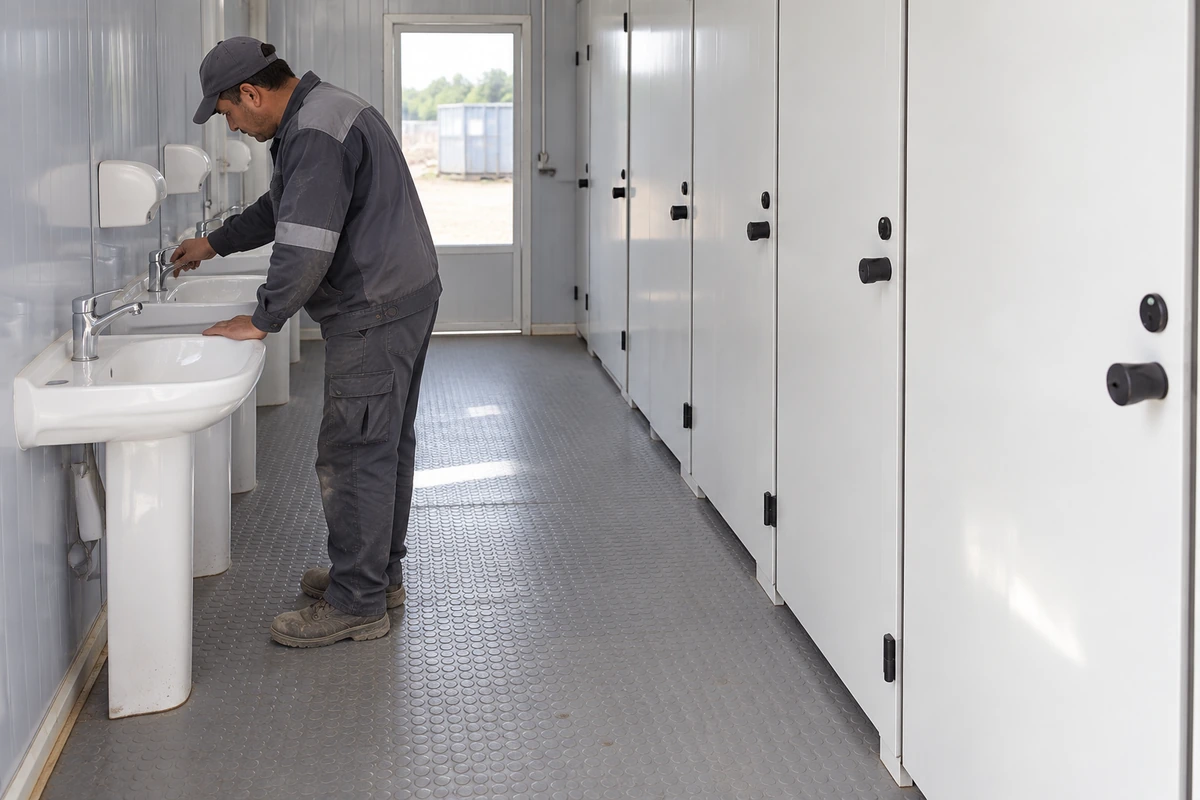
A washbasin presents a similar problem. The trap may be visible, but access can change after a cabinet, protective cover or stored supplies are installed. Review the assembled configuration. Removing a cover should not be confused with permission to leave required protection out of the operating room.

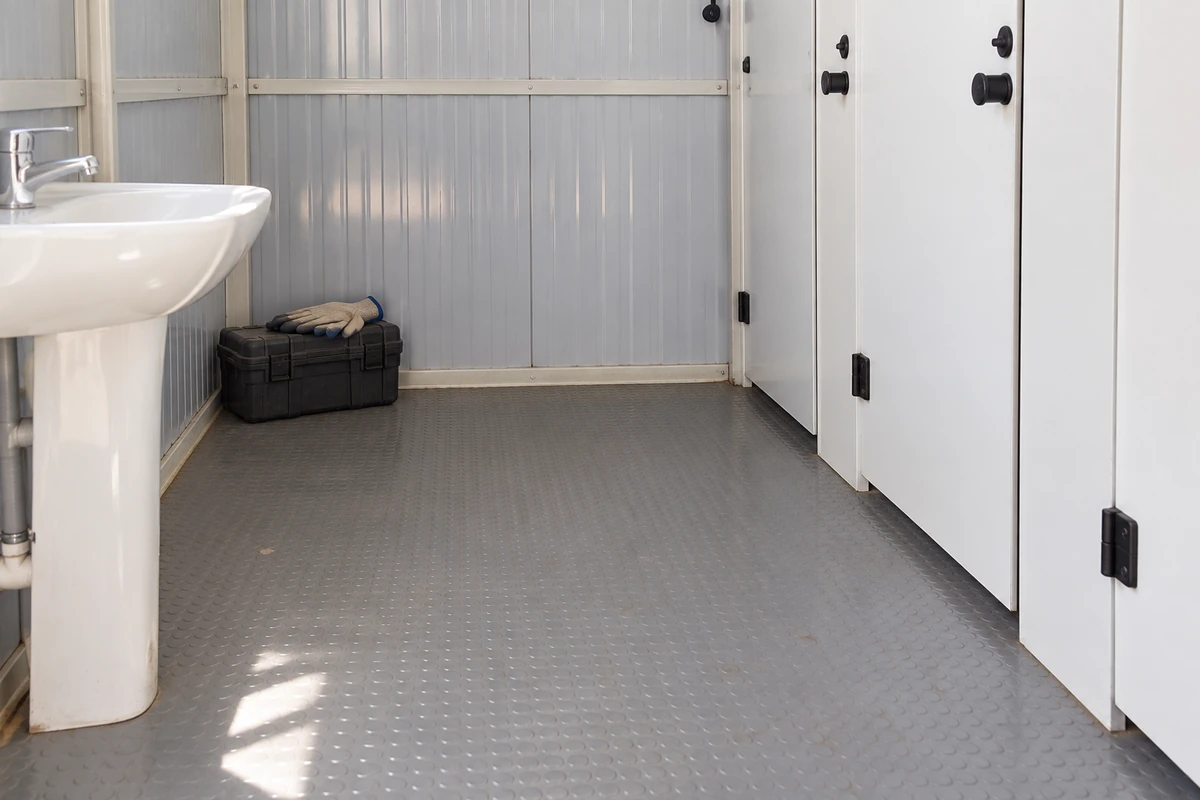
For facilities associated with a construction-site office, coordinate this review with the location of other site services. A bathroom module’s outside connection can share limited space with pedestrian access, deliveries and temporary equipment. The site plan should show those interfaces rather than stopping at the module’s wall line.
Turn maintenance access into a procurement deliverable
Ask for evidence matched to the question. A finish photograph can help identify a surface, but it cannot establish the access needed to remove a pump or clear a drain. A service drawing should identify the part, the route to it and any removal direction. Equipment instructions should explain which operations belong to the operator and which require qualified service personnel.
For each significant service point, ask for four pieces of evidence: the movement needed to operate or open it, the space required for the intended tools, the route for removing the specified component, and how the assembly is restored for normal use. A photograph of an open cover may answer the first question while leaving the other three unresolved.
Record the equipment or component identification beside the evidence. For a valve, review the operating movement and the cover position together. For a trap or other removable part, use the selected assembly instructions to establish how it comes out; do not approve an imaginary removal route drawn through a fixed basin or wall. Keep any user protection and finish-restoration requirements in that review. At acceptance, compare the installed arrangement with the approved evidence and record changes. This makes the check repeatable without inventing a promised repair time.
Keep factory scope and site scope separate. The module supplier may provide fixtures and internal services, while another contractor provides the receiving drainage, incoming supply or equipment outside the module. The access arrangement crosses that boundary. Assign responsibility for checking the final installation before it becomes an unresolved handover issue.
| Deliverable | What it should resolve | Responsibility to confirm |
|---|---|---|
| Fixture and service-point schedule | Identifies valves, drains, equipment and their functions | Supplier’s included configuration |
| Access and removal detail | Shows the working side, opening movement and relevant equipment-removal route | Supplier and selected equipment requirements |
| Site connection plan | Shows receiving services, obstructions and interfaces outside the module | Site designer and installation scope |
| Applicable-requirement review | Identifies the jurisdiction and requirements used for dimensions and operating checks | Project’s responsible design and approval parties |
| Handover records | Records the installed configuration, instructions and allocated inspection tasks | Supplier, installer and operating team |
The container-house quality-control guide can help structure the wider factory inspection. For this bathroom question, make the acceptance evidence specific. Confirm the access points against the order drawing, inspect the finished arrangement and record any discrepancy before accepting a generic checklist tick.
The portable bathroom planning guide is useful when the initial project scope is still unsettled. Once that scope is fixed, the order documents should answer the more detailed service questions instead of referring back to a marketing description.
Keep the handover useful after the first installation
A maintenance record should let the next operator identify the installed system without reconstructing it from photographs. Keep the component and valve identifications, relevant instructions, connection arrangement and agreed inspection responsibilities together. Record changes made on site so that the information describes the assembled facility rather than an earlier proposal.
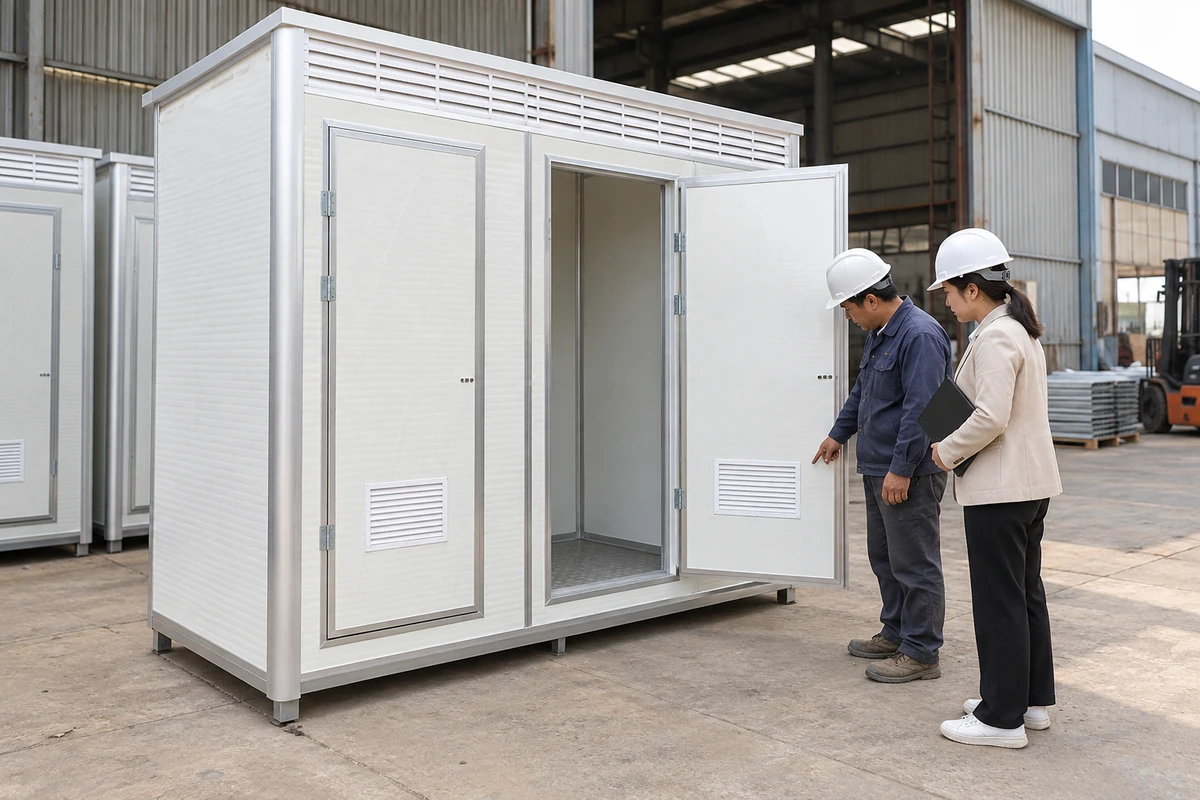
Relocation deserves another review. What was reachable beside the first site boundary may face a new obstruction at the next project. Recheck the access side, service connections and the layout in use. Preserve the requirements and equipment-specific instructions that still apply; do not assume that moving a portable building removes the need to reassess the installed services.
This is especially useful where facilities support changing occupancy. Keep the operating team involved in the handover so that inspection ownership, cleaning access and temporary closures are understood. A well-documented service arrangement helps that team make decisions, but it does not create a promised repair time or eliminate the need for the correct skills and parts.
Questions buyers often ask
Is there one minimum maintenance-aisle width for every portable bathroom?
No single width follows from the sources in this guide. Requirements attach to particular access points, user clearances, equipment and jurisdictions. Identify the task and the applicable provision before assigning a dimension. The NYC cleanout figures, for example, describe space perpendicular to the opening; they do not define the whole room’s corridor.
Can a small access panel make a concealed component serviceable?
It depends on the component and the operation. The opening must allow the required access or removal under the selected instructions and applicable requirements. Show the part, opening movement and obstruction on the drawing. An attractive panel alone does not answer those questions.
Are the HSE water temperatures suitable settings for every shower outlet?
No. Storage, distribution and selected monitoring points serve different purposes. The quoted values belong to the guidance’s temperature-control regime, not a universal user-outlet setting. Confirm the water-management and scald-protection arrangements for the actual project, equipment and users.
What should accompany an enquiry to PQSE House?
Provide the destination, facility type, expected operating pattern, proposed fixture arrangement, site-service information and any accessibility brief. Include the access questions still unresolved: isolation functions, drainage openings, equipment removal and monitoring points. Ask for inclusions, exclusions and the drawings or instructions that will govern the order.
Sources and application
The numerical material above was checked against the U.S. Access Board’s ADA Standards, Chapter 3, Chapter 4 and Chapter 6; the NYC 2022 Plumbing Code, Chapter 7; and HSE’s hot and cold water guidance with HSG274 Part 2. These sources address different jurisdictions and subjects. The tables preserve that distinction rather than combining them into a new universal standard.
For an order-specific review, send the layout and site information you have. Mark unknown interfaces clearly so that the quotation can identify the configuration, responsibilities and supporting documents.