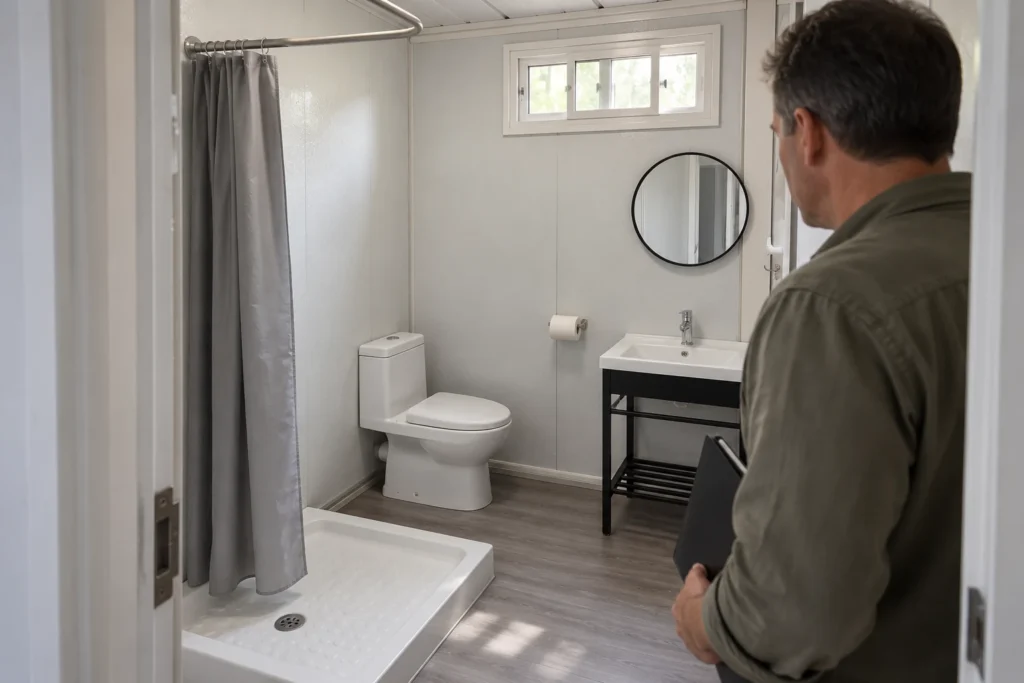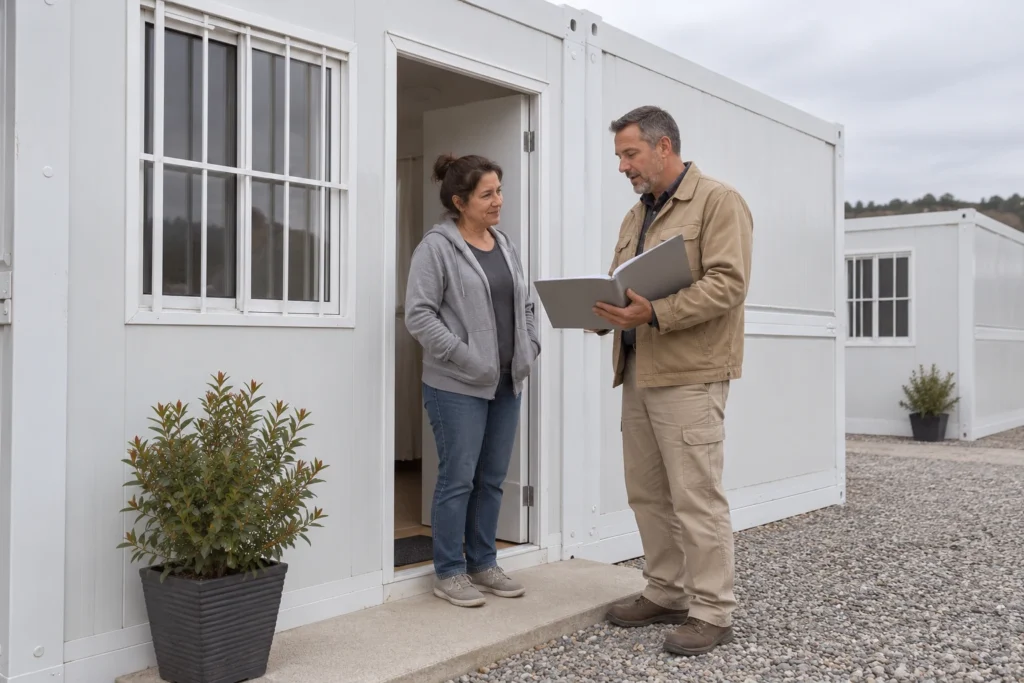
A flat pack container house can arrive as a compact group of components, but the delivery is not a finished building. The buyer still needs a receiving plan, a safe assembly sequence, a defined labor scope, service connections and an acceptance process. Those obligations should be visible before the order is signed. If the supplier quotes only the packed modules and the buyer budgets only a forklift and a crew, the gap tends to appear at the least convenient point: when a truck is waiting, a part cannot be identified, or a service contractor discovers that the connection point was never assigned.
This guide is for project buyers comparing a factory-prepared flat-pack building package with the work required at the destination. It does not replace the approved drawings, the supplier’s installation instructions or local engineering and permit review. The exact parts, lifting method, foundations, services and inspection requirements vary by specification and jurisdiction. Use the process below to turn a broad phrase such as “installation included” into a checkable scope and a documented handover.
Start with the system that is actually being purchased
The term flat pack describes a transport and assembly approach, not a universal bill of materials. A typical system may use factory-prepared floor and roof assemblies, site-fitted corner posts, wall and roof components, doors, windows, seals, fasteners and selected service provisions. That is a useful mental model, but it is not evidence that every listed item is included in a particular order. A bathroom, electrical distribution board, air conditioner, foundation, crane or final utility tie-in may be a separate line or a local contractor’s work.
Ask the supplier for the approved general arrangement, component list, packing list and interface drawings for the exact configuration you are buying. The PQSE flat pack container house product page provides a starting point for the product family; the signed project documents must resolve the job-specific details. If several units join into a larger office or accommodation block, also request connection and weathering details for those joints. The question is not simply whether the product can be assembled. It is whether the purchased package, destination work and approvals together produce the usable building specified in the brief.

Separate the module from the complete project
Write three columns before comparing offers: supplied in the packed module; supplied separately by the manufacturer or its installer; and supplied by the buyer or destination contractor. Apply those columns to structural parts, enclosure, internal finish, electrical items, plumbing, heating and cooling, external steps, fire and access provisions, transport, unloading, foundations and testing. Where a line says “by others,” name the party and the document that defines the handoff. A blank is a risk, even when both teams assume the other side will handle it.
The container house kit inclusions guide helps distinguish a quoted kit from the completed site scope. Use it with the itemized quotation, not as a substitute for one. A lower package price can be rational if local work is intentionally excluded and accurately costed. It becomes misleading only when excluded work is treated as if it will happen automatically.
Reconcile the packing list before unloading becomes assembly
Receiving is the first quality gate. Get a packing list that identifies packages, component names, quantities, unit or building references, and any separate accessory cartons. Match that list to the delivery documents and the approved drawings. A generic note saying “one set of flat-pack houses” cannot help a team determine whether a specific connecting plate, seal profile or hardware bag is missing.
Take an overview photograph of the load before straps are removed, then photograph labels, visible damage, wet wrapping and any distorted corners. Count packages in a safe designated area and record discrepancies against the carrier’s delivery record. Keep a clear distinction between not delivered, delivered but inaccessible inside another pack, damaged, and not identifiable. Those states call for different actions. Do not quietly replace a specified fastener or seal with a local lookalike; ask the designer or supplier to approve an equivalent in writing.

The receiving team should know who may accept the load with exceptions, who can authorize a replacement, and whether a damaged structural item must remain isolated. A responsible installer can work around a minor packaging scuff, but a bent connection, compromised coating or crushed insulated panel may affect fit or weather protection. The shipping and loading guide addresses the transport side; at site, the useful output is a dated receiving register linked to photographs and package IDs.
Stage parts so that inspection remains possible
Choose a clean, drained storage area before the truck arrives. Keep floor and roof assemblies supported as the supplier directs, protect panel edges, prevent small hardware cartons from disappearing into a larger pile, and preserve the labels needed to match parts to units. Plan the unloading route and equipment around the heaviest and largest actual package, not an assumed standard module. A forklift or crane decision must come from the supplier’s lifting points, package weights, site ground conditions and local lifting plan.
The staging sequence should follow installation need while allowing an unresolved damaged package to stay separate. For example, making every wall panel inaccessible beneath floor frames may reduce yard space but add rehandling and damage risk. Likewise, opening every accessory box at once can make a count impossible. Document how long materials may remain outside and how temporary covers, drainage and security will be managed.
Make the destination-ready condition measurable
“Site ready” is too vague for an assembly contract. The approved foundation or support arrangement should be available, accessible and accepted before components are lifted into place. Confirm levels, location, bearing assumptions, anchor details and safe approach for delivery equipment against the project design. Where the design depends on local ground or wind information, a competent local professional must confirm it. A product brochure cannot certify a specific site.
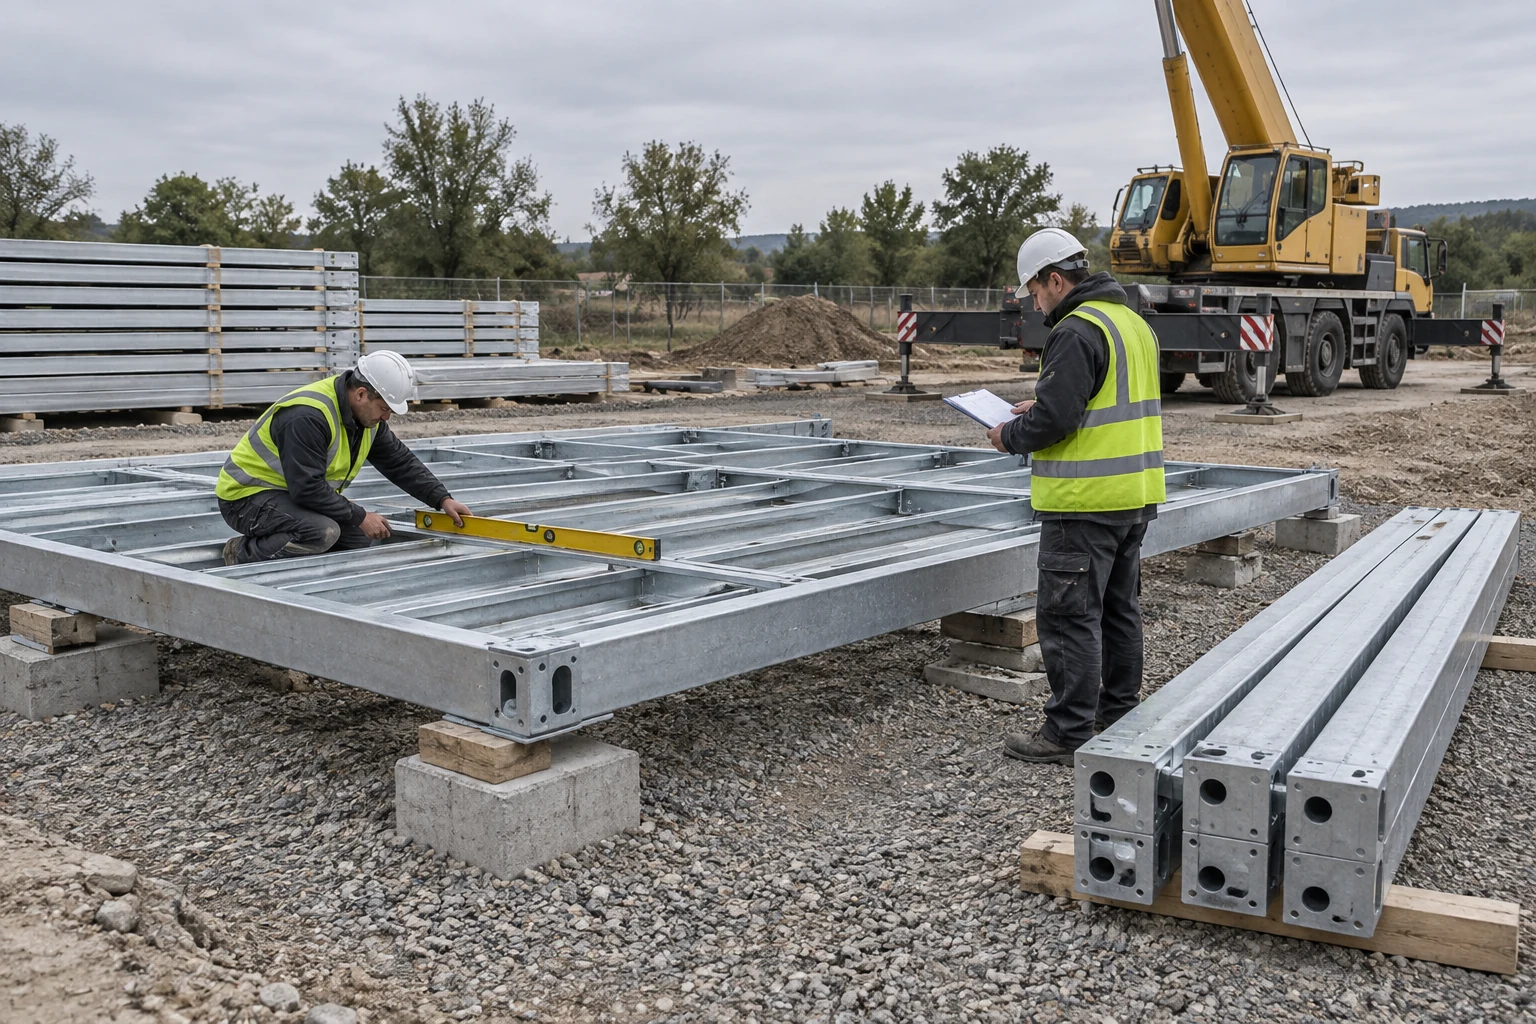
Mark the boundary of the work zone, pedestrian routes and temporary storage. Confirm whether overhead lines, adjacent operations, restricted hours or uneven access change the planned lift. Arrange a place for waste and protective packaging. If the building will need water, drainage, power or data, establish the incoming connection points and the party responsible for each side of the boundary. The modular building utility planning guide is a useful companion when these service interfaces have not been resolved.
The site-readiness check should end with a named sign-off, not an informal message that the ground “looks fine.” Record which drawings were used, the date of measurement, open items and any hold point that prevents assembly. If one support is out of tolerance, the installer needs an approved remedy before the roof and enclosure make adjustment harder.
Assign labor and equipment by task, not by a single day rate
A quoted assembly crew may erect the supplied structural kit without doing groundwork, electrical connection, plumbing, commissioning or final inspection. Conversely, a buyer’s local crew may be expected to provide lifting support while the supplier provides a supervisor. Put each task into an interface matrix: prepare supports, receive and inspect packs, unload, lift, align, fasten, seal, install doors and windows, fit internal items, connect services, test and hand over. Beside each task record who leads, who supplies equipment and consumables, who checks the result, and what evidence closes it.
Installation duration is conditional. Crew experience, number of modules, joint complexity, site constraints and weather all matter. A precise “hours per unit” claim from another manufacturer’s system cannot be transferred to a PQSE configuration. Ask for a sequence and resource estimate tied to the actual drawings instead. The general container house installation guide explains broad steps; a flat-pack order still needs its own package-specific method statement.

Decide who controls the assembly sequence
One lead should hold the current drawing set, confirm that supports and parts are ready, and stop the work when a component does not match. The party supervising the sequence must have authority to resolve—or escalate—an unexpected connection, missing item or unsafe lift. This matters especially when the manufacturer, local contractor and utility specialists are different companies. A coordination call is not a replacement for a written installation responsibility.
Ask whether specialist tools, sealants, fasteners, lifting gear, access platforms and temporary braces are included. Confirm whether the supplier’s representative is on site, remote, or absent, and whether travel, waiting time and return visits are priced. If a local crew will perform the work, request the installation manual early enough to assess skills and equipment before delivery. An installation start date should be contingent on components, supports, crew and lifting plan all being ready.
Follow an assembly sequence with visible hold points
The exact sequence comes from the system instructions. In a common flat-pack arrangement, a crew verifies supports, places and aligns the floor assembly, connects posts, positions the roof assembly, fits wall panels, completes openings and weathering, then finishes services and testing. The order can differ for a particular product or joined layout. The critical point is to identify inspections before later work hides the connection or seal.
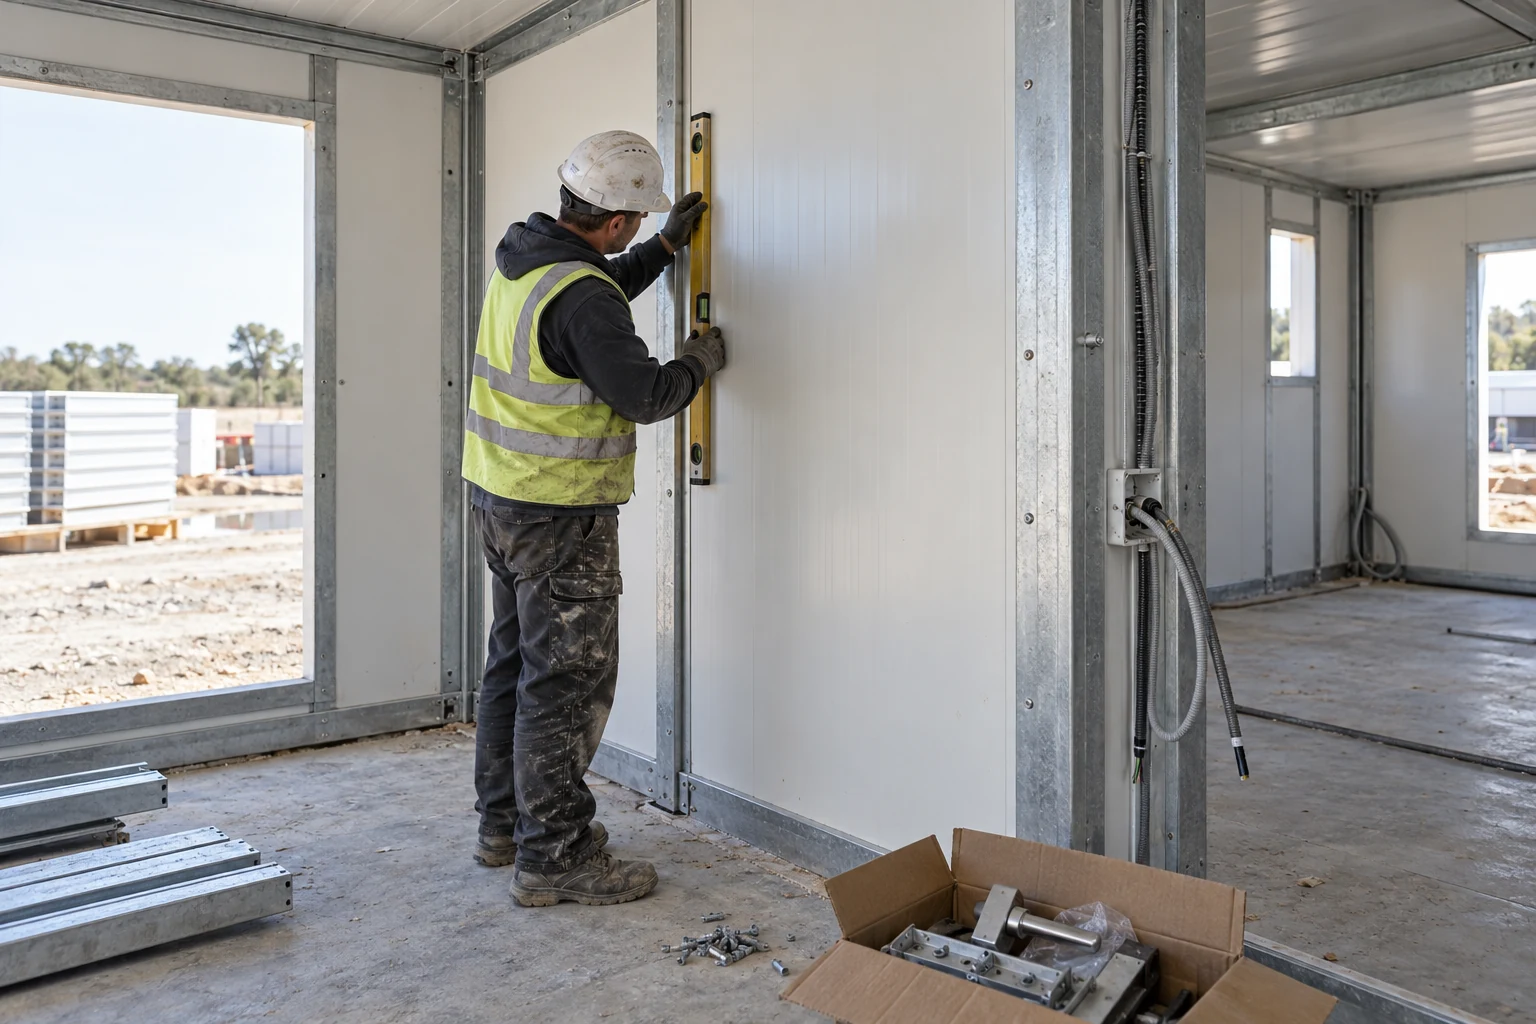
Hold points may include foundation acceptance, floor level and anchorage, structural connection torque or fastening method, roof drainage path, wall-to-frame sealing, door and window operation, and service rough-in before closure. A photograph is useful evidence but not a substitute for a measurement or test when one is specified. Record actual component or unit IDs so that a later defect can be traced to a location and corrective action.

Factory preparation reduces some destination work, but it does not make destination workmanship irrelevant. Misaligned supports can distort the frame; an unapproved seal substitution can let water reach a joint; a cable penetrated after the panel is closed can bypass intended protection. If the crew encounters such a conflict, stop at the boundary and obtain a documented instruction. Trying to maintain a schedule by hiding an unresolved interface usually transfers cost into rework and operation.
Treat joined units as a separate design interface
A row or cluster of flat-pack modules is more than repeated single-unit assembly. Joined units may need coordinated levels, structural connections, roof and wall weathering, fire or acoustic separation, service continuity and circulation details. The buyer should request the connection drawing and identify who supplies, installs and tests each joint. A supplier may offer a standard joining kit, but its suitability for the specific arrangement and local requirements still needs confirmation.
Do not assume that the interior layout drawing proves a continuous weather barrier or that a factory test covers a field-made joint. The joint should be inspected at the stage when both sides are accessible, then rechecked after any penetration or finish work. For a larger project, document which contractor owns the line between modules; a joint between two contractual scopes is where responsibility often becomes hard to trace.
Carry services and local approval into the same scope matrix
Electrical, plumbing and ventilation are easy to write as one line, but they involve supply, connection, inspection and operation. Ask what is already installed in each module, what is only prepared for later work, and which tests were completed at the factory. At site, identify the person who makes the incoming connection and the person who verifies the completed system. A prewired interior does not establish the capacity or condition of the local supply.
For water and wastewater, confirm fixture count, pipe termination points, fall, drainage route, hot-water provision and any required treatment or storage. For power, confirm distribution boundaries, protective devices, earthing/grounding approach and inspection requirements. For cooling and ventilation, check whether equipment is supplied, installed, powered, tested and accessible for maintenance. These are project questions, not claims that every flat-pack package includes the same services.
The project team also needs to identify the applicable local permit, planning, building, fire, accessibility and occupational requirements. The container house permits and codes guide can help frame questions for local authorities and professionals. It cannot certify approval in a particular jurisdiction. Record which professional or authority is responsible for each review, what documents they need, and which approval is required before occupancy.
Define acceptance before the crew leaves
Acceptance should follow the contracted scope. It can include a component count, dimensional and level checks, completed connections, coating and panel condition, roof drainage and water ingress checks as appropriate, door and window operation, electrical and plumbing tests, equipment operation, and completion of local inspections. The standard and tolerance for each item should come from approved drawings, manufacturer instructions and applicable project requirements. Avoid an improvised pass/fail checklist that nobody agreed to beforehand.
Use a punch list with location, photo, owner, action and due date. Separate defects that prevent safe use from cosmetic items and from buyer-requested changes. A practical completion certificate should state what was tested, what is outstanding and what documents were delivered. The container house quality-control guide gives a wider framework for factory and site verification; here the focus is specifically on the transfer from packed components to an accepted destination-built unit.

The handover pack should include as-built or final drawings where relevant, component records, installation and maintenance instructions, test results, warranties and known limitations. Record who will inspect roof drains, seals, connections and services after occupancy, and at what intervals the actual manufacturer documents require. If the buyer plans to relocate the building later, protect the instructions and reusable hardware records from the first installation. Reuse is easier to assess when there is evidence of how the first unit was assembled and maintained.
Test a realistic exception before signing off
Imagine that one door will not latch after the services have been connected. Is the problem a door adjustment, a frame alignment issue or a shifted support? The answer affects which contractor returns and whether the building can be occupied. Now imagine a missing seal discovered in a future rain inspection. Can the team identify the specified seal, installation record and responsible installer? An acceptance process is useful when it helps resolve these ordinary exceptions, not only when every checkbox is green on opening day.
For multi-unit projects, check a representative first unit early. A repeated detail can multiply a small defect across the whole order. Record a correction at the first unit and confirm the revision reaches every crew before work proceeds. That is more valuable than a photograph of many completed units with an unresolved common joint.
Compare offers on delivered and accepted scope
The quoted package price is only one part of the decision. Ask each bidder to price or clearly exclude transport, unloading, storage, lifting, foundation, assembly supervision, local labor, services, permits, testing, defects correction and return visits. Then compare offers on the same completion point: a counted package at destination, an erected shell, a connected building, or an accepted unit ready for the approved use. Those are different products of work.
The flat pack container house price guide discusses price drivers; this guide focuses on whether the responsibilities behind a price have been assigned. When one quote says “installation included,” request a schedule of included tasks and exclusions. When another says “buyer installs,” ask which instructions, connection details and technical support will be provided. A transparent exclusion may be easier to manage than an ambiguous inclusion.
Use a simple comparison record for each bidder: document revision, module configuration, component schedule, destination assumptions, interface owners, tests, handover deliverables, lead time and exception process. Note unresolved items separately and price them once ownership is confirmed. Do not rank a supplier on an apparent saving that depends on unpriced local work.
A buyer’s pre-order and pre-handover checklist
Before ordering, obtain the exact configuration and drawing revision, itemized component and accessory list, packing method, lifting data, installation instructions, joint details for connected units, site-support requirements, service boundary diagram, responsible-party matrix, inspection plan and local approval path. Ask who supplies consumables, who can approve substitutions, and how shortages or transit damage are reported. Confirm what the supplier will do remotely and what requires an on-site representative.
Before installation, verify the prepared supports, access, lifting plan, receiving register, component count, protected staging and current drawings. Before accepting the building, review recorded hold points, outstanding defects, test evidence, service connections, permits and handover documents. Keep one document owner so that a later operator is not searching across a salesperson’s email, a contractor’s phone and an unlabeled box of spare parts.
A good flat-pack purchasing decision makes those interfaces explicit. It lets the buyer choose how much work to procure from the manufacturer and how much to assign locally, while keeping the path from delivered components to an accepted building visible. If you are preparing a multi-unit project, send PQSE the planned layout, destination and scope questions so the quotation can identify the package and the work still needed at site.
Research and applicability notes
This article uses the PQSE product brief for the specific product family and cross-checks the general assembly and responsibility concepts against UMD’s flat-pack installation guide, KUBO’s flat-pack product information, and the Modular Building Institute’s discussion of onsite/offsite interfaces. Those external descriptions show possible construction methods and contracting interfaces; they are not PQSE specifications. Confirm the exact components, loads, sequence and local compliance for each order in its approved project documents.