

PQSE HOUSE · DETACHABLE BUILDING SYSTEM

Detachable
Container House

Built Around Your Project

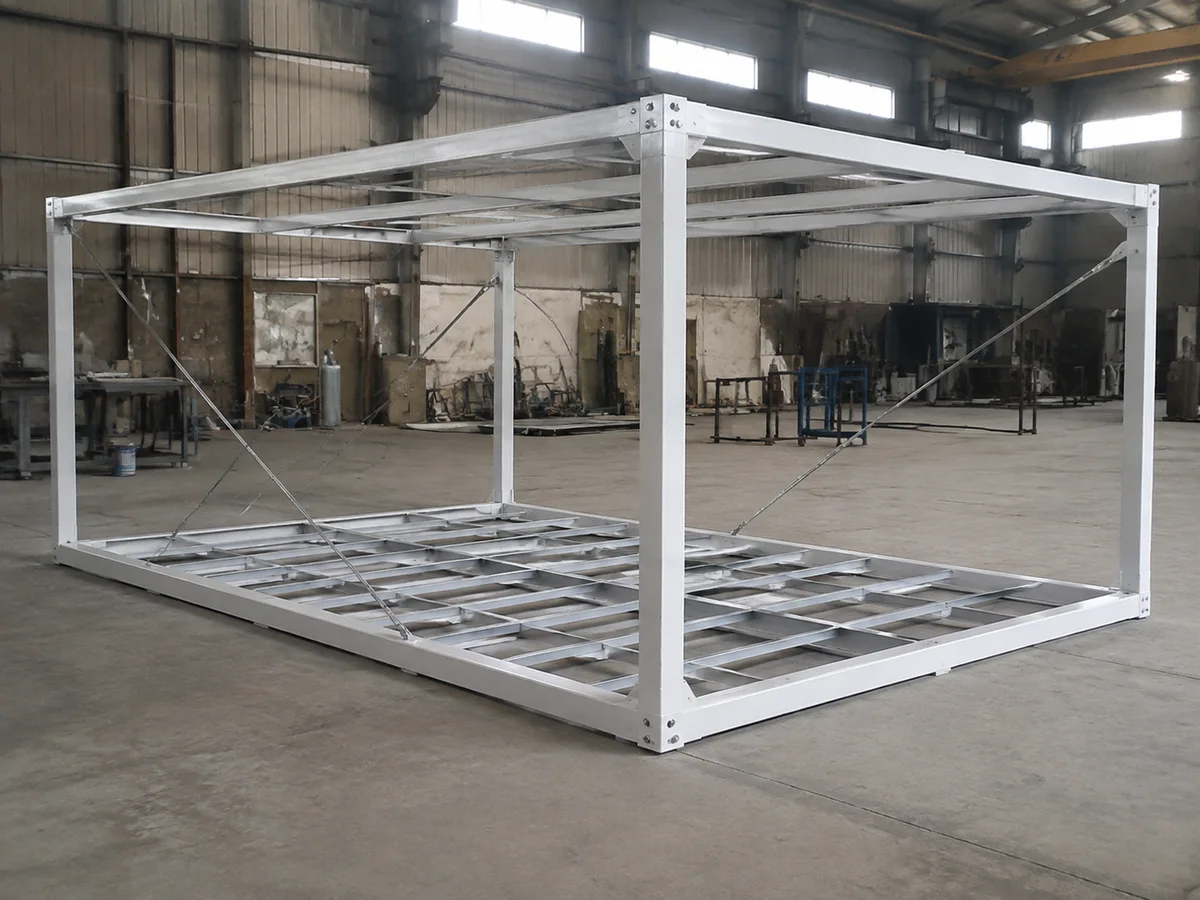
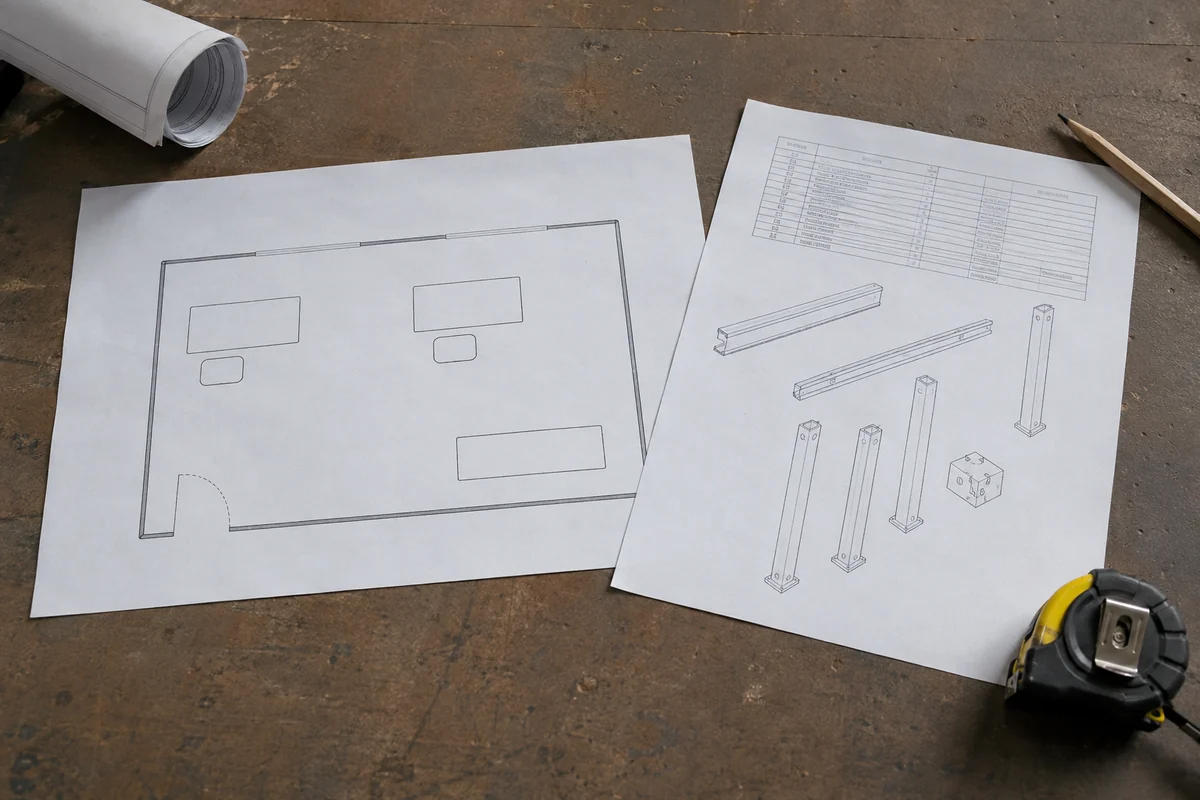
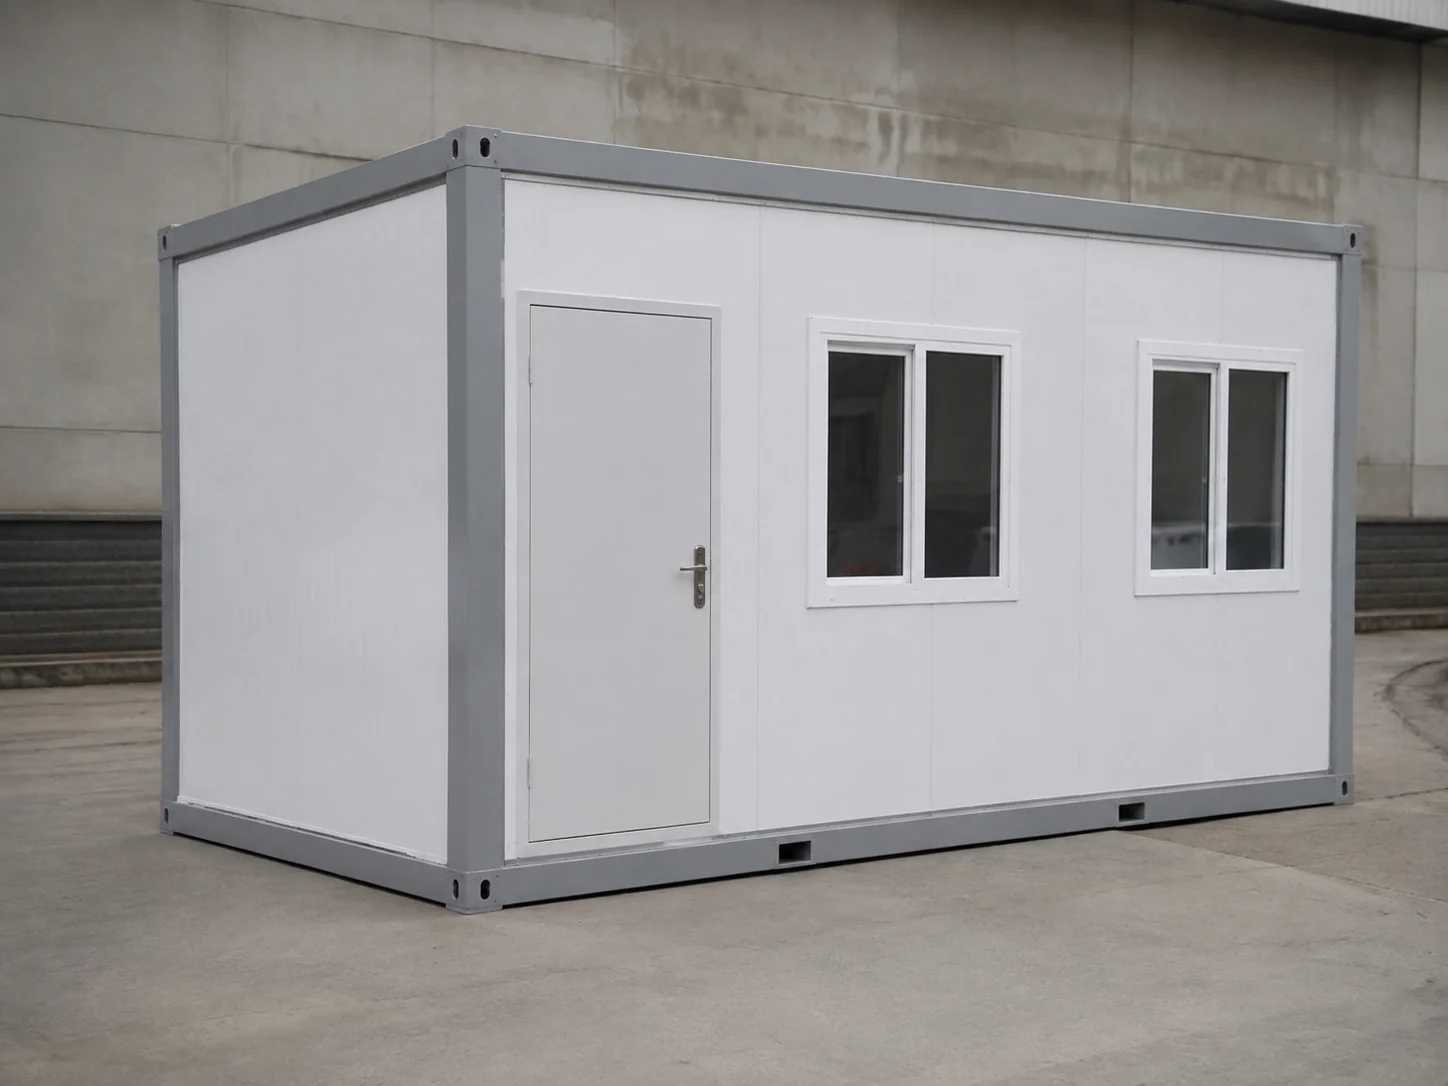
A detachable container house uses a bolted steel frame and separate panels to create a modular container building. Often called a demountable container house, it can be configured for rooms, offices or a bathroom-equipped unit. Compare the reference floor plan, material choices and assembly scope before planning the building package.

UNDERSTAND THE SYSTEM

Separate Components. A Coordinated Building.

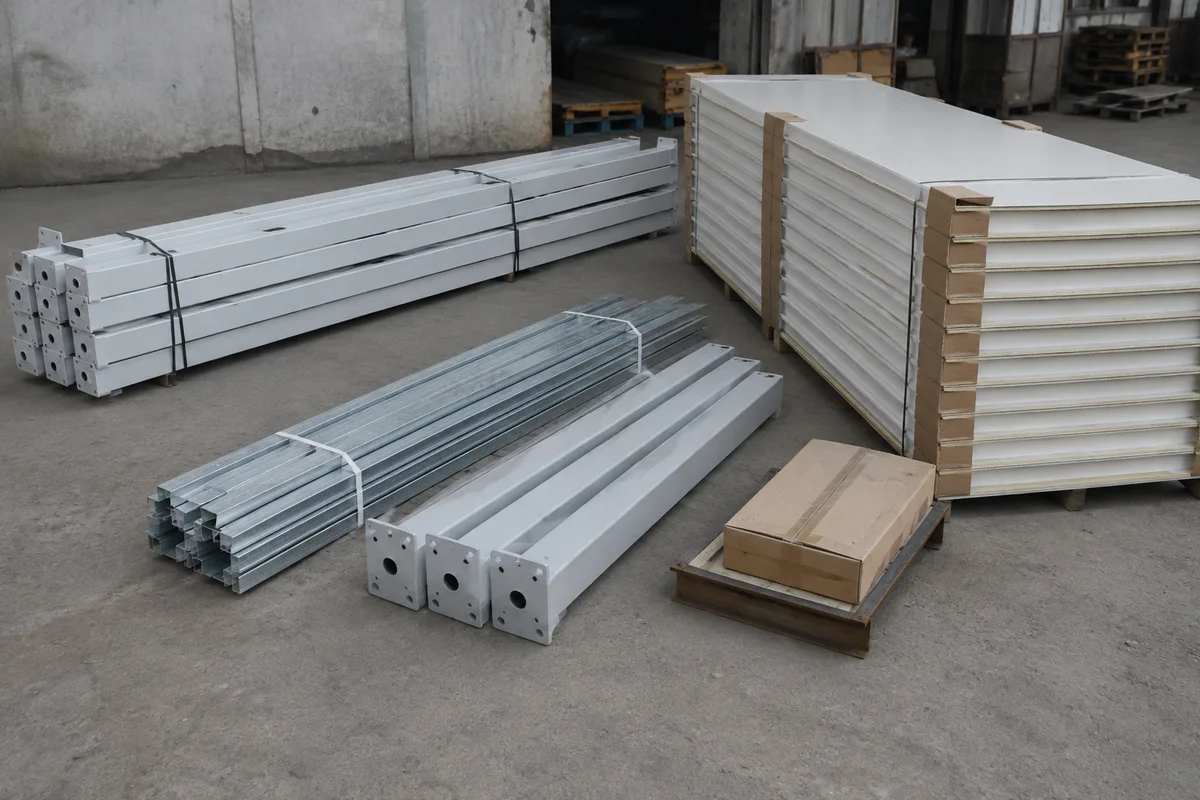
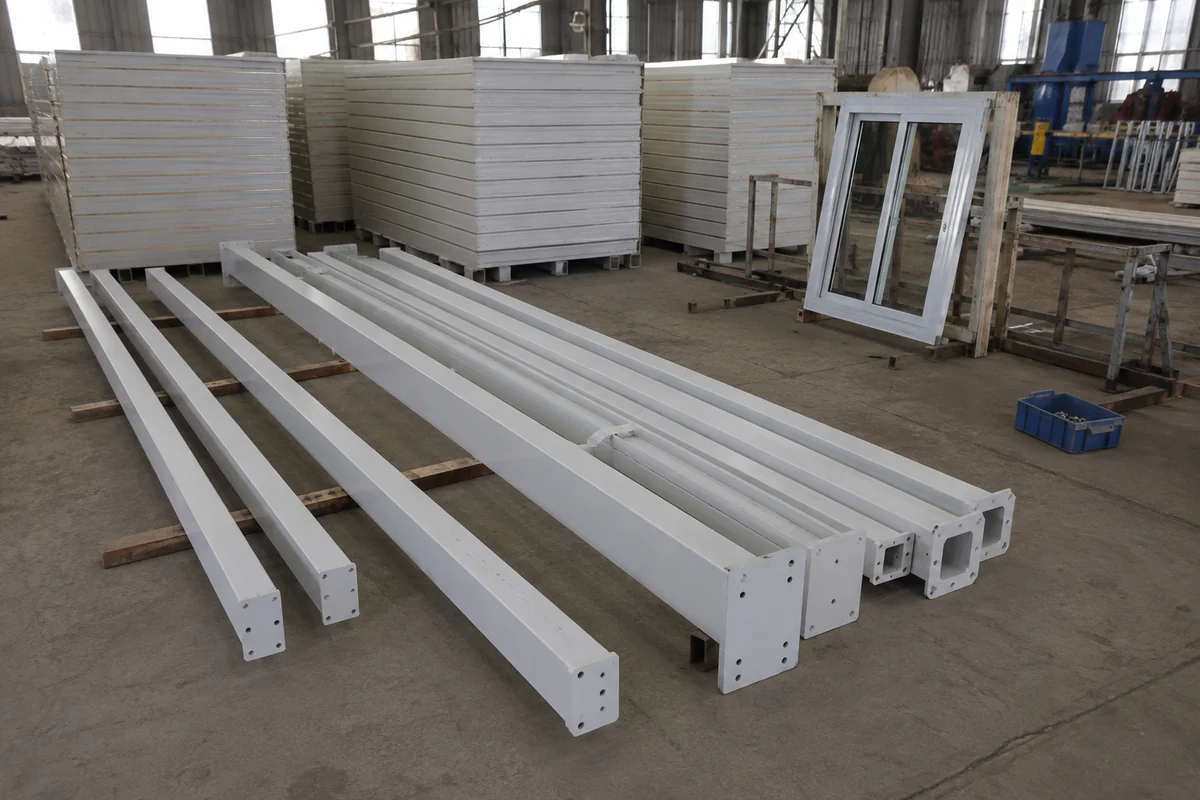
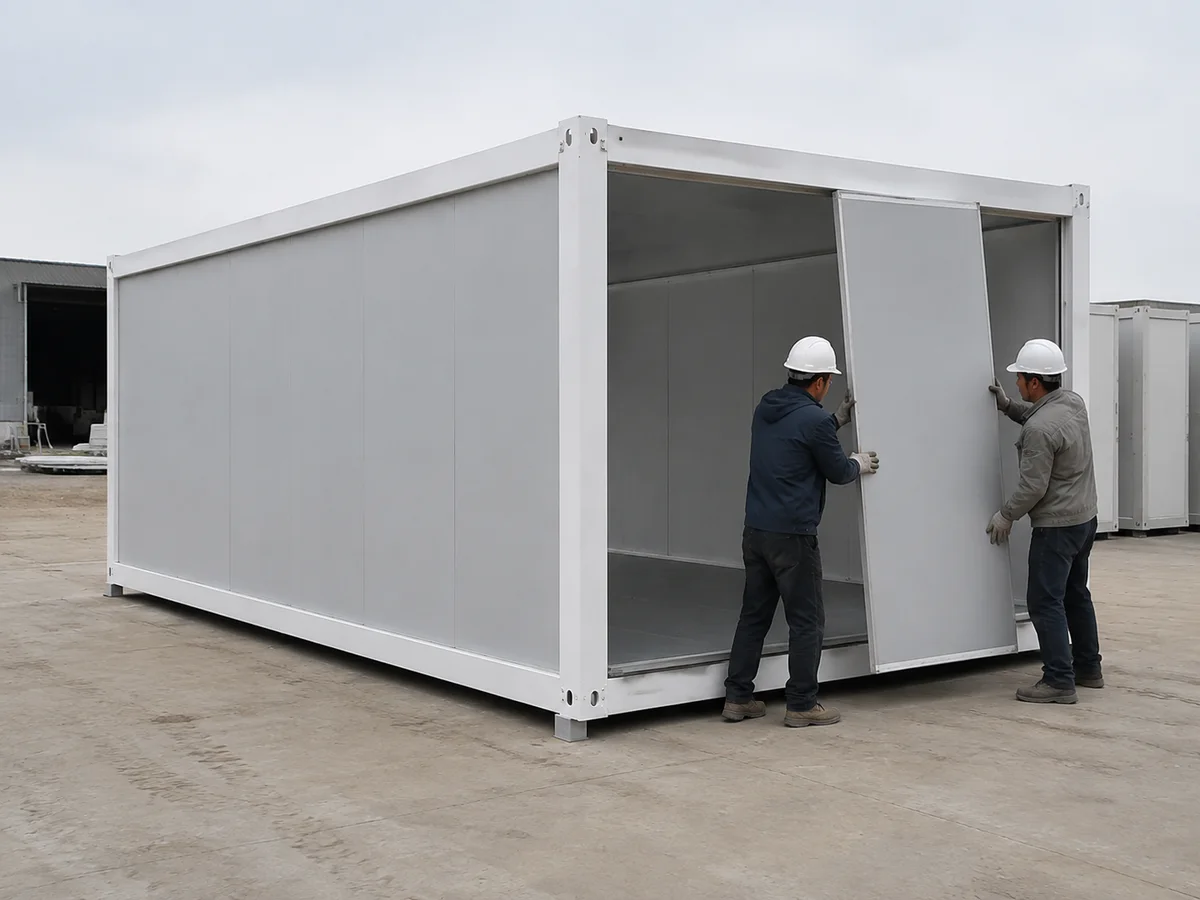
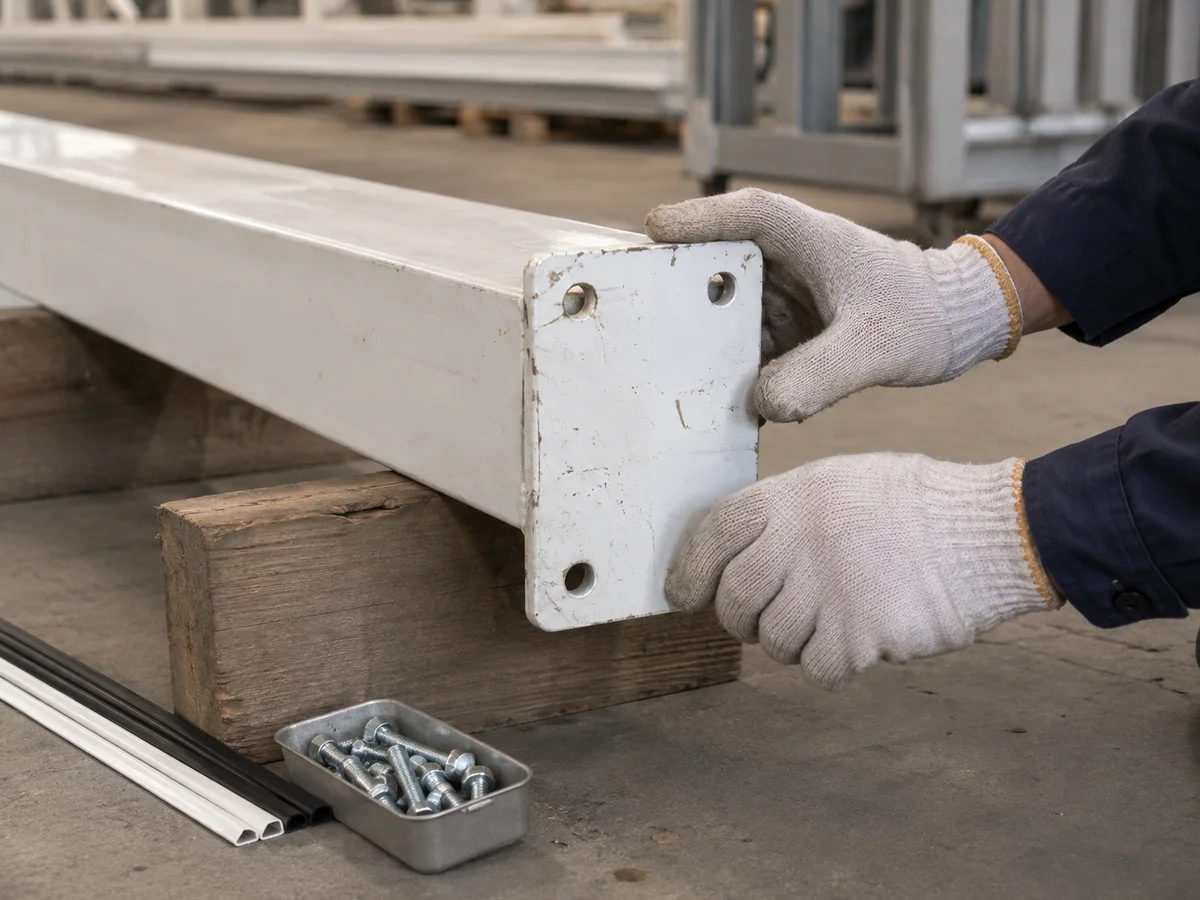
A detachable container house uses factory-made frame parts, wall panels and fittings, packed for transport and assembled on site to the approved drawings. Confirm which components, fasteners and seals arrive in the kit against a numbered packing list, and identify anything your installation team must source locally.

Check more than the finished room size. Ask what the shipment includes, how each part is labelled and which jobs your local team must complete.

01

Frame members

Posts, beams and other frame parts form the structure shown in the project drawings.

02

Enclosure and openings

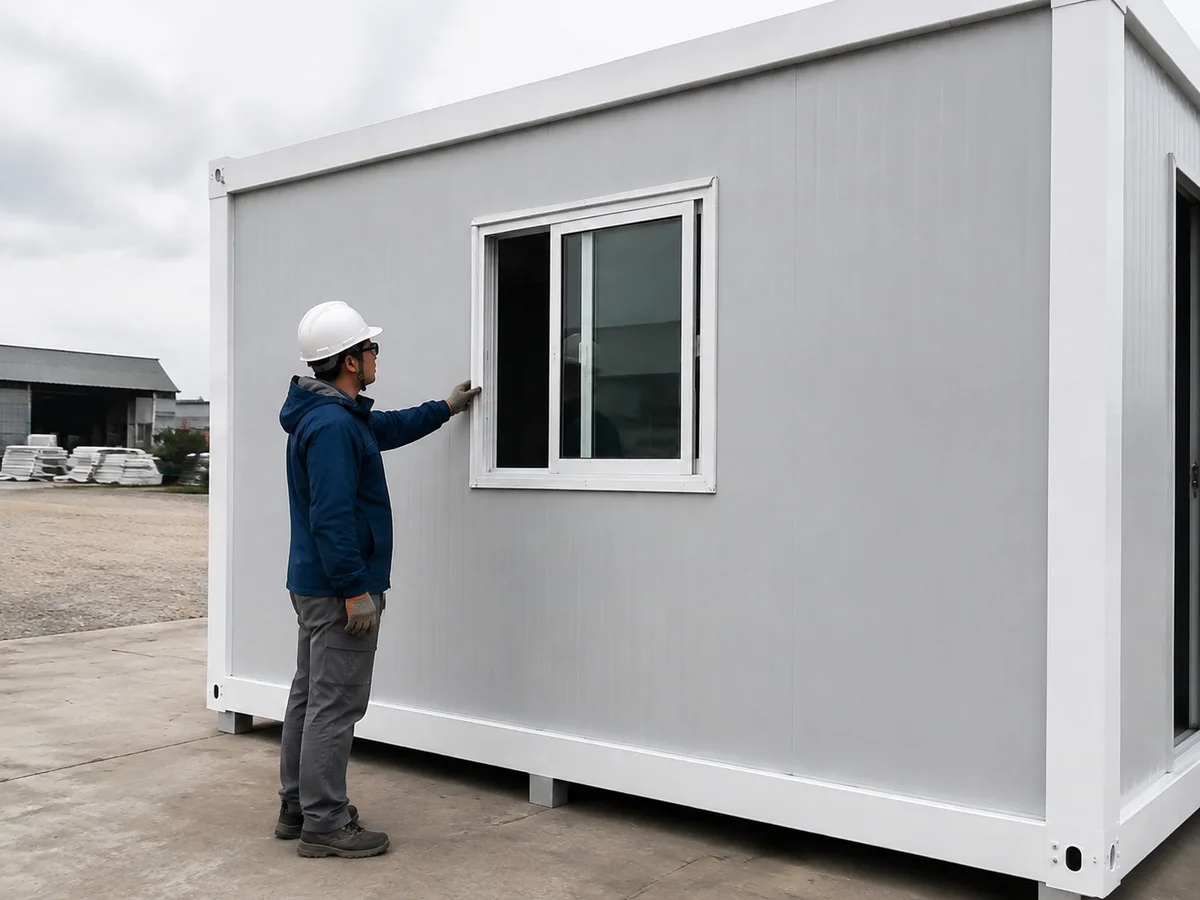
Choose the wall panels, roof, floor, doors and windows as one building package.

03

Connections and completion

Plan joints, weather seals and utility connections together with the site assembly work.

CHOOSE YOUR STARTING POINT

Configure the Room for the Way It Will Be Used

Start with the activity inside the building. Occupancy, furniture, circulation and service needs help determine the right arrangement.

01

Open-Plan Unit

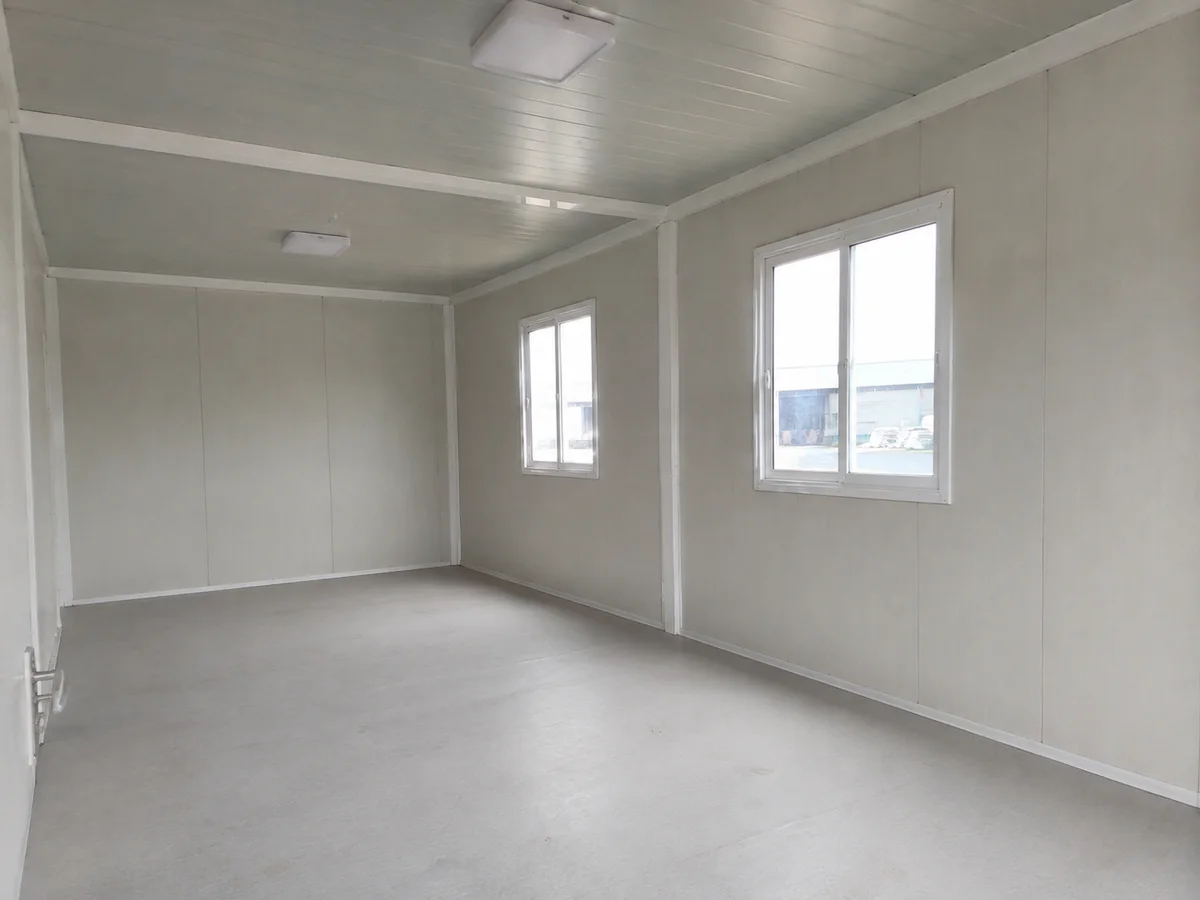
A flexible starting point for a site office, meeting room or general project workspace. Review furniture positions, clear circulation and the locations of doors and windows.

02

Office or Accommodation Layout

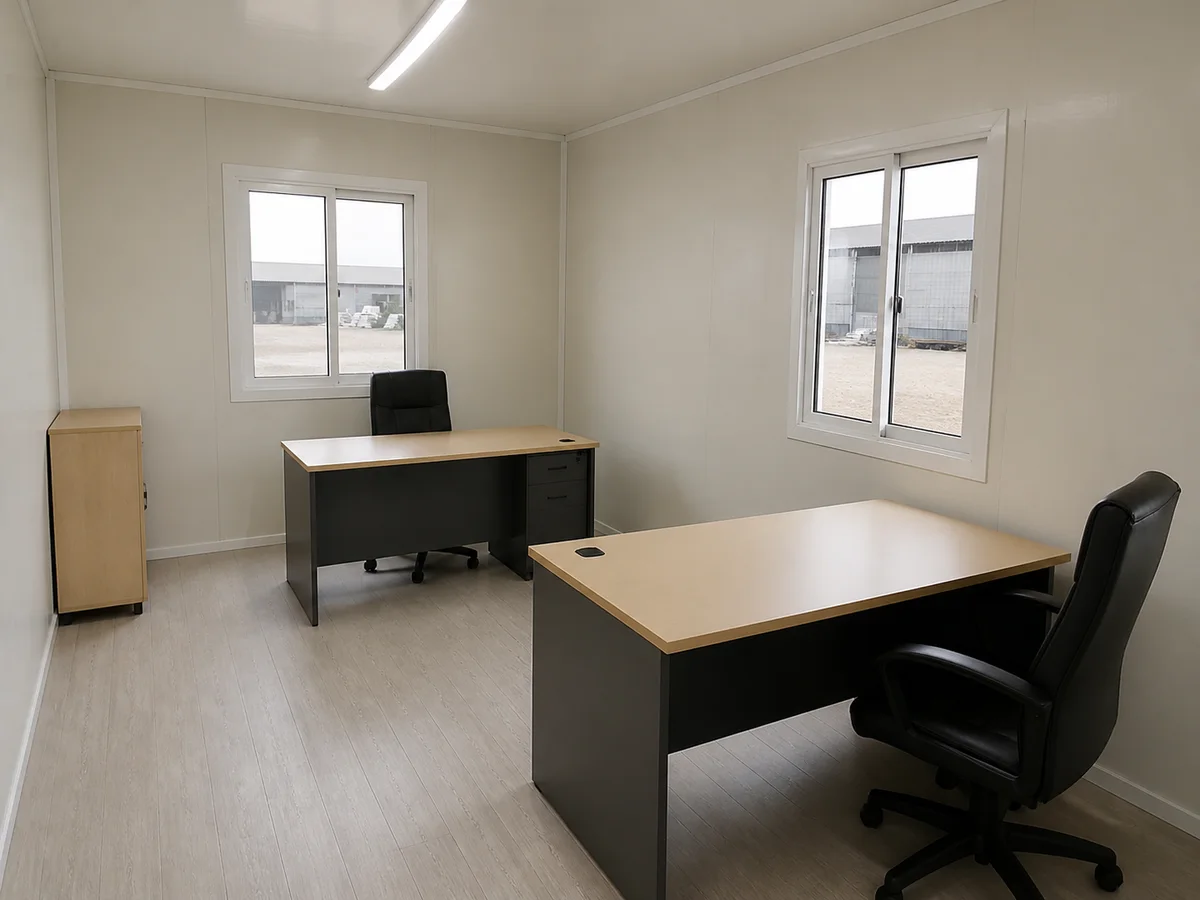
Introduce partitions around work areas or sleeping spaces. Review occupancy, privacy, ventilation and the furniture needed for daily use.

03

Room with a Bathroom

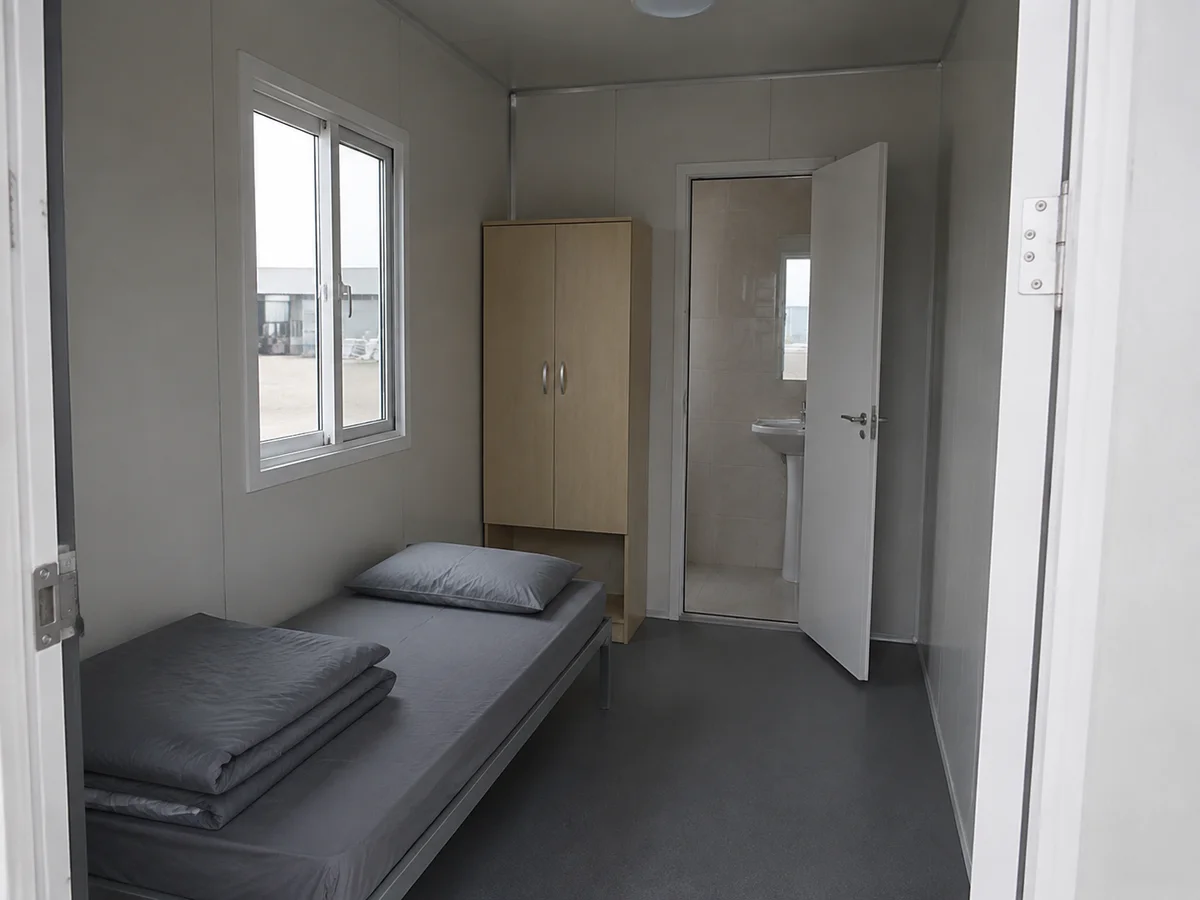
Plan the wet area together with water supply, drainage, ventilation and maintenance access. Confirm the sanitary fixtures and the division of installation work.

SPECIFY THE BUILDING

Detachable Container House Dimensions and Material Options

The 20ft detachable reference module measures 5,950 × 3,000 × 2,800 mm. Its steel members are bolted together on site. Compare the published Standard and Premium frame packages below; member sizes, quantities and drainage components belong to the named package.

See the full specifications · View the floor plan

Frame & Connection Details

Panels & Finishing Components

Key specification
Reference model
Reference size (L × W × H)
Reference model

5,950 × 3,000 × 2,800 mm

Gross footprint
Reference model

17.85 m²

Basic openings
Reference model

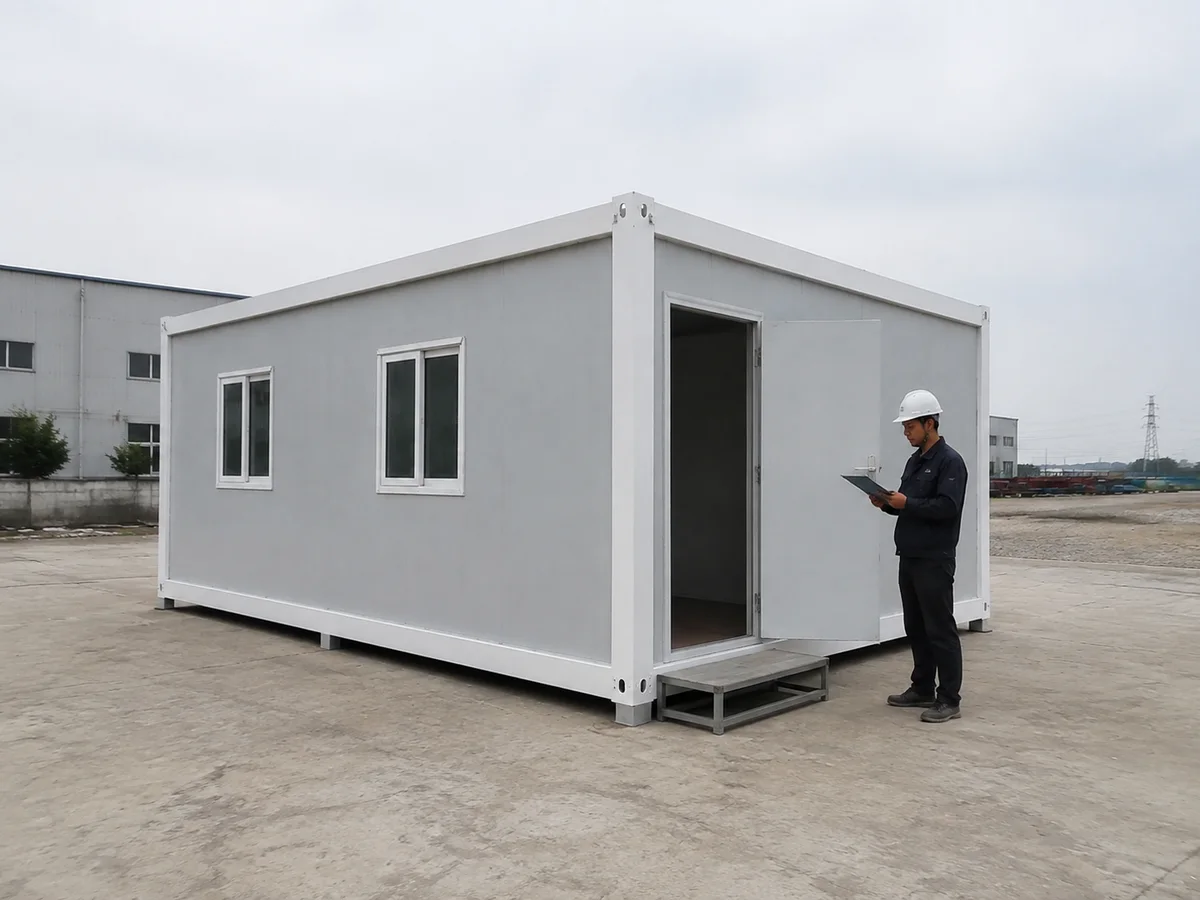
1 door and 2 windows

Connection system
Reference model

Bolted frame and separate floor, roof and wall components

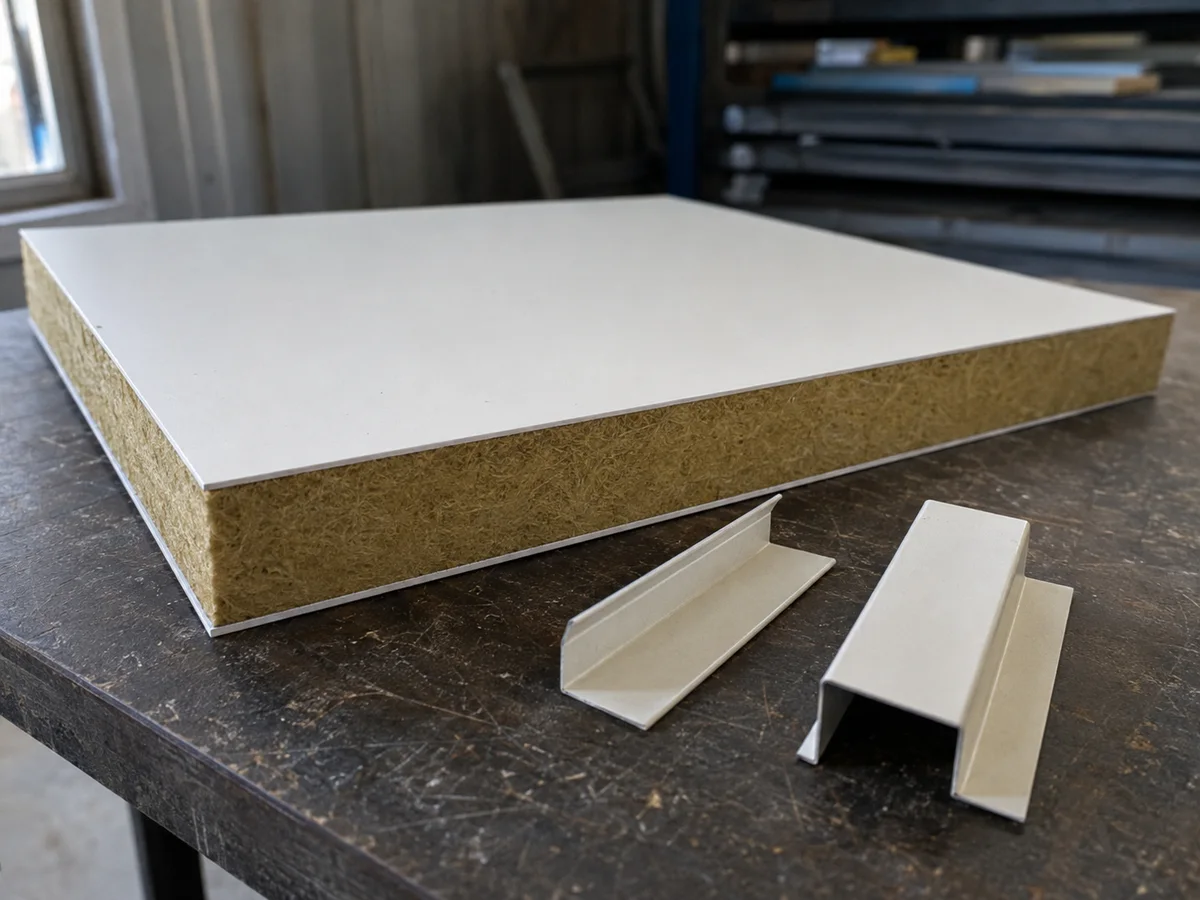
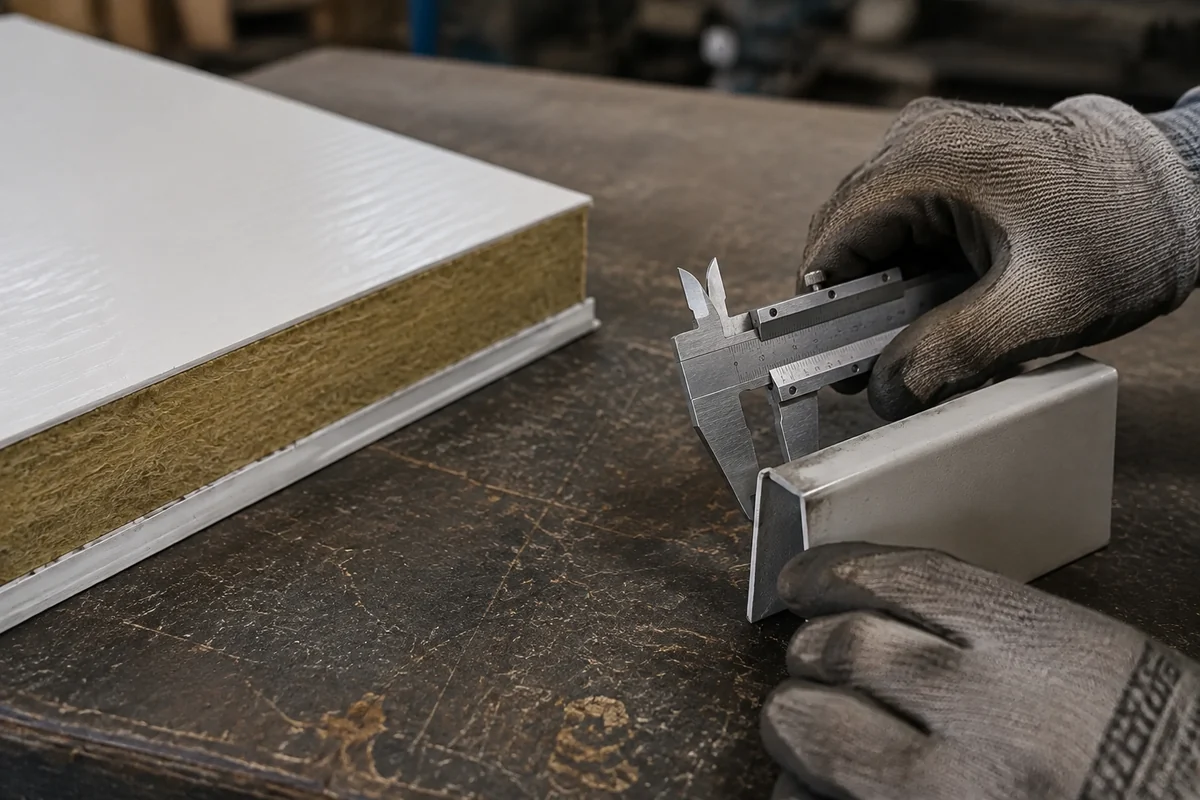
EPS, mineral-wool and polyurethane-based panel systems can be discussed as specification options. Suitability depends on the actual product assembly and supporting documentation; insulation names alone do not establish a building’s fire or thermal performance.

Models, Materials and Full Specifications

Compare the illustrated model or package with its complete specification. Dimensions are in millimetres unless stated; optional materials and equipment follow the selected order.

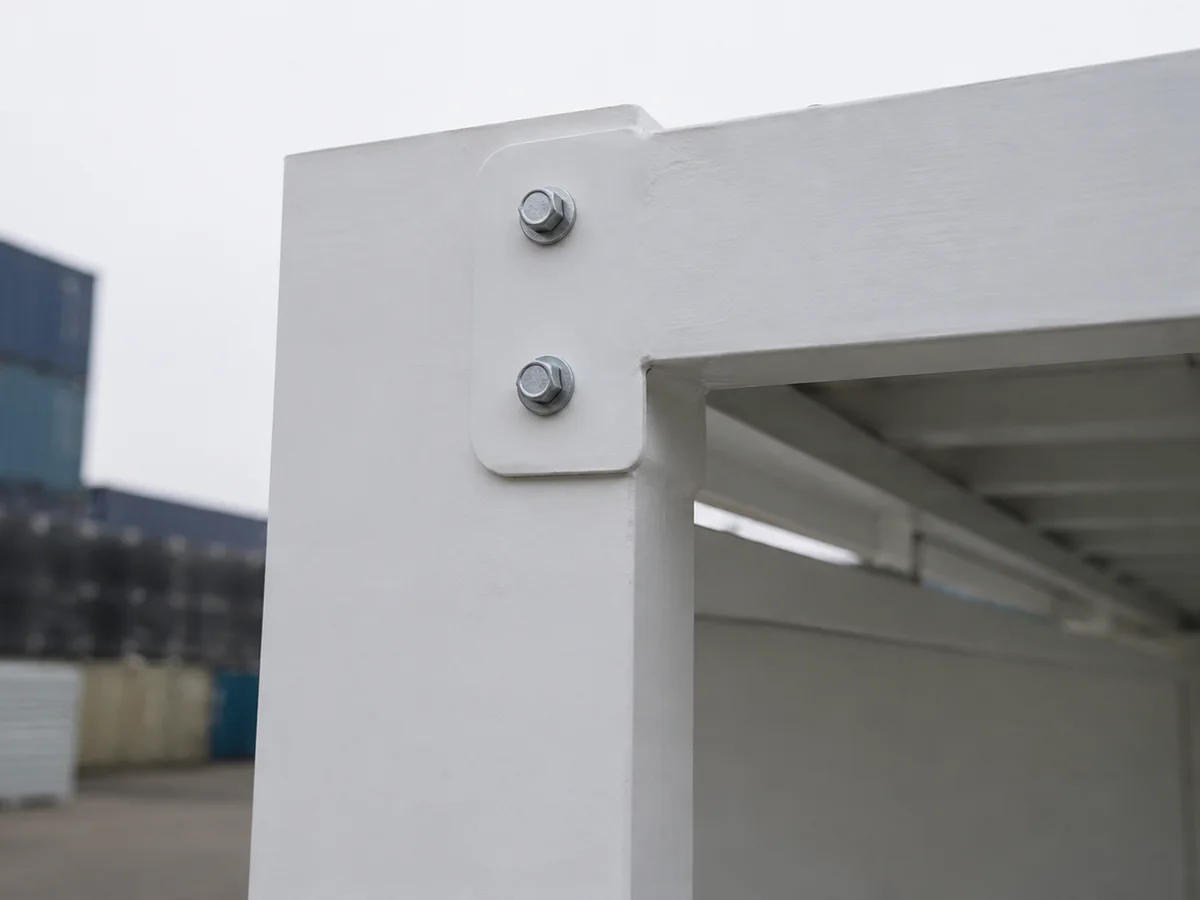
Product detail illustration; supplied components follow the selected specification. Select image to enlarge.

Module, openings and assembly

Reference external size

5,950 × 3,000 × 2,800 mm (L × W × H).

Gross footprint

17.85 m², calculated from external dimensions.

Structural connection

Prefabricated steel components assembled with bolts on site.

Standard open-plan openings

1 door and 2 windows; bathroom plans have a separate opening schedule.

Base electrical scope

Lighting and a basic electrical system.

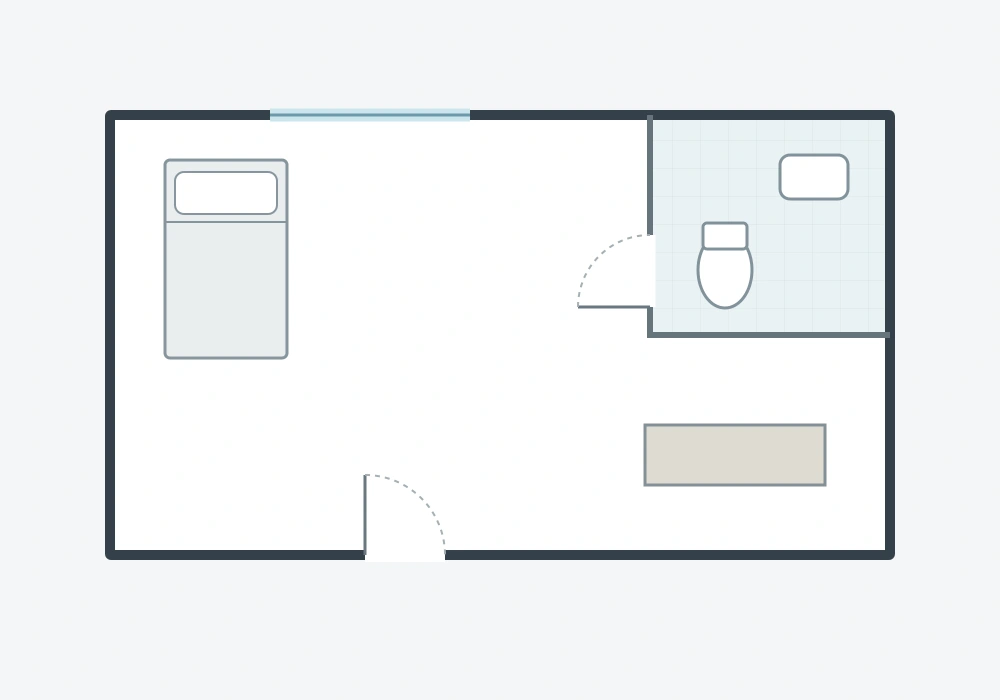
Illustrated room layout

Main room plus bathroom with WC, washbasin and shower.

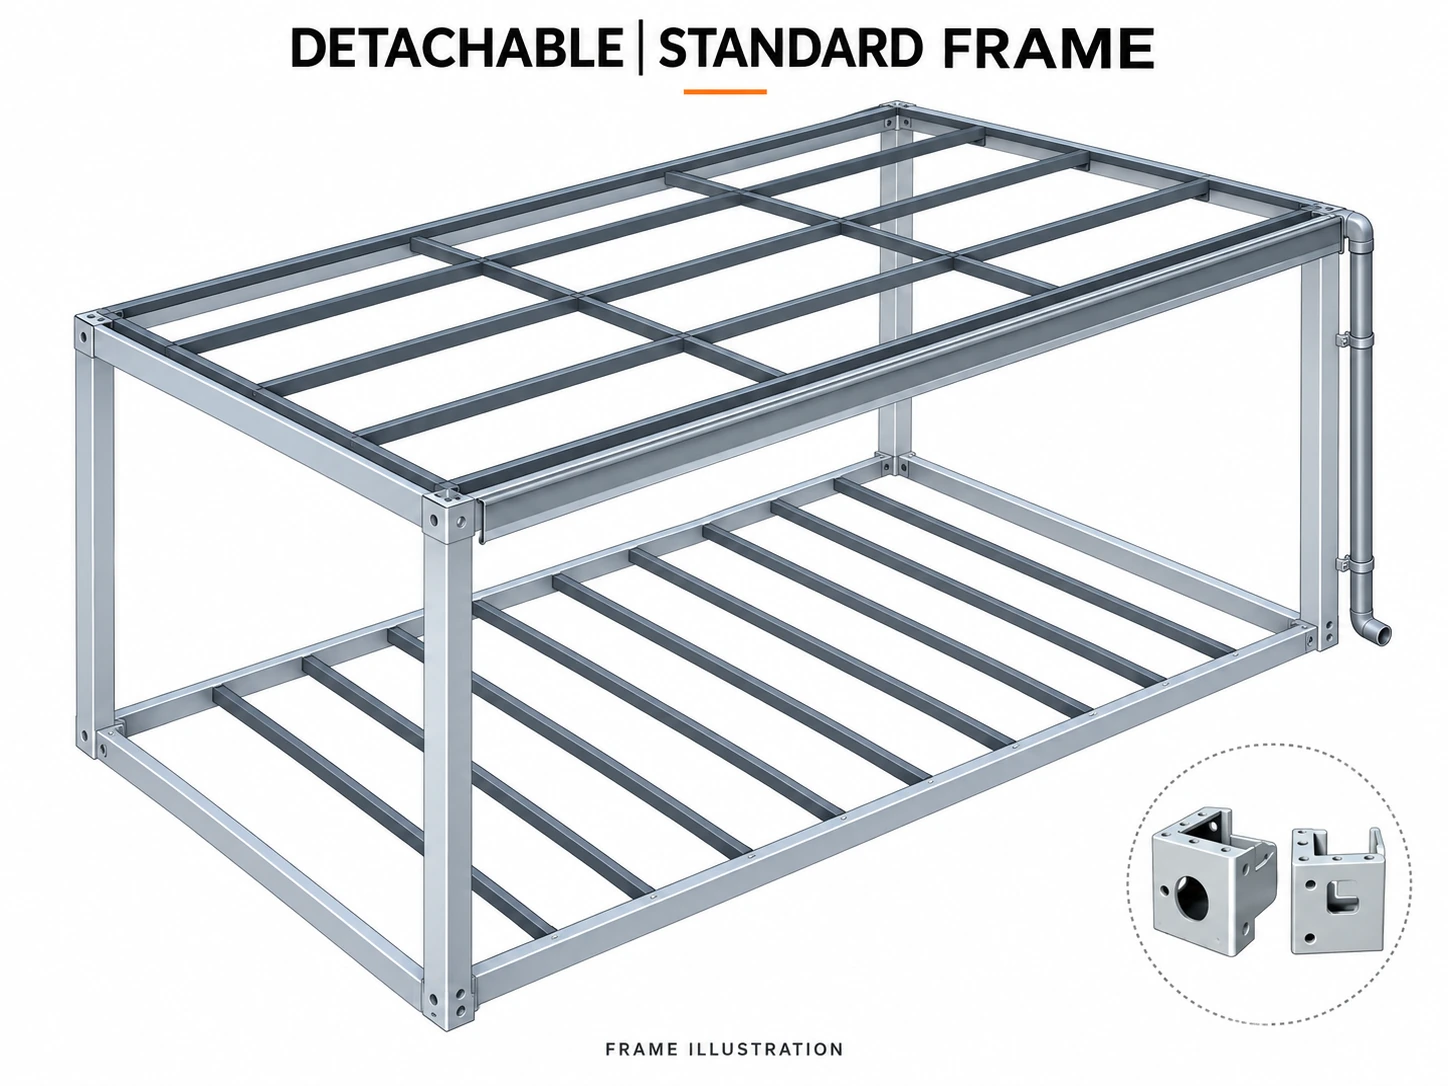
Schematic frame illustration. Member sizes and quantities follow the written package schedule alongside it. Select image to enlarge.

Standard frame member schedule

Roof members, group 1

40 × 60 × 1.2 mm tubes; 2 pieces.

Roof members, group 2

40 × 80 × 1.2 mm tube; 1 piece.

Roof members, group 3

50 × 50 × 1.2 mm tubes; 2 pieces.

Floor members, group 1

40 × 80 × 1.5 mm tubes; 5 pieces.

Floor members, group 2

80 × 80 × 1.5 mm tubes; 4 pieces.

Roof drainage

Gutters and downpipes included in the Standard frame diagram.

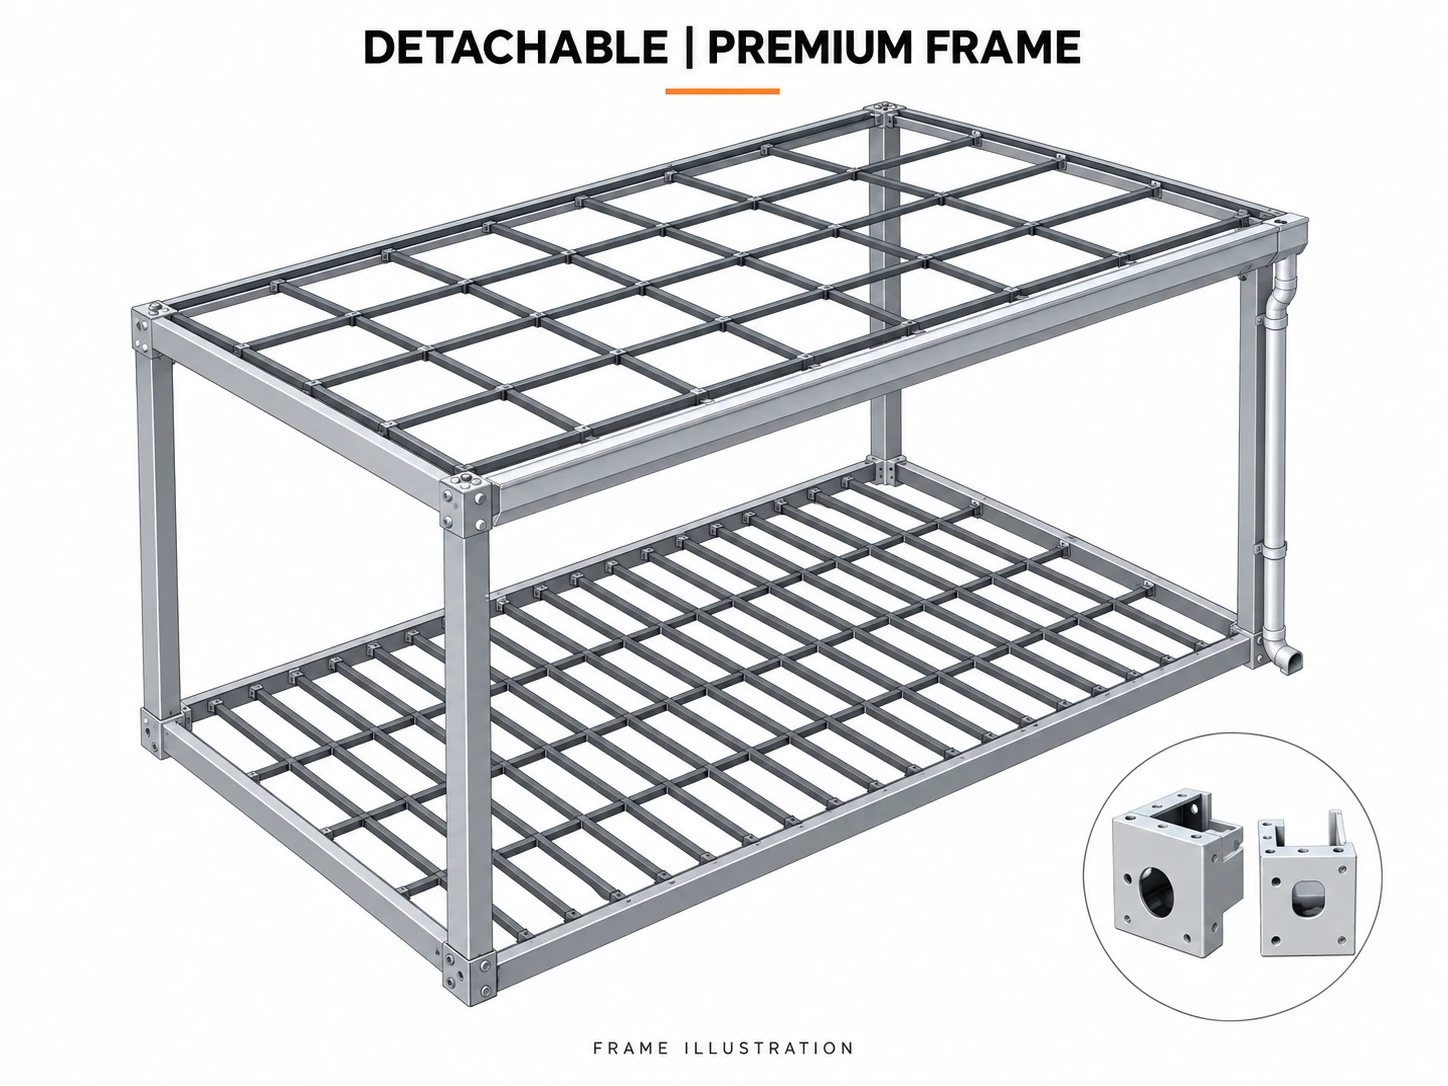
Schematic frame illustration. Member sizes and quantities follow the written package schedule alongside it. Select image to enlarge.

Premium frame member schedule

Roof members, group 1

40 × 60 × 1.2 mm tubes; 2 pieces.

Roof members, groups 2–3

40 × 80 × 1.2 mm tubes; 1 piece plus 5 pieces in the two labeled groups.

Floor members, group 1

40 × 80 × 1.5 mm tubes; 10 pieces.

Floor members, group 2

80 × 80 × 1.5 mm tubes; 4 pieces.

Floor secondary members

30 × 50 × 1.5 mm tubes; 30 pieces.

Roof drainage

Gutters and downpipes included in the Premium frame diagram.

Product detail illustration; supplied components follow the selected specification. Select image to enlarge.

Envelope and building options

Insulation cores

EPS, rock wool, PU, or PU-sealed rock wool panels.

Basic frame alternative

Separate lighter frame package; its published diagram has no gutters or downpipes.

Assembly sequence

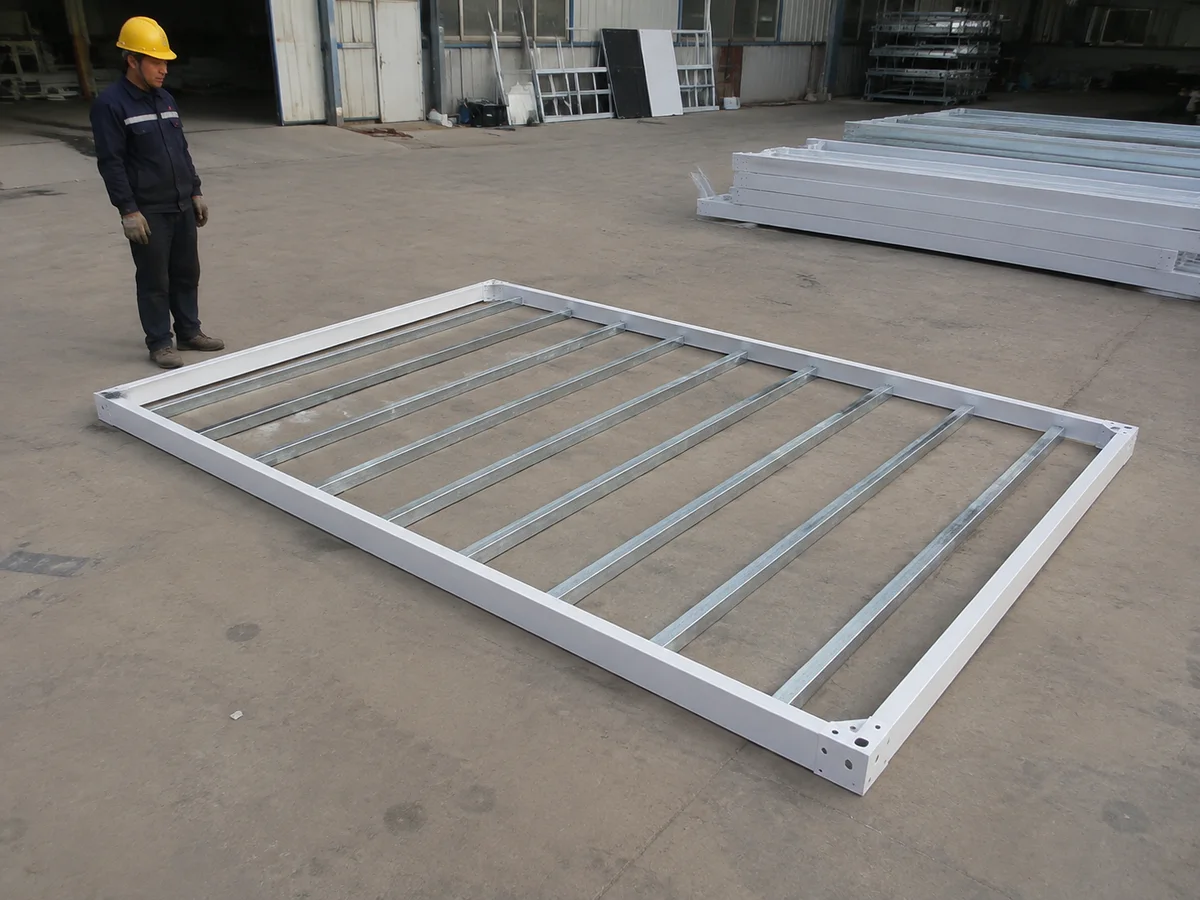
Floor beams/purlins → columns → roof beams/purlins → enclosure, floor finish and connections.

Room uses

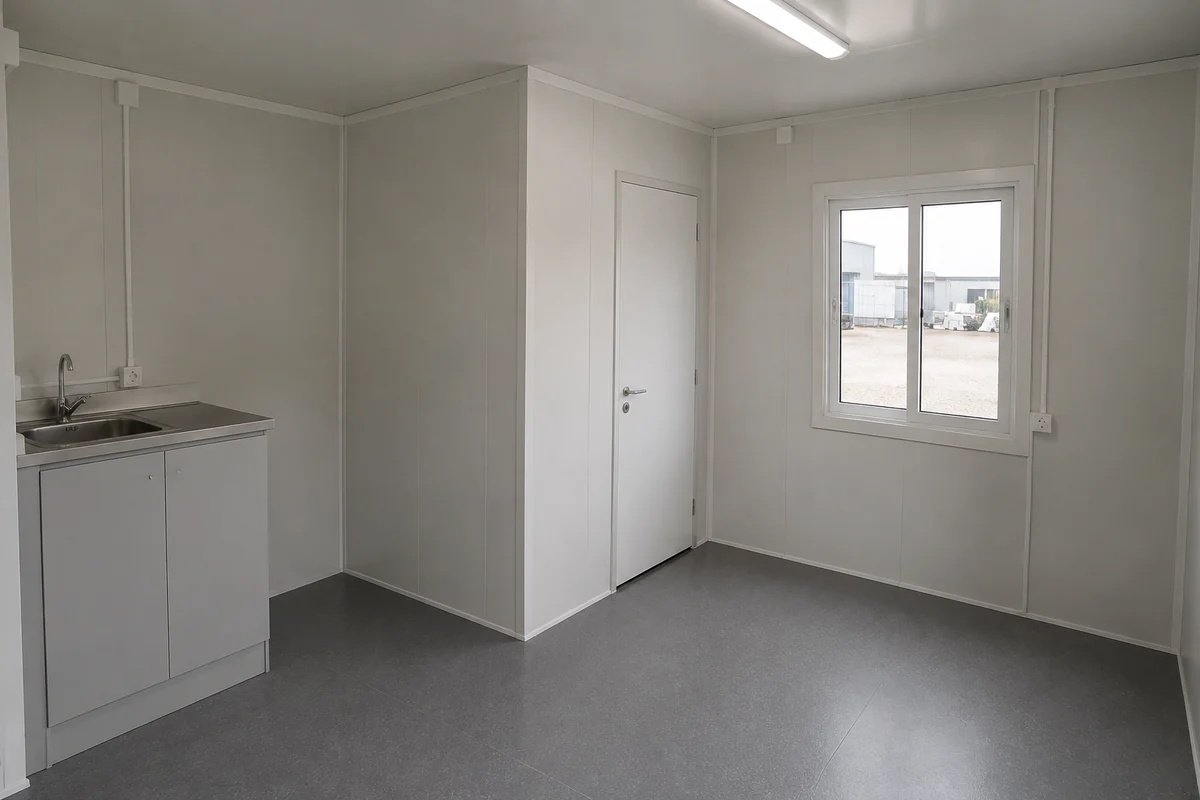
Office, dormitory, kitchen or bathroom-equipped room.

Building combinations

Side-by-side modules, corridors, terraces or stacked buildings to the project design.

Supply selections

Select panel core/thickness, furniture, appliances and electrical standard with the room layout.

LAYOUT & COMBINATION

Plan Individual Rooms and Connected Spaces

A useful layout begins with people, activities and movement. PQSE House can review entrances, circulation and service zones alongside the room arrangement. For accommodation projects, establish room sharing, bed access and shared-facility needs before repeating one layout across the site.

Floor Plans and Configuration Data

Choose a layout by its room arrangement and the data shown beside it. Furniture and fittings are layout references; final details follow the selected drawing.

Layout reference. Read the stated dimensions; internal clearances and service positions follow the approved project drawing. Select image to enlarge.

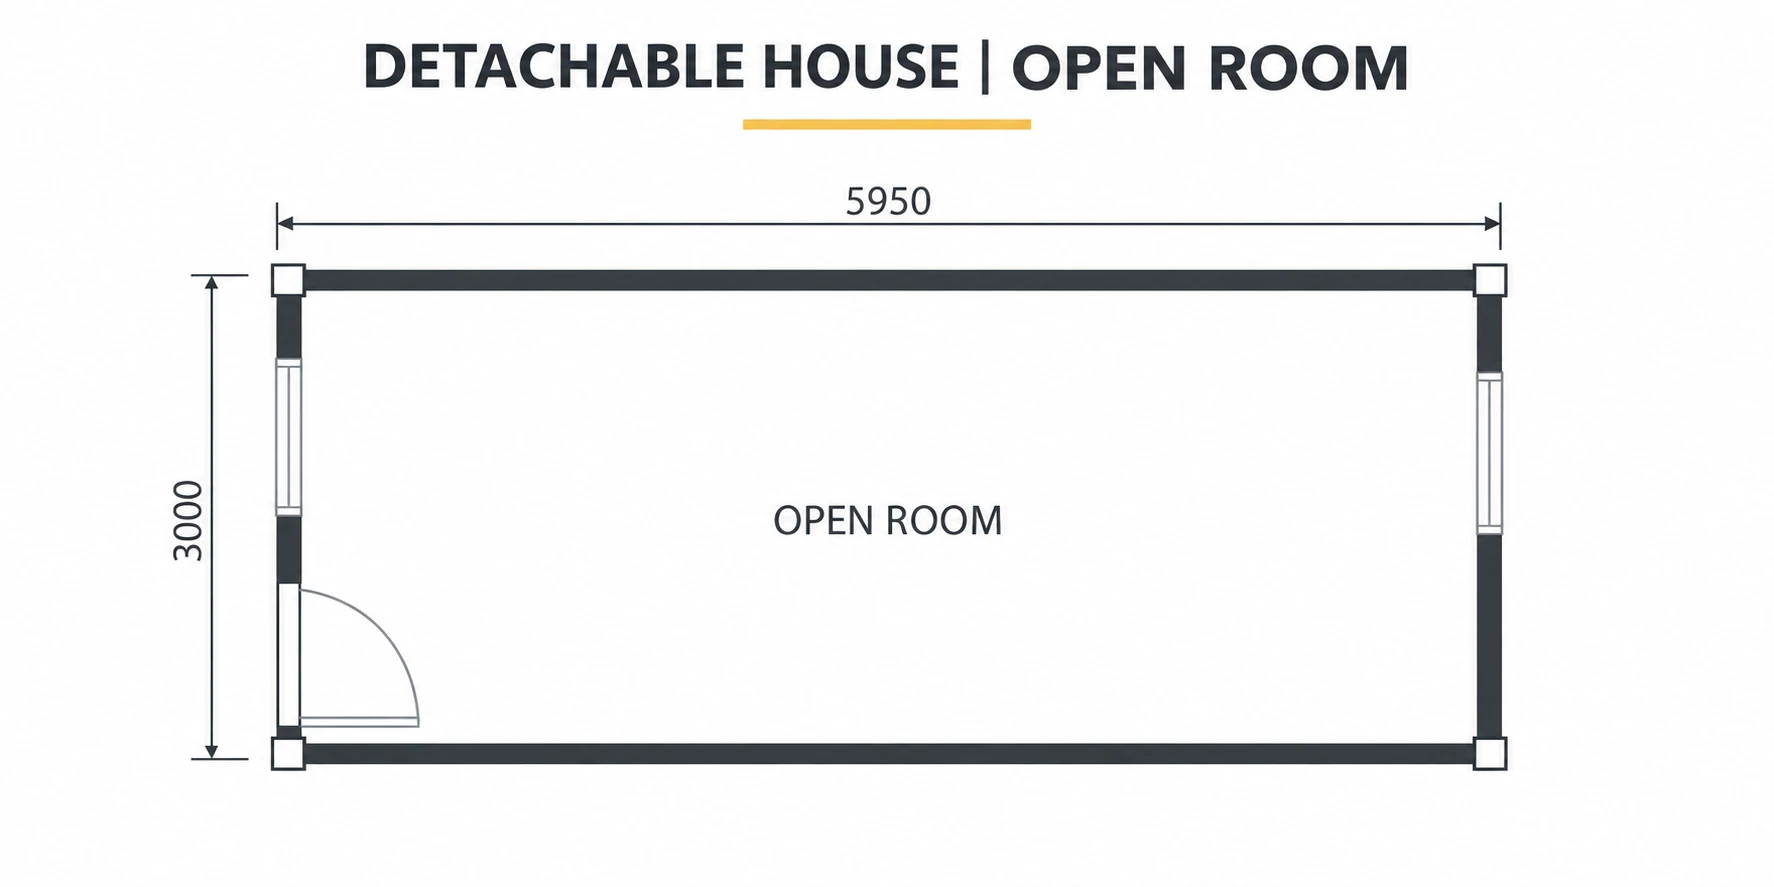
Open-plan detachable module

External module

5,950 × 3,000 × 2,800 mm.

Room arrangement

One open room.

Openings shown

1 entry door and 2 windows.

Layout reference. Read the stated dimensions; internal clearances and service positions follow the approved project drawing. Select image to enlarge.

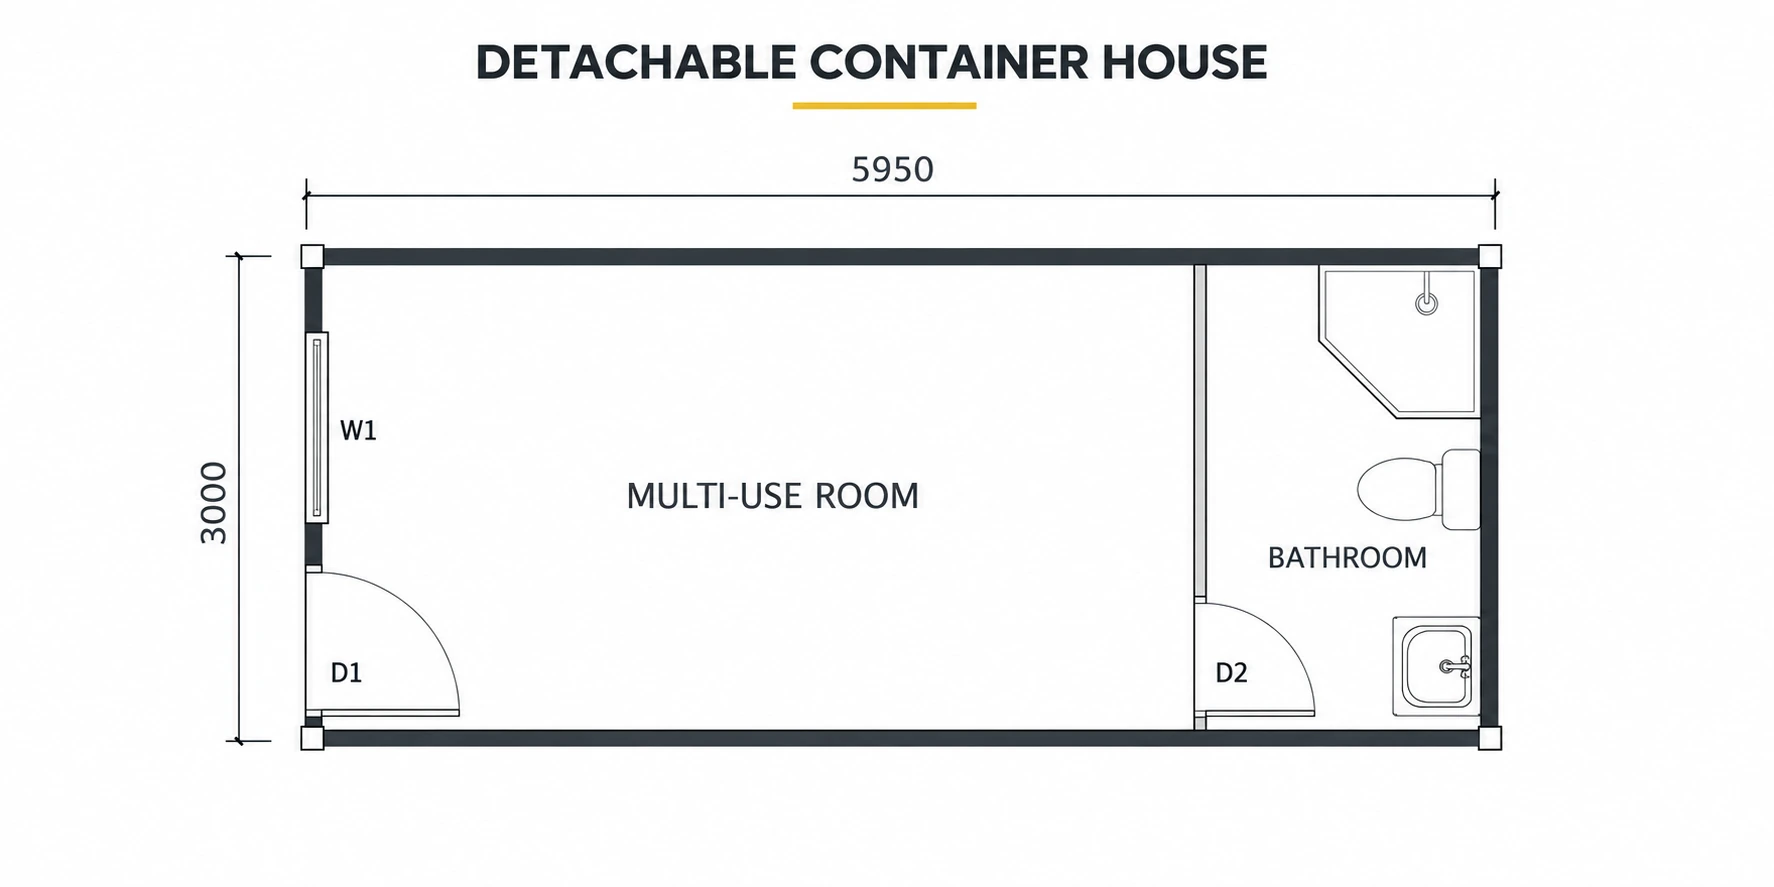
Main room with private bathroom

External module

5,950 × 3,000 × 2,800 mm.

Room arrangement

Main room with a separate bathroom.

Fixtures shown

1 WC, 1 basin and 1 shower.

Layout reference. Read the stated dimensions; internal clearances and service positions follow the approved project drawing. Select image to enlarge.

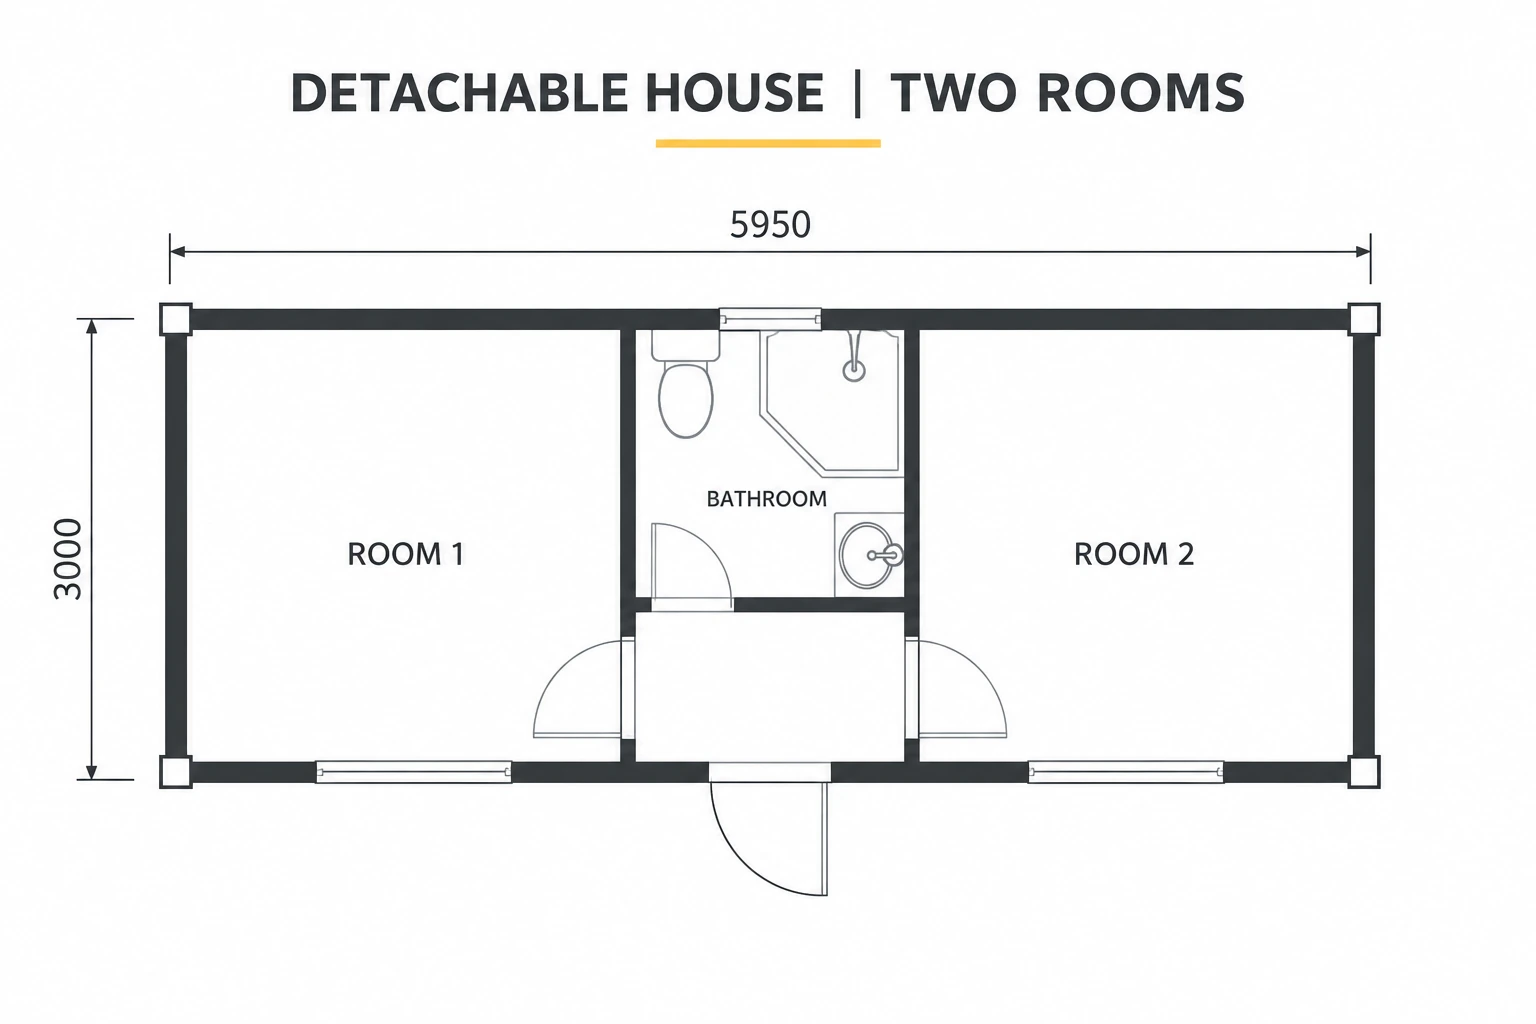
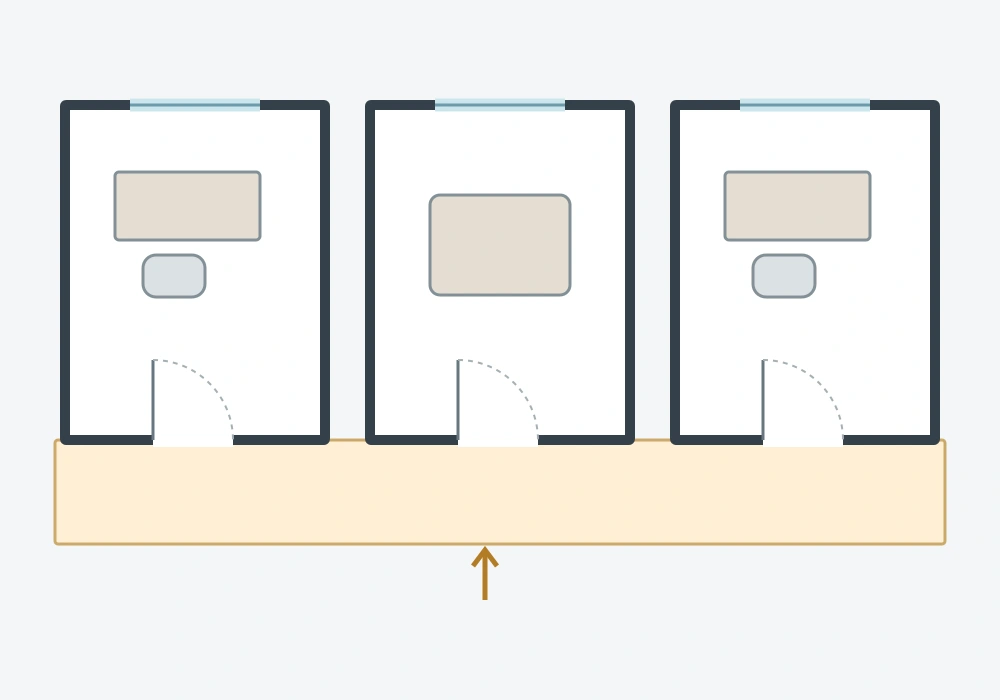
Two rooms with shared bathroom

External module

5,950 × 3,000 × 2,800 mm.

Room arrangement

2 separate rooms, central entrance and shared bathroom.

Fixtures shown

1 WC, 1 basin and 1 shower.

One Clear Workspace

An open room with furniture and circulation considered together.

Separate Working or Living Zones

Partitions and an optional wet area organized around privacy and service access.

Connected Project Spaces

A coordinated arrangement of units, with openings and circulation reviewed as part of the overall design.

Side-by-side connections, corridors and multi-storey arrangements require project-specific structural and connection details. They should not be assumed to be interchangeable across every configuration.

MAKE THE SCOPE CLEAR

Know What Is Supplied—and What Happens on Site

The quotation and component schedule should make each responsibility visible before an order is placed.

01

Building Package to Confirm

02

Optional Fit-Out to Discuss

03

Local Work to Coordinate

PACKING & TRANSPORT

Plan the Shipment Around the Components

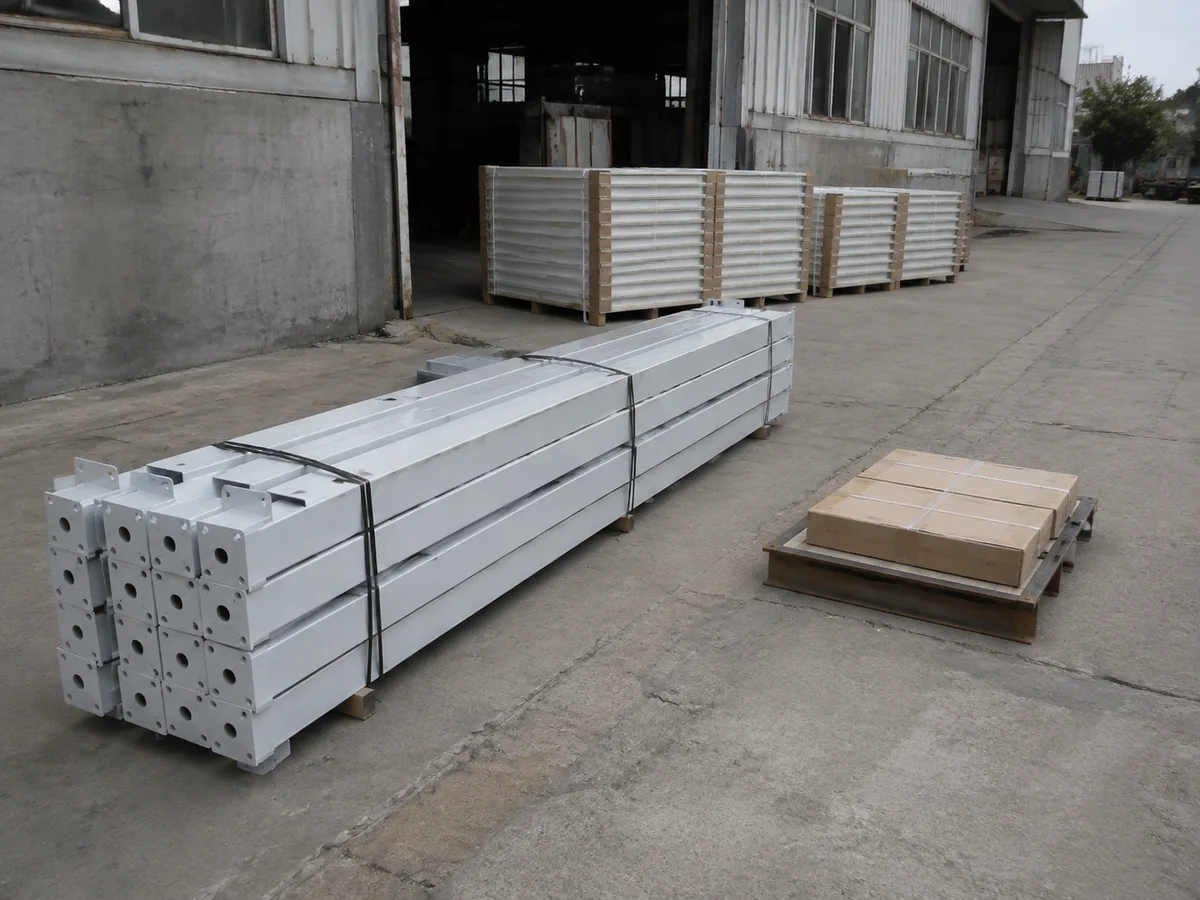
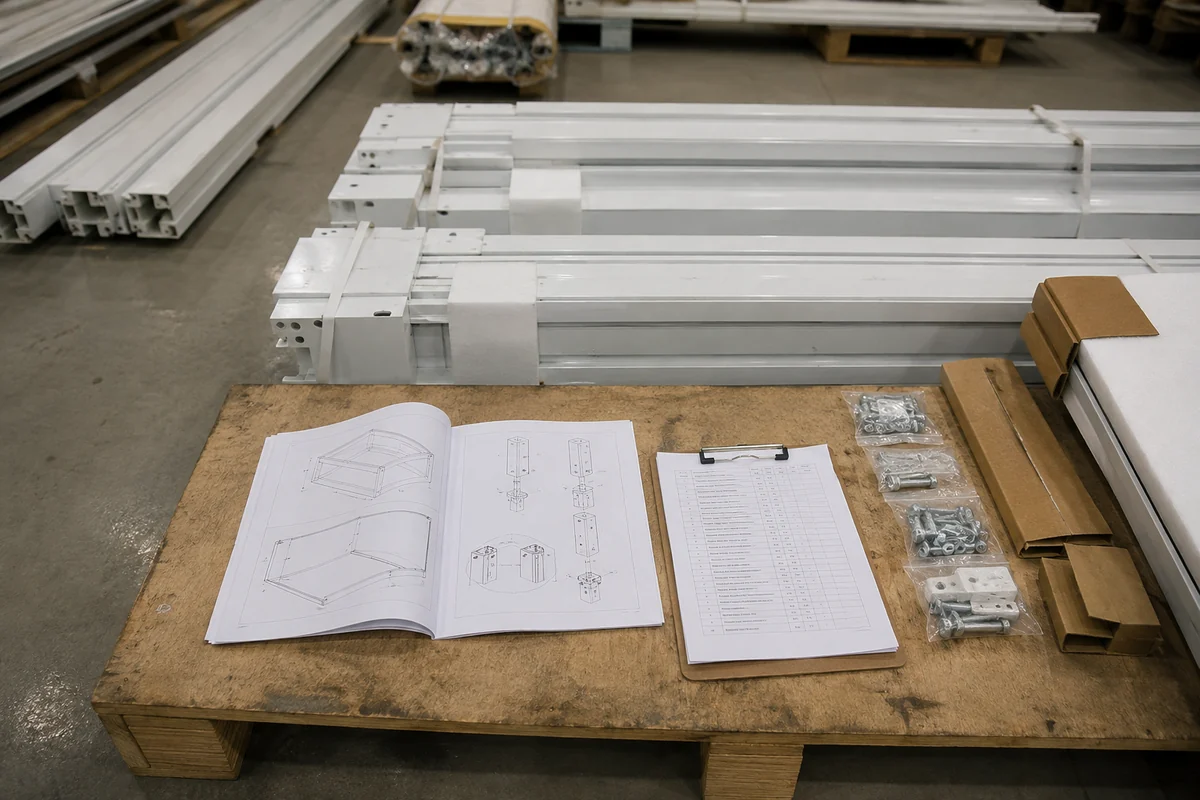
Component-based delivery makes the packing list and unloading sequence especially important. Steel members, panels and fittings should be organized so the installation team can identify and protect them on arrival. Before unloading, check the detachable container house assembly sequence and handover responsibilities against the component schedule and site work plan.

01

Component Identification

Agree how packages and parts are matched to the drawings and component schedule.

02

Protection During Transit

Review edge protection, moisture exposure and the packaging needed for the selected transport method.

03

Loading and Delivery Scope

Confirm the shipment arrangement, destination and agreed delivery terms against the actual order.

04

Storage at the Destination

Prepare suitable access and protected storage so components remain organized before assembly.

ON-SITE ASSEMBLY

Coordinate the Work from Arrival to Handover

Installation should be planned around the approved drawings, component schedule, site conditions and the resources available locally.

01 / 06

Prepare and Receive

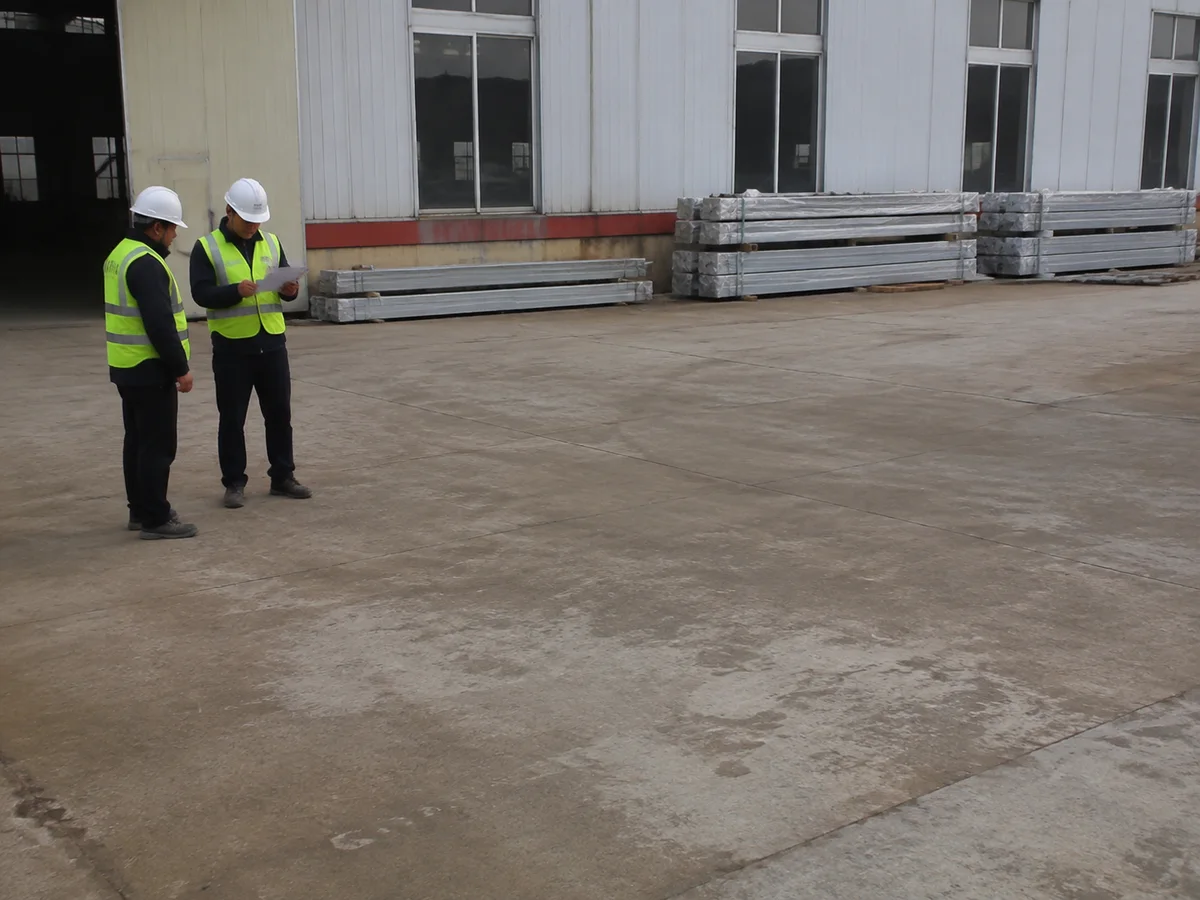
Check access, approved supports, unloading arrangements and package identification before assembly begins.

02 / 06

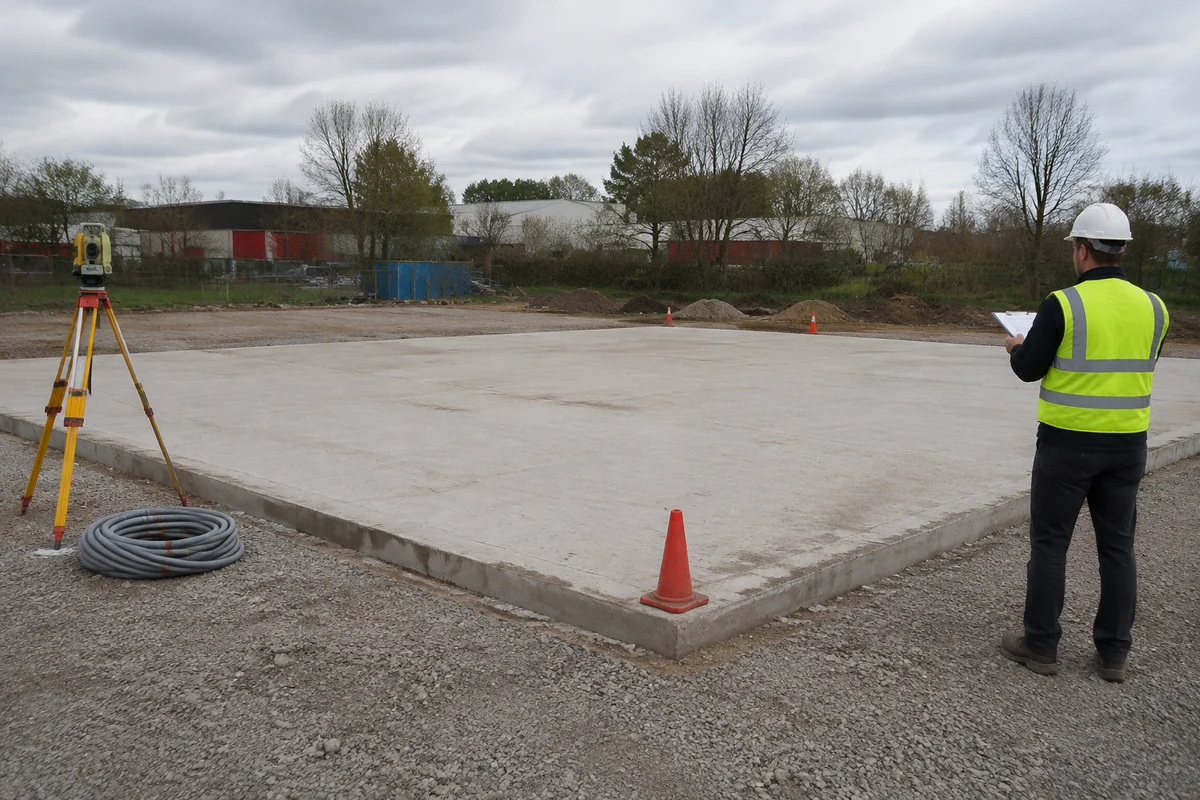
Set Out the Base

The installation team follows the project requirements for positioning, support and the base-frame arrangement.

03 / 06

Assemble the Frame

Columns, upper members and their connections are installed using the approved method and temporary support arrangements.

04 / 06

Complete the Enclosure

Floor, roof and wall components are assembled and sealed in the sequence specified for the selected system.

05 / 06

Install Openings and Services

Doors, windows and agreed service components are completed together with their connection interfaces.

06 / 06

Inspect and Hand Over

Review the relevant connections, finishes, openings and services, and document any outstanding work.

PLAN BEYOND THE FIRST LOCATION

Think Ahead If the Building May Move

If future relocation is part of your project, discuss it when the building is specified. Whether components can be reused depends on their condition, the connection system and the requirements at the next site. To plan a second deployment, assess the dismantling sequence, replacement parts and next-site scope before treating the building as a reusable fleet asset.

01

Before Dismantling

Review the dismantling method, safe handling arrangements and how parts will be identified.

02

During Storage and Transport

Protect panels, frames and fittings, and keep a record of damaged or missing components.

03

Before Reassembly

Inspect the parts and review replacement seals, fasteners or other components where needed. Reconfirm the design and support conditions for the new site.

PRICE & PROCUREMENT

Compare the Complete Scope, Not Just the Unit Price

A useful comparison starts with the same layout, specification and division of work. A lower building-package price does not necessarily cover the same materials, fittings, delivery or installation responsibilities.

01

Building Specification

Overall size, frame arrangement, panel system, floor finish, openings and the required documentation.

02

Fit-Out and Project Configuration

Partitions, sanitary or electrical scope, furniture and the details needed for connected units.

03

Delivery and Local Completion

Quantity, packaging, destination, delivery terms, unloading and the local work required to make the space usable.

PREPARE YOUR BRIEF

For an initial discussion, send the application, proposed room layout, required quantity, destination and target schedule. Include site information and any specification you already have.

COMPARE THE BUILDING SYSTEMS

Choose by Delivery Format and Site Work

Product names can vary between suppliers. Compare the actual components, factory pre-assembly and installation method before deciding.

System
What to review
Detachable Container House
What to review

The separate frame and enclosure components, their packing schedule and the assembly work to be completed locally.

What to review

The extent of factory pre-assembly of the supplied package and the work remaining for installation.

What to review

The hinged structure, the folded delivery form and the prescribed deployment method.

What to review

The central unit, expanding side sections and the support and connection requirements after deployment.

REVIEW BEFORE YOU ORDER

Ask for the Documents Relevant to Your Configuration

Start with the model specifications and floor-plan reference on this page. The related planning guides explain layout, materials or building-package preparation. For order-specific drawings and supply details, send your project requirements.

01

Layout & Component Schedule

Review the room arrangement, openings, component identification and the scope of supply.

02

Materials & Inspection Information

Ask about the relevant material documentation and the inspection information available for the selected product.

03

Packing & Assembly Guidance

Confirm the packing information, handling requirements and installation documents provided with the order.

Tell us which documents your project team needs. Availability, applicability and any project-specific requirements are reviewed before they are included in the agreed scope.

DETACHABLE CONTAINER HOUSE FAQ

Questions to Resolve Before Ordering

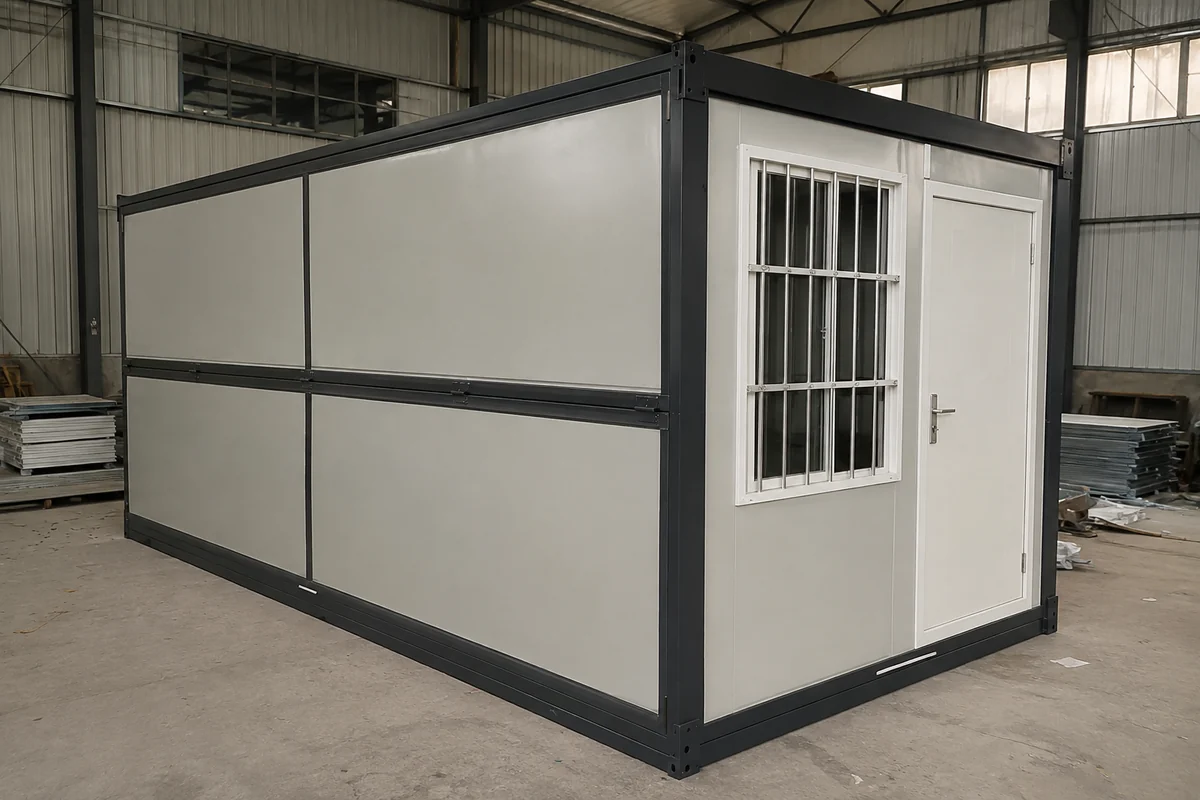
The detachable reference here is assembled from separate frame, enclosure, floor and roof components. Compare its component schedule and site work with the factory-prepared floor/roof assemblies offered for the selected flat-pack package. Review the flat-pack reference; supplier terminology alone does not define the delivered kit.

The shipment follows the agreed component and packing lists. It may include frame members, panels, floor and roof components, doors, windows and the specified fittings. Check the quotation for exactly what is supplied and what must be sourced or completed locally.

The layout can be reviewed for those uses. Occupancy, furniture, privacy, ventilation and utility needs should be considered together, especially when a wet area is required. The final arrangement is recorded in the project drawings and quotation.

Connections and multi-storey arrangements require a project-specific design. Frame capacity, openings, stairs, circulation and site supports need to be reviewed; do not assume that every unit can be joined or stacked in the same way.

Plan the site supports, access, unloading, storage and assembly resources, along with external utility connections and any local approvals. The division of supply and installation work should be agreed before the order is placed.

There is no single installation time that applies to every project. Quantity, configuration, team experience, equipment, weather, site readiness and fit-out all affect the programme. Share those details so the installation scope and schedule can be reviewed.

Potential reuse depends on the selected system, the condition of the components and the requirements at the next site. Plan identification, protection and inspection of the parts, and allow for replacement seals, fasteners or damaged components where necessary.

Choose against the project’s climate, use and documented performance requirements. Review the full panel and building assembly, not just the insulation name. Ask for information applicable to the product configuration being quoted.

Only if it is included in the agreed offer. Confirm the building package, transport, unloading, local assembly, utility connections and any installation support separately so the responsibilities are clear.

Send the application, required quantity, destination, target schedule and a sketch or room list. Add preferred dimensions, occupancy, bathroom or electrical needs, site information and any required technical standards that are already known.

PRODUCT CUSTOMER REVIEWS

Detachable Container House Reviews

5 / 5 based on 3 customer reviews. Read their experiences with this product.

5 / 5

Clear information made the assembly easier to organise

We checked the component information against the drawings before starting and used the same documents when questions came up on site. That made it easier to allocate work across the crew. I particularly appreciated being able to point to a specific detail rather than explain everything again in a message. The completed office fits the plan and has been a practical addition to the site.

Johan Venter
Installation Supervisor
South Africa

Project: Assembly of project office accommodation
Focus: Component checks and installation coordination
5 / 5

We knew what was included before committing

Our project is being arranged in stages, so the supply scope needed to be clear. PQSE went through the building components, selected options and the work our site team would handle. It made the purchase easier to explain internally and gave the contractor something definite to plan around. The room configuration suits this phase well. Good communication throughout the process.

Rafi Pratama
Engineering Procurement Coordinator
Indonesia

Project: Site support buildings for a phased project
Focus: Supply scope and preparation responsibilities

5 / 5

A practical room for the people managing the camp

We wanted a duty room that would be easy to use, not just a building to tick off the list. Door and window positions, storage and access for routine checks were all part of the discussion. The finished arrangement works well for the staff using it every day. I liked that the practical questions received as much attention as the initial quotation.

Joseph Otieno
Camp Facilities Coordinator
Kenya

Project: Duty room and camp administration space
Focus: Everyday access and maintainability

Tell Us What Your Building Needs to Do

Share the intended use, room arrangement, quantity, destination and target schedule. If you have a sketch or specification, include it so we can help organize the next technical and commercial steps.

Suzhou, Jiangsu, China

Manufacturing and project support office.