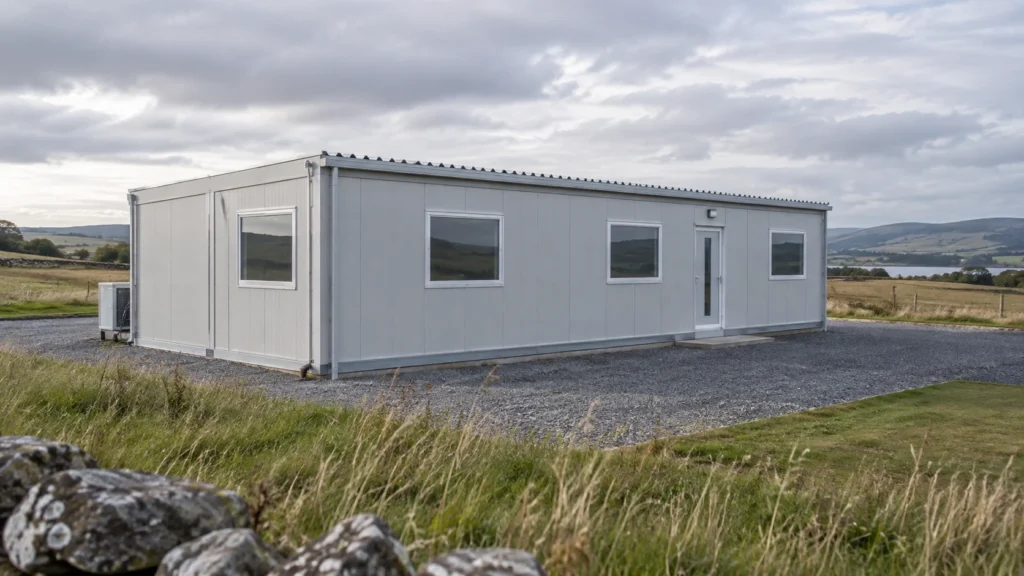
Container house insulation should be compared as a complete enclosure: walls, roof, floor, windows, doors and the connections between them. A panel’s material and thickness matter, but they do not establish the comfort or energy performance of an installed building. The climate, operating hours, indoor moisture and heating or cooling system also change what the project needs.
For procurement, the useful outcome is a specification that connects the intended use with identifiable components and verifiable performance. “Well insulated” is too broad to compare quotations. This guide explains the questions behind insulation claims and how to prepare an enclosure brief for a prefab container house. It does not prescribe a universal panel thickness or claim a tested performance level for an unspecified PQSE product.
What does an insulation specification actually describe?
First establish whether the quoted information applies to the insulation material, a complete panel, a wall assembly or the whole building. These are different boundaries. A material sample excludes framing and joints. A wall assessment may exclude windows. A room’s comfort also depends on its roof, floor, openings and operation. Keep the boundary beside every number that enters your comparison.
The US Department of Energy’s overview of the opaque building envelope treats walls, roofs and foundations as parts of the enclosure outside the window systems. The practical implication for a prefab-room buyer is to request a coordinated schedule for all enclosure elements. A strong wall description leaves unanswered questions if the floor and roof are described only as “standard.”
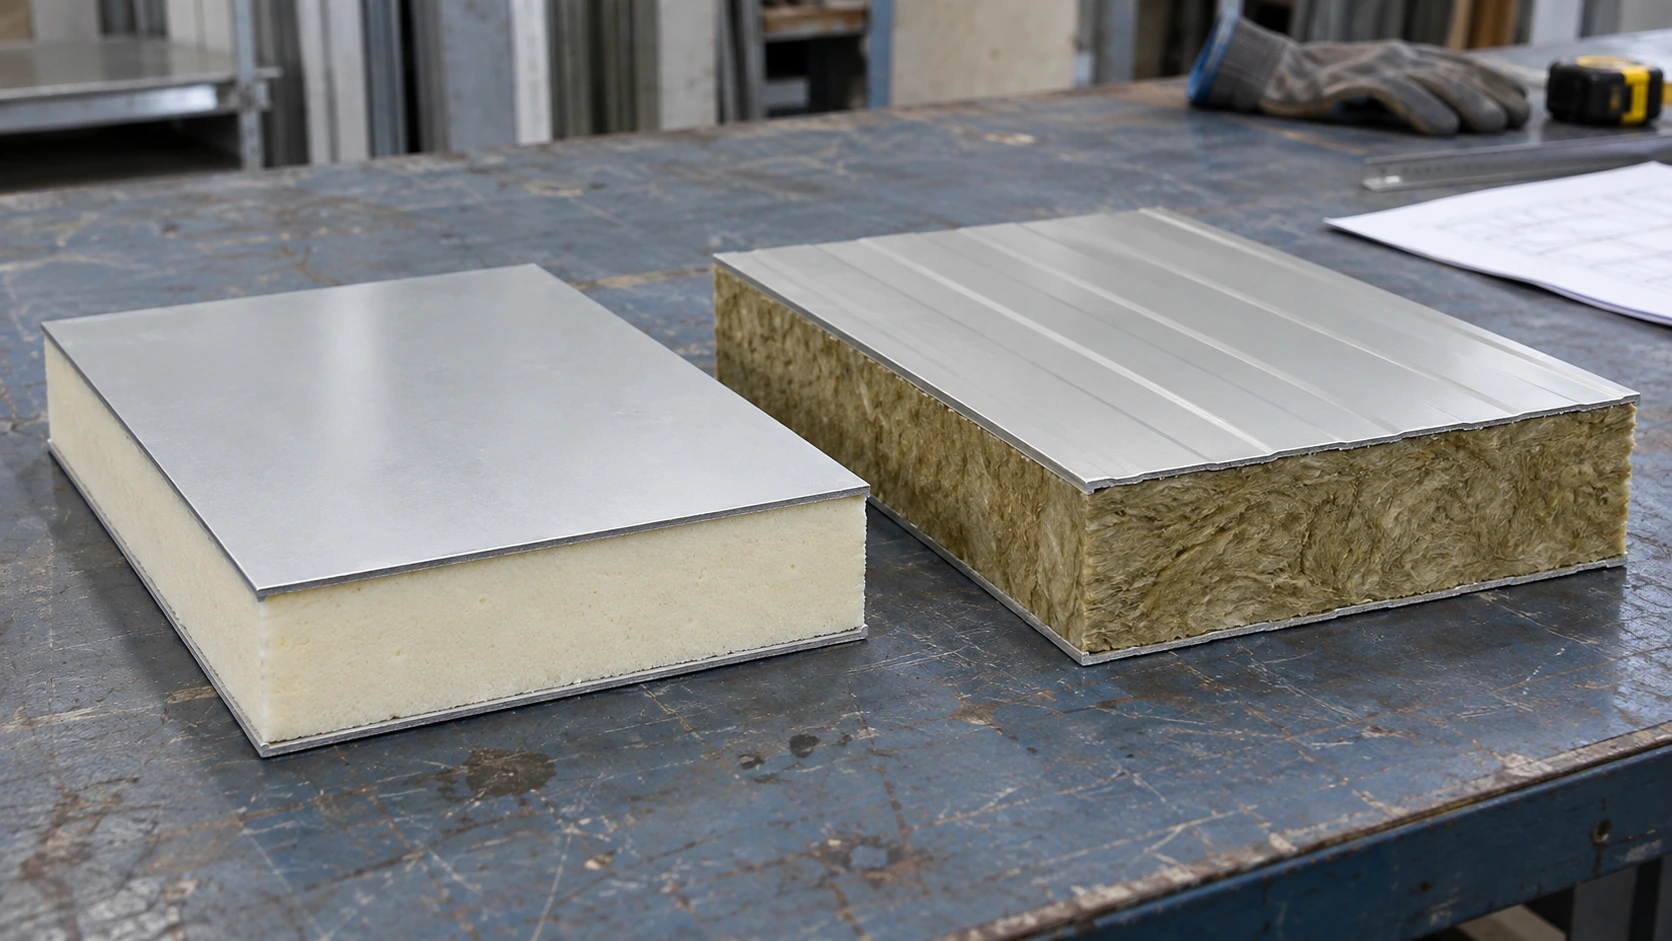
Begin with an assembly drawing and a component schedule. Identify the panel core, facings, joints, perimeter details and any additional layers included in the offer. Ask whether the quoted thickness refers to the core or the full component. Record the product identity and document revision so that later samples, quotations and deliveries can be checked against the same specification.
| Boundary in the claim | What it describes | What still needs checking |
|---|---|---|
| Insulation material | Performance of an identified material under stated conditions | Facings, joints, framing and installation |
| Complete panel | The specified panel construction | How it meets the frame and neighboring panels |
| Installed assembly | A defined wall, roof or floor arrangement | Openings and interfaces outside the assessment |
| Building assessment | A modeled or tested building with stated assumptions | Whether the ordered configuration and operating conditions match |
A material name is also not a complete performance specification. Different product constructions can use similar terminology while differing in thickness, density, facing, joint geometry and declared properties. Obtain the actual supplier documentation before concluding that two packages are equivalent. The container house product overview can help identify the relevant building family before a configuration-specific review.
How should buyers read R-values and U-values?
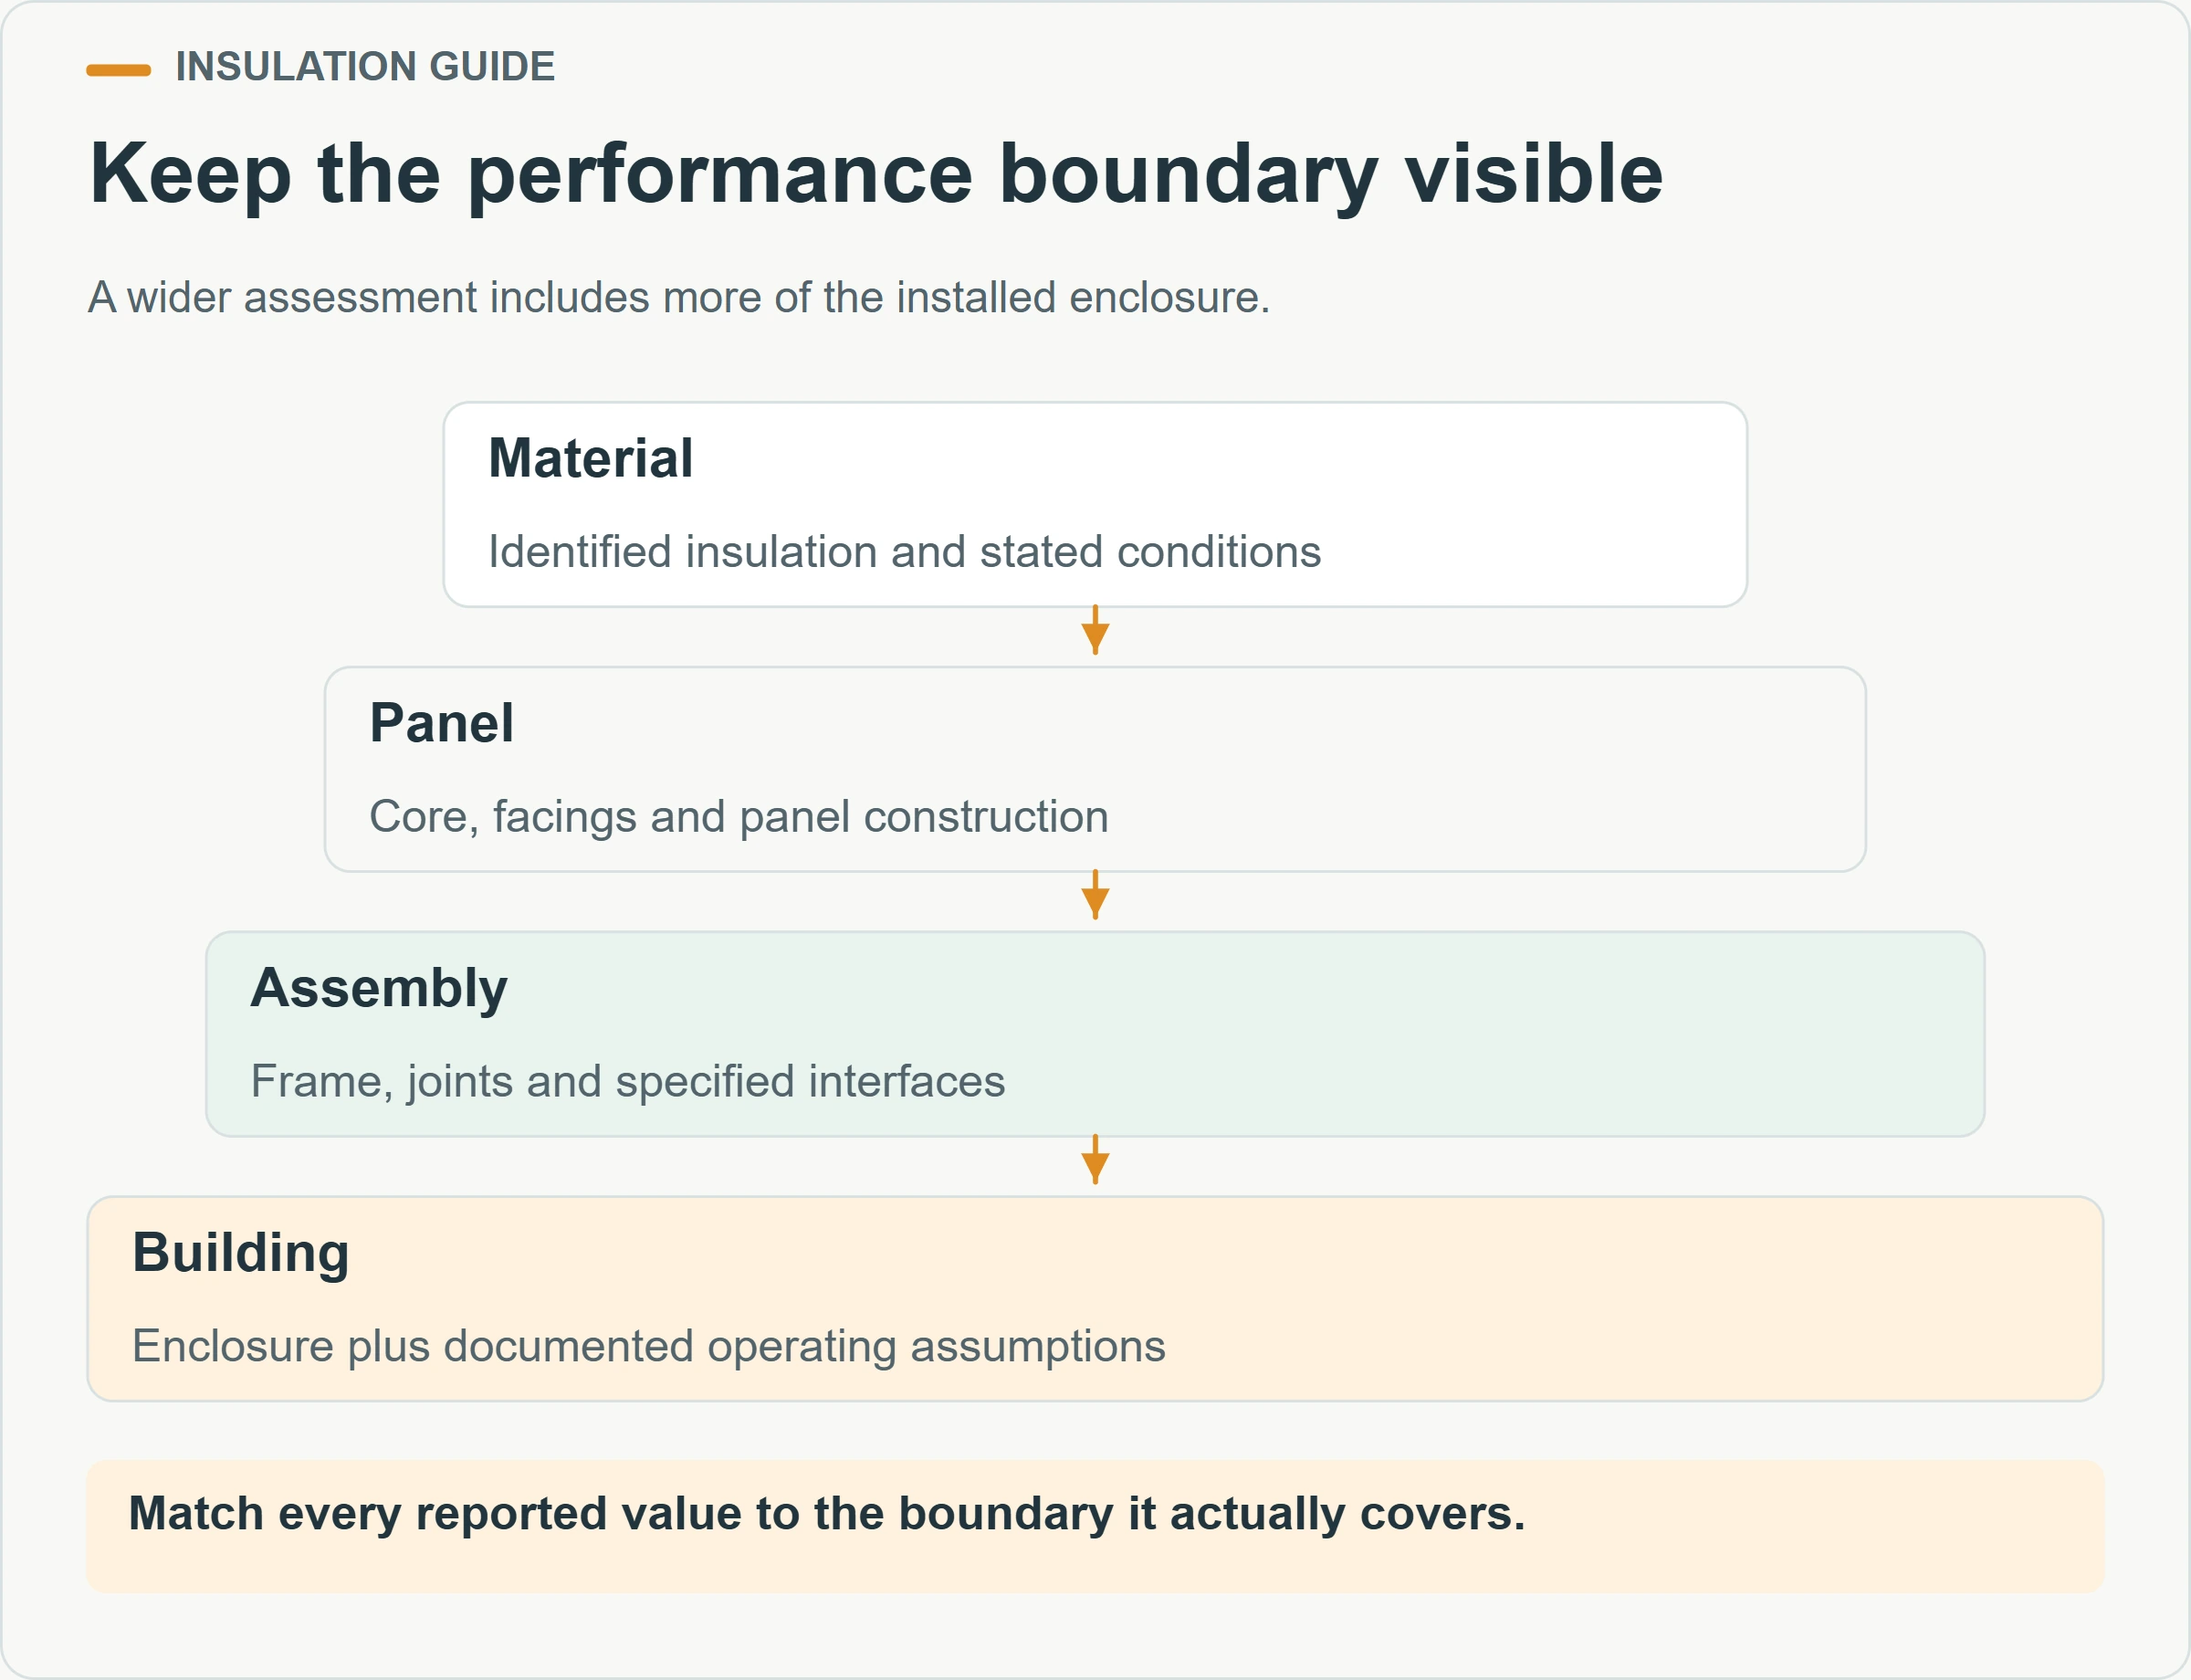
Use R-values and U-values only when their units, measurement boundary and assessment conditions are clear. An R-value expresses resistance to heat transfer. Within a consistent comparison, greater resistance means less conductive heat flow. DOE’s High-R Insulation explanation also emphasizes proper installation, including continuity and the treatment of gaps. A labeled material value cannot describe defects in the installed assembly.
A U-value, also called a U-factor, describes heat transfer through the stated component or assembly. For the same assessment boundary and units, a lower value represents less heat transfer. Check whether the schedule uses SI or US customary units before comparing figures. Numbers copied from different markets can look similar while representing different quantities. Ask the responsible technical team to normalize the comparison.
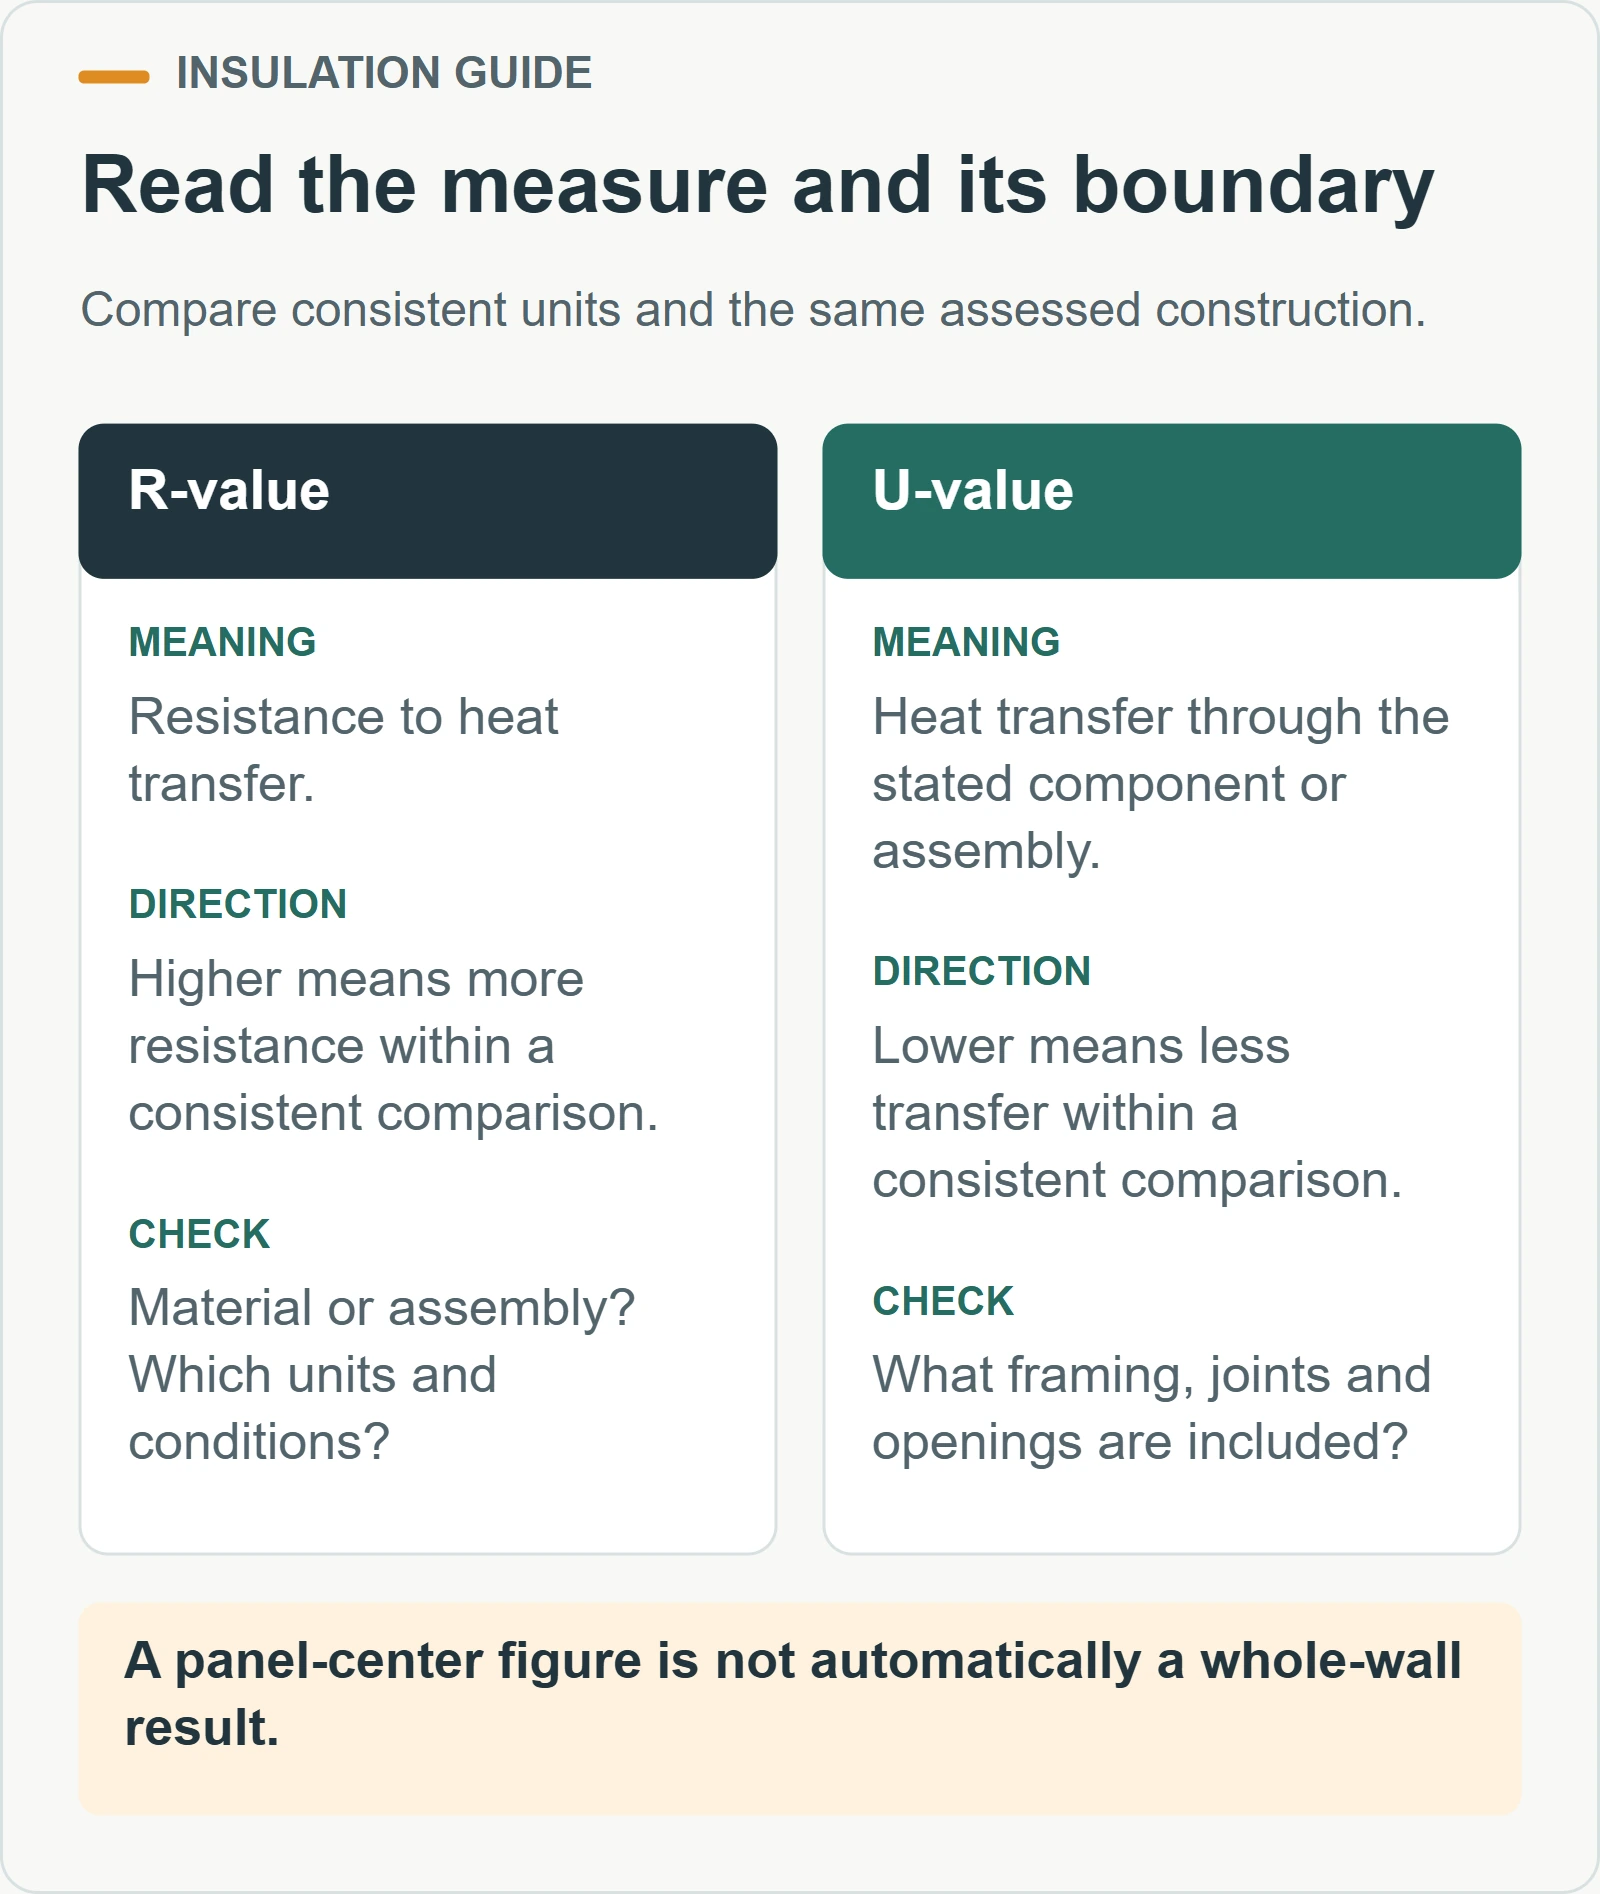
Do not silently substitute a center-of-panel figure for a complete wall result. A report may assess the insulated field while leaving out a perimeter frame or a particular joint. Ask for a marked drawing showing what was included. If the number belongs to another thickness, facing or connection arrangement, retain it as reference information until its applicability has been established.
For example, suppose two offers both state that their wall panels are insulated. One provides an identified panel report; the other provides only a core-material leaflet. The second offer is not automatically poor, but the evidence is less complete. The next useful action is to request comparable assembly information, not to declare a winner from the two headline numbers.
Why do frame edges and joints matter?
Heat can follow paths through the enclosure that differ from the insulated panel field. Framing and connections can interrupt insulation continuity. This is the reason to examine corners, panel edges, roof-to-wall connections, floor edges and openings alongside the main panel. A thicker core does not, by itself, explain what happens at those interfaces.
DOE’s continuous insulation guidance explains thermal bridging as heat flow through framing that spans the enclosure, and describes how a continuous insulating layer can reduce those losses. Its illustrated construction context is conventional housing. For a prefab container system, the corresponding buyer question is how the actual frame and panel connections have been assessed, rather than whether a generic house detail can be copied.
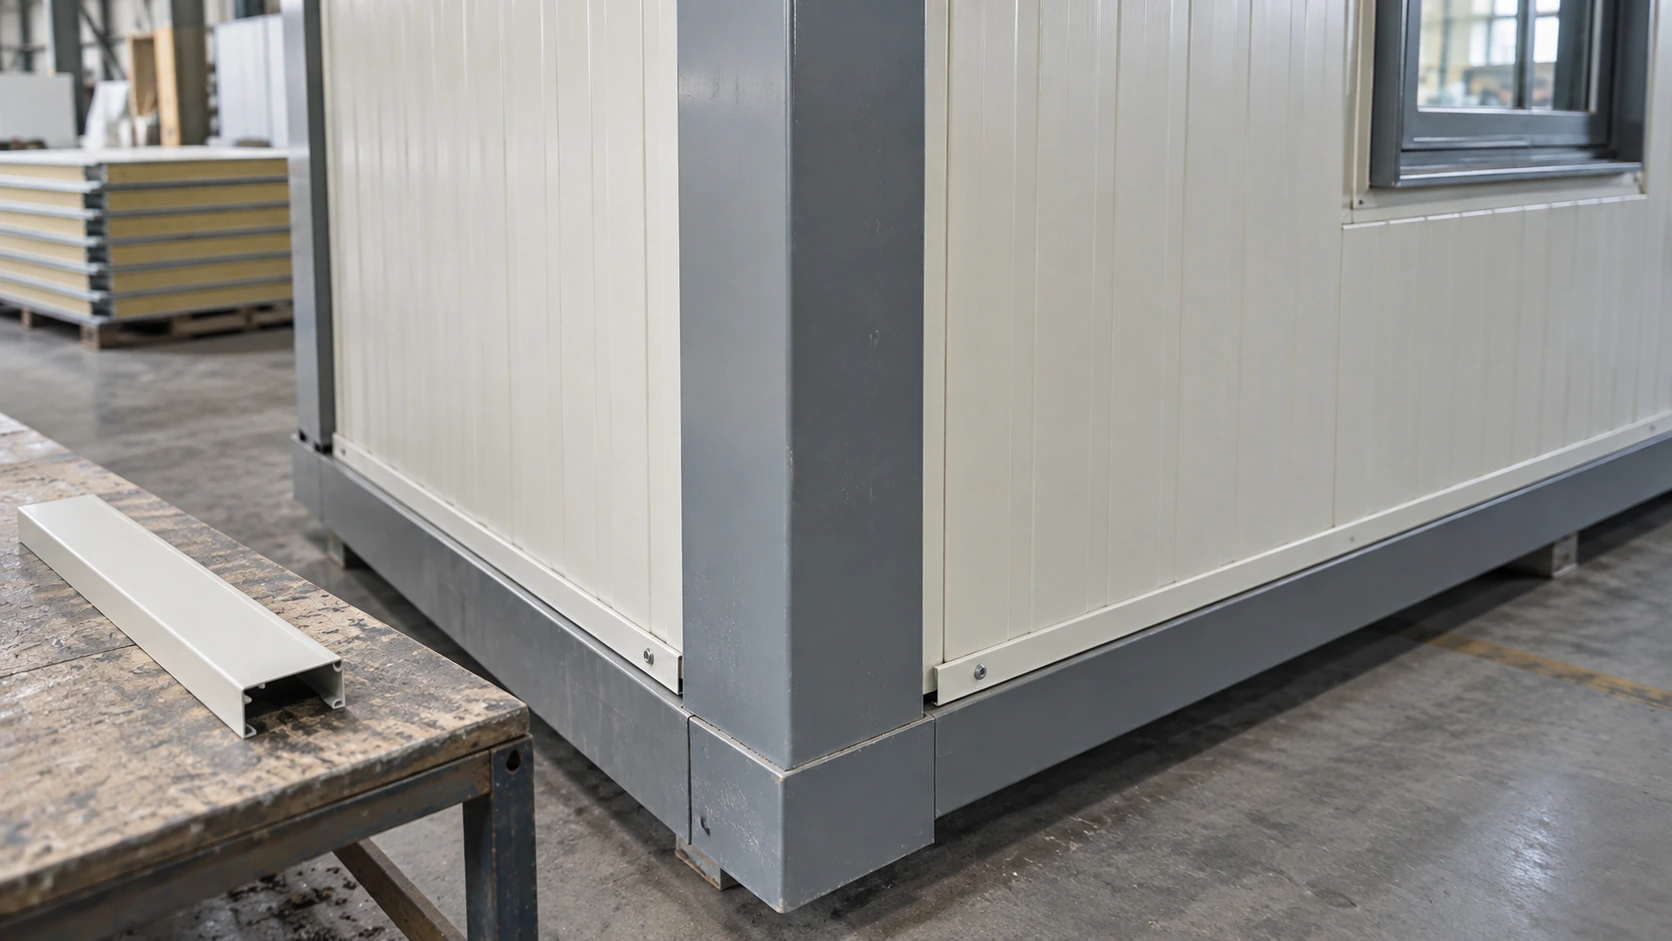
Request representative sections through the real interfaces. A useful section shows the inside and outside, the structural member, the insulation and the adjacent weather or air-control details. The drawing should distinguish a thermal interruption from a cosmetic cover. An attractive trim piece may conceal a connection without explaining its thermal performance.
Follow an interface around the room
Take one external corner and trace it from the floor to the roof. Ask where the wall insulation stops, what surrounds the corner member, and how the roof and floor assemblies meet it. Repeat the exercise at a window and at a junction between modules. This review often reveals questions that are invisible in a flat panel sample.
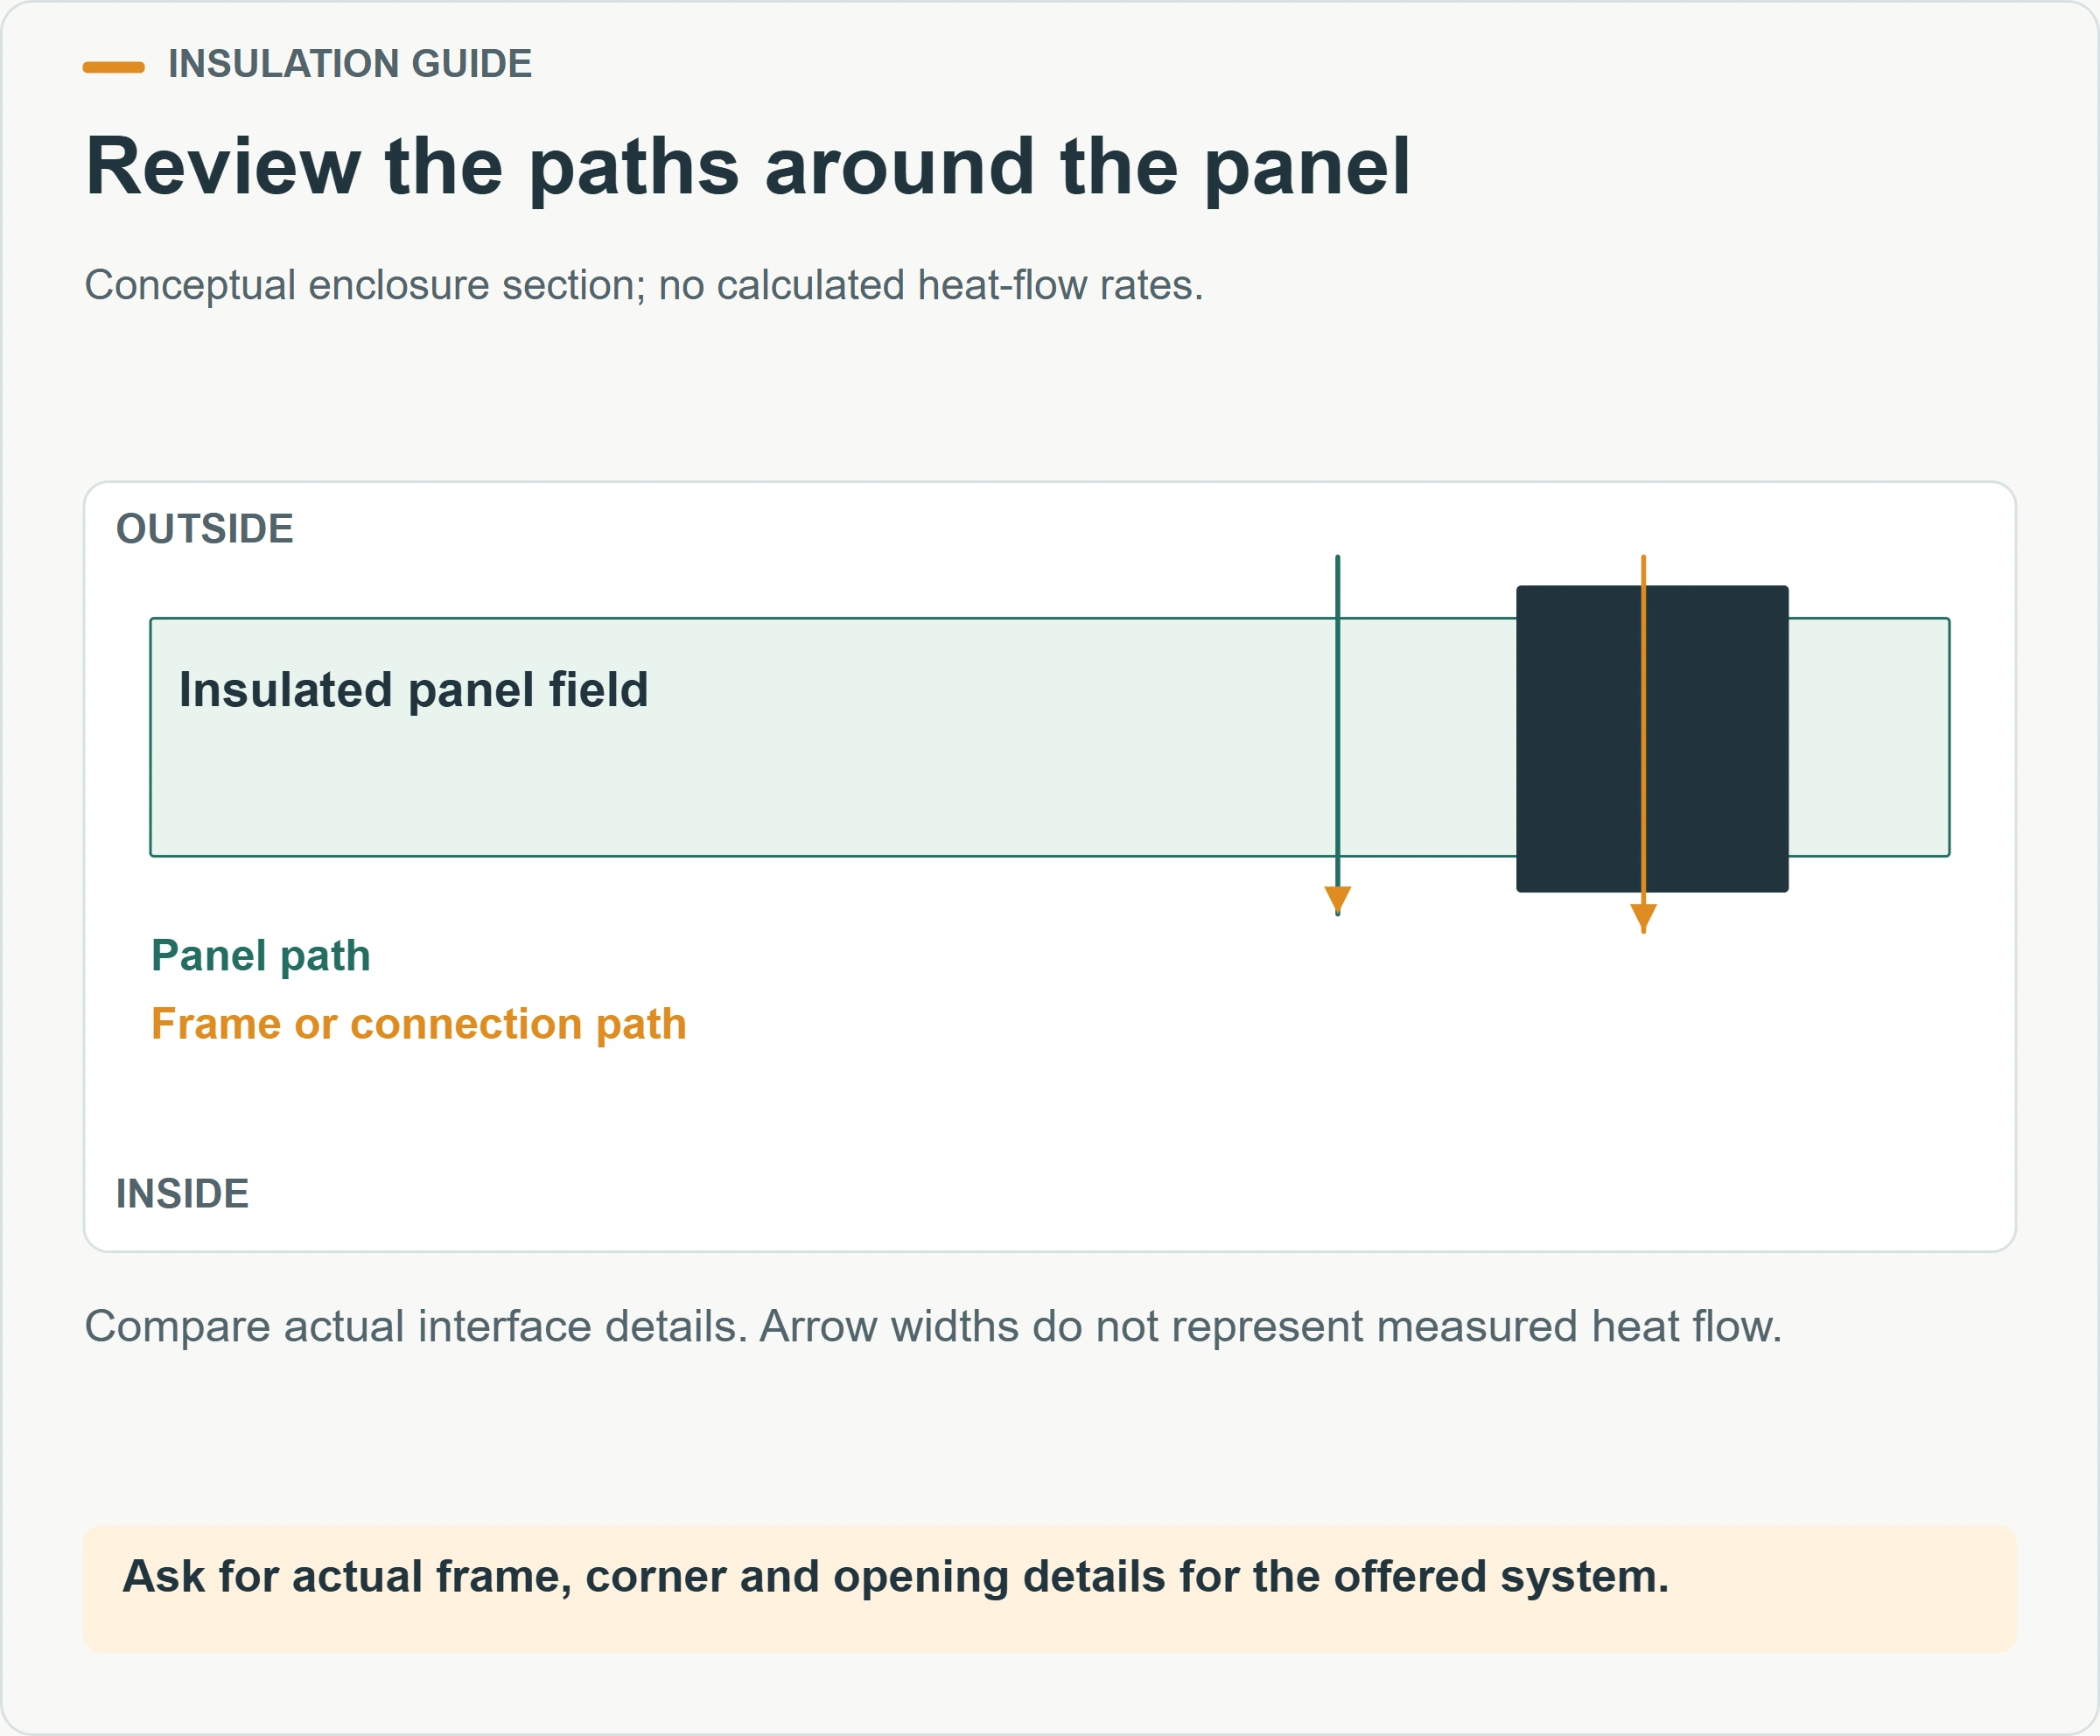
Keep any proposed improvement connected to its other functions. Changing a joint can affect drainage, fastening, movement, fire performance or access for maintenance. The design team needs to coordinate those requirements. A purchase order should identify the accepted detail and the associated documents, rather than simply instructing the factory to “add insulation everywhere.”
Can better wall panels compensate for windows and doors?
Walls, openings and their perimeter connections need to be considered together. Window area, glazing choice, frame construction, shading and orientation influence the enclosure discussion. A room with extensive sun-exposed glazing presents a different question from a room with small shaded openings, even if their wall panels are identical.
The US ENERGY STAR explanation of window performance ratings distinguishes U-factor, solar heat gain coefficient, air leakage and visible transmittance. These describe different aspects of a window. Lower U-factor relates to reduced heat transfer, while lower solar heat gain coefficient means less solar heat passes through. The article explains NFRC labeling in its US program context; it does not establish certification for a particular PQSE window.

Use the intended room activity to discuss those choices. A desk beside a large window may need daylight while also needing glare control. A sleeping room used during daylight hours may have a different shading requirement. A shop display may prioritize visibility. Put the activity and orientation on the drawing so the designer can evaluate the tradeoff instead of choosing glazing from appearance alone.
For doors, identify the leaf, frame, threshold, seals and installation perimeter. Ask what performance documentation applies to the offered door construction and size. Repeated traffic and door-open time also belong in the operating brief. The material within the door leaf cannot describe the effect of a frequently open entrance.
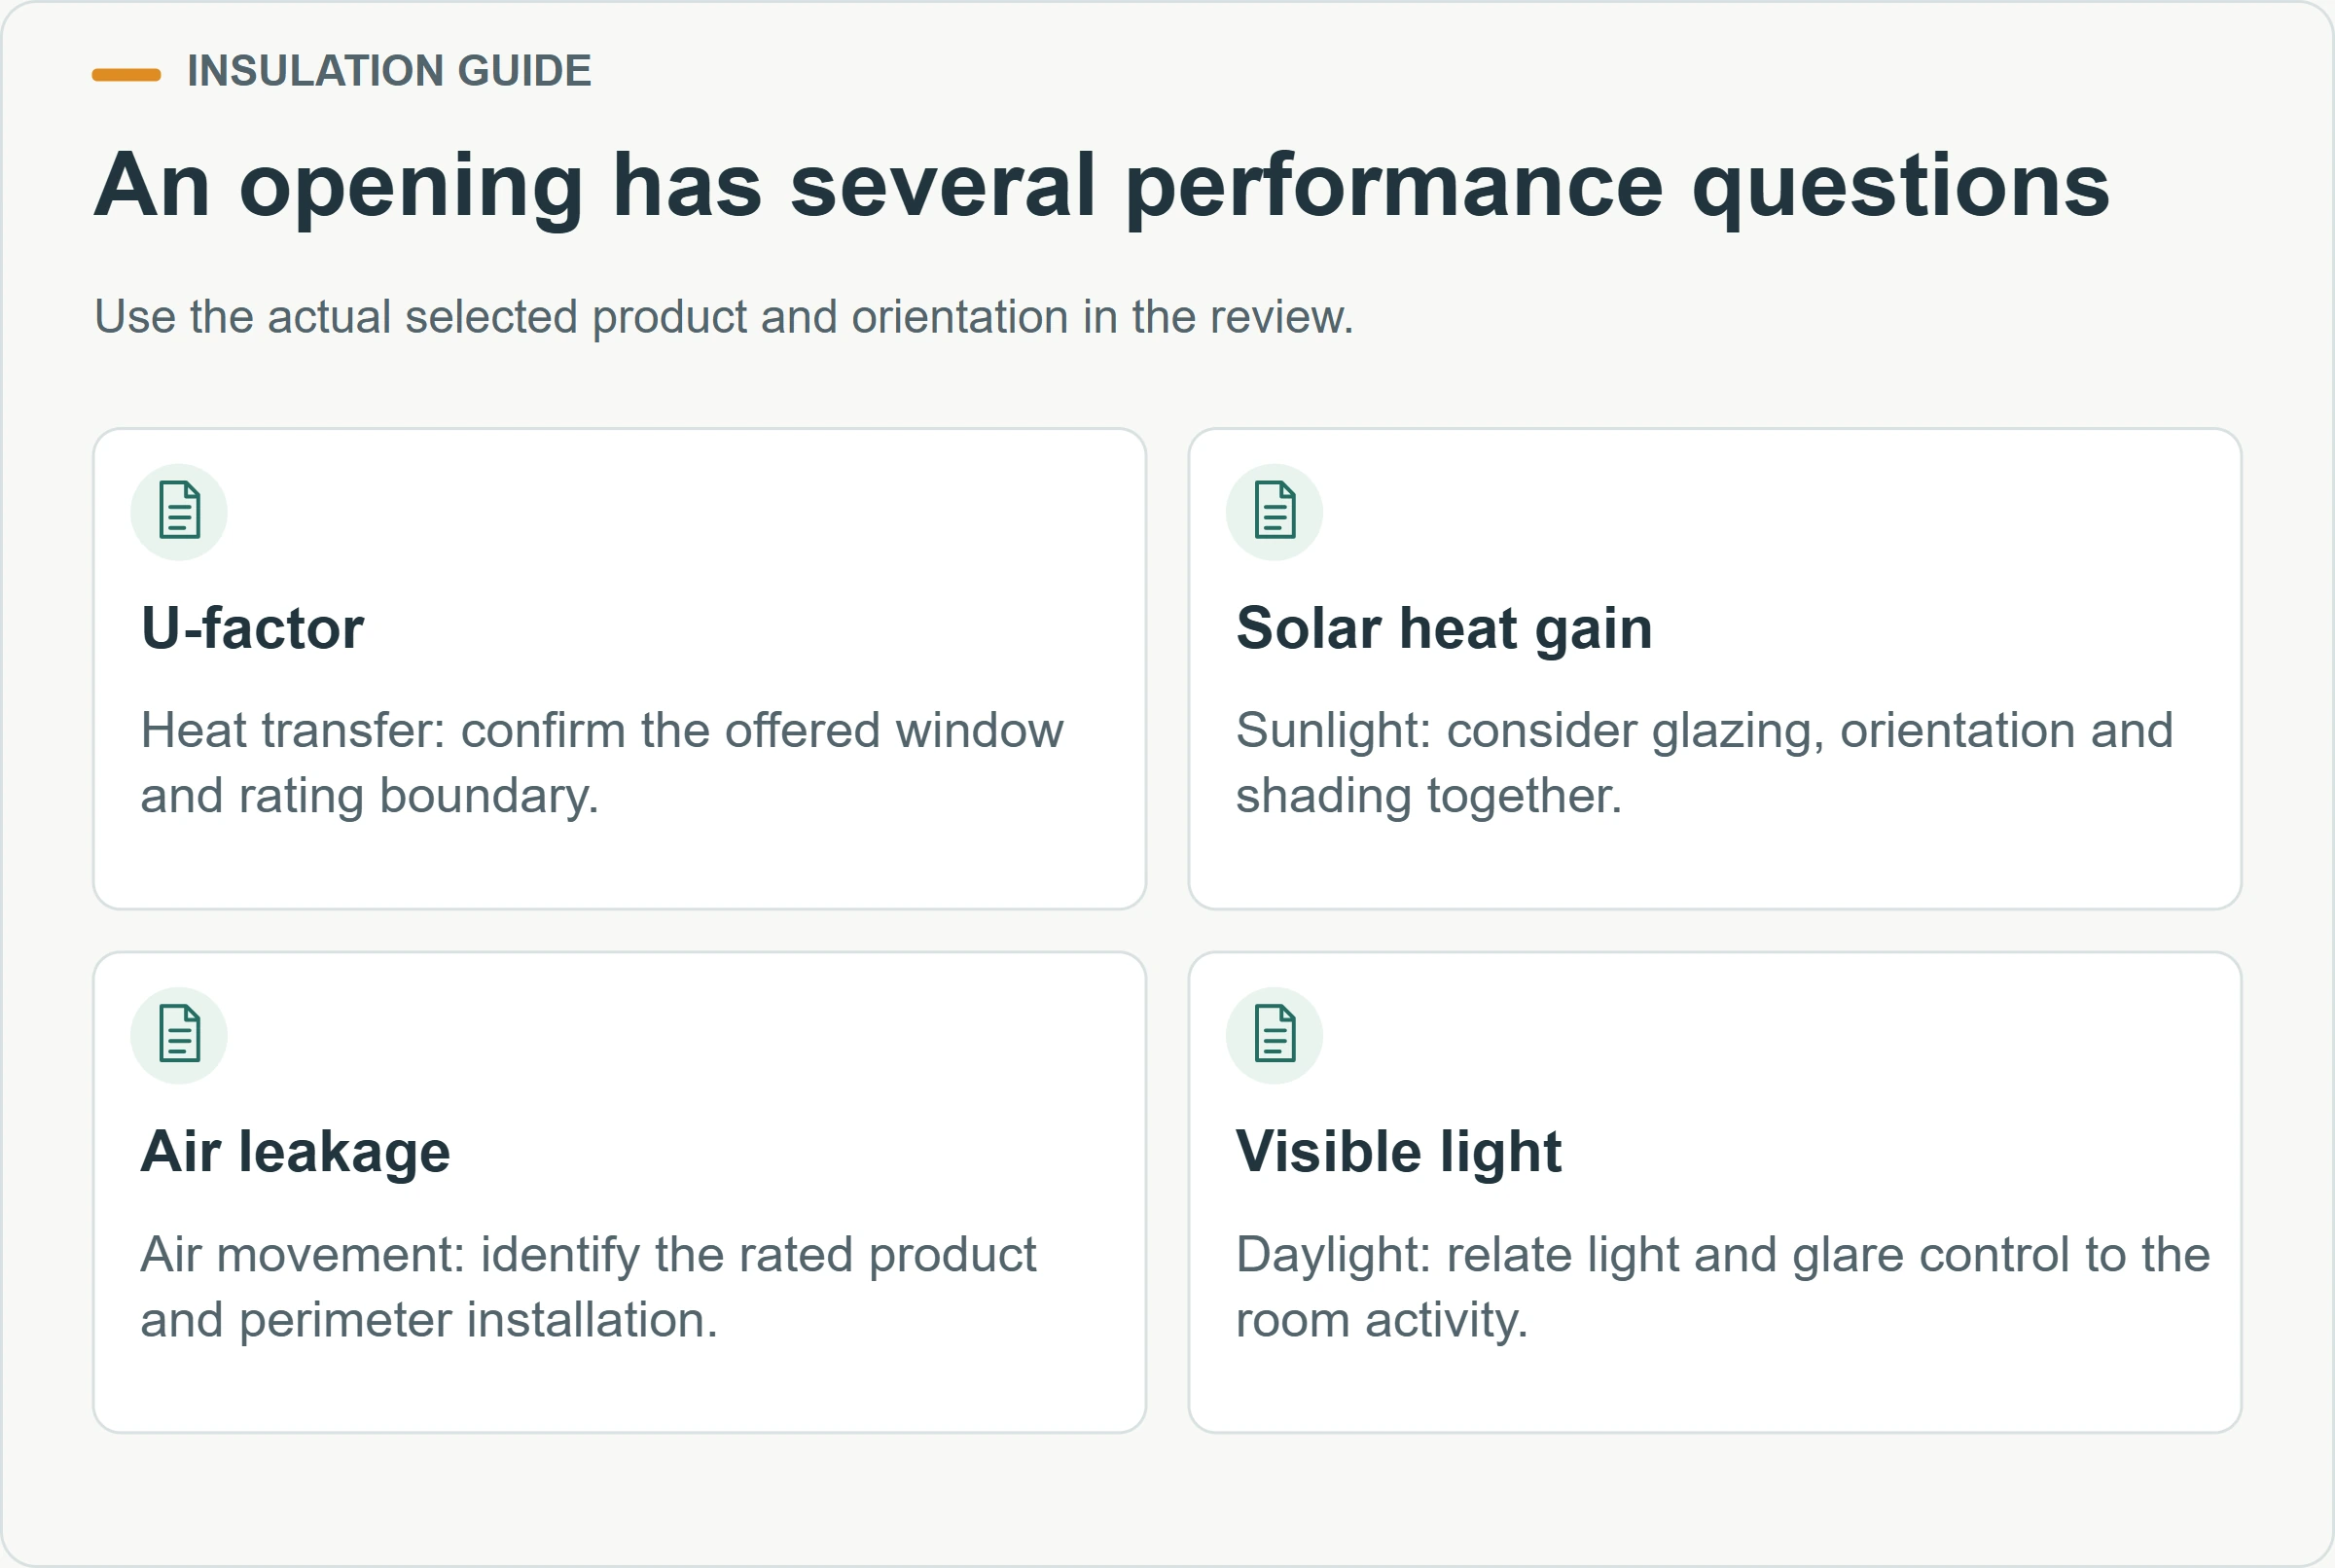
Check what happens after a layout change. Moving a window to another elevation can change solar exposure. Enlarging an opening changes the relative areas of glazing and insulated wall. Adding a connecting doorway changes how rooms are used together. Revisit the enclosure comparison when these decisions change, even when the panel specification remains unchanged.
How do climate and indoor moisture change the decision?
The enclosure and mechanical systems should be designed for the destination climate and the way the rooms will operate. “Hot country” or “cold country” is not a sufficient project brief. Record the actual location, seasonal use, occupancy pattern and whether the building contains moisture-producing activities such as showers, cooking or drying clothes.
The US EPA’s guidance on controlling indoor moisture explains that moisture can come from leaks and indoor activities, and that condensation can form on cold surfaces. It also stresses that moisture problems and appropriate solutions differ by climate. That supports a coordinated review of water entry, surface conditions and humidity control, rather than treating every damp patch as evidence of insufficient panel thickness.
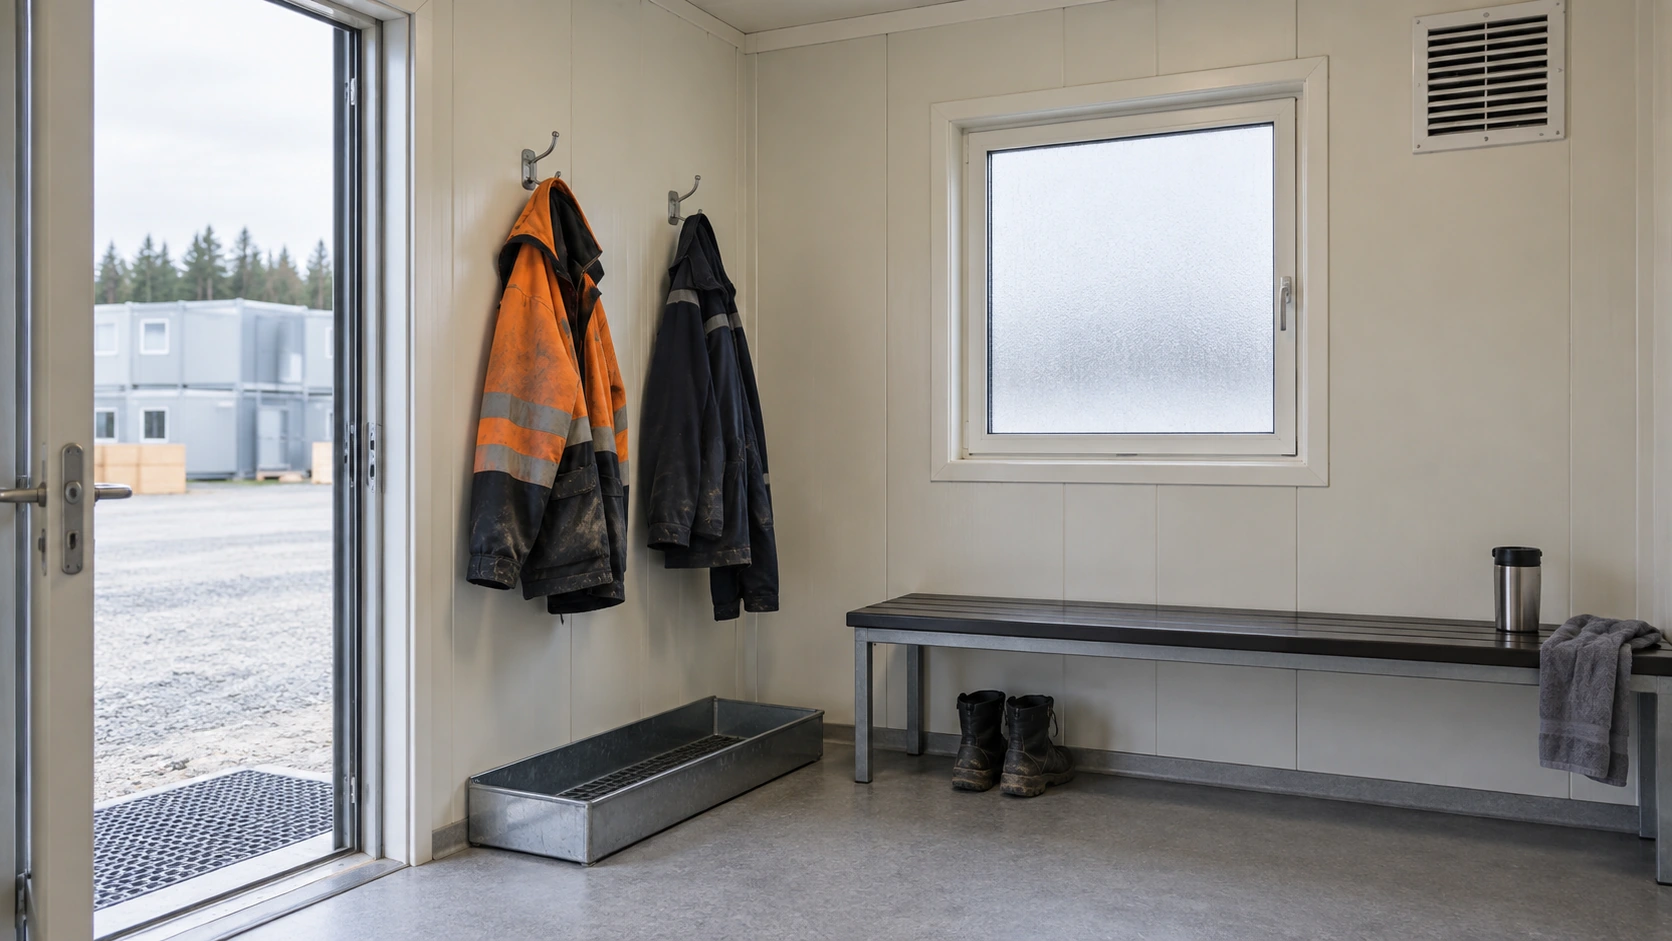
Ask the designer to explain the intended air-control and vapor-control strategy for the selected assembly. These terms describe different functions and should not be treated as interchangeable labels for a sheet or sealant. The position and properties of relevant layers need to suit the complete construction and operating conditions. Avoid adding an unreviewed barrier because an unrelated installation video showed one.
Describe the actual room use
An intermittently occupied office, a continuously occupied dormitory and a bathroom block can share an external appearance while presenting different design inputs. State when people arrive, when systems operate, which rooms are connected and where moisture is generated. Include likely seasonal shutdowns. The technical team can then assess the enclosure and services against a coherent use case.
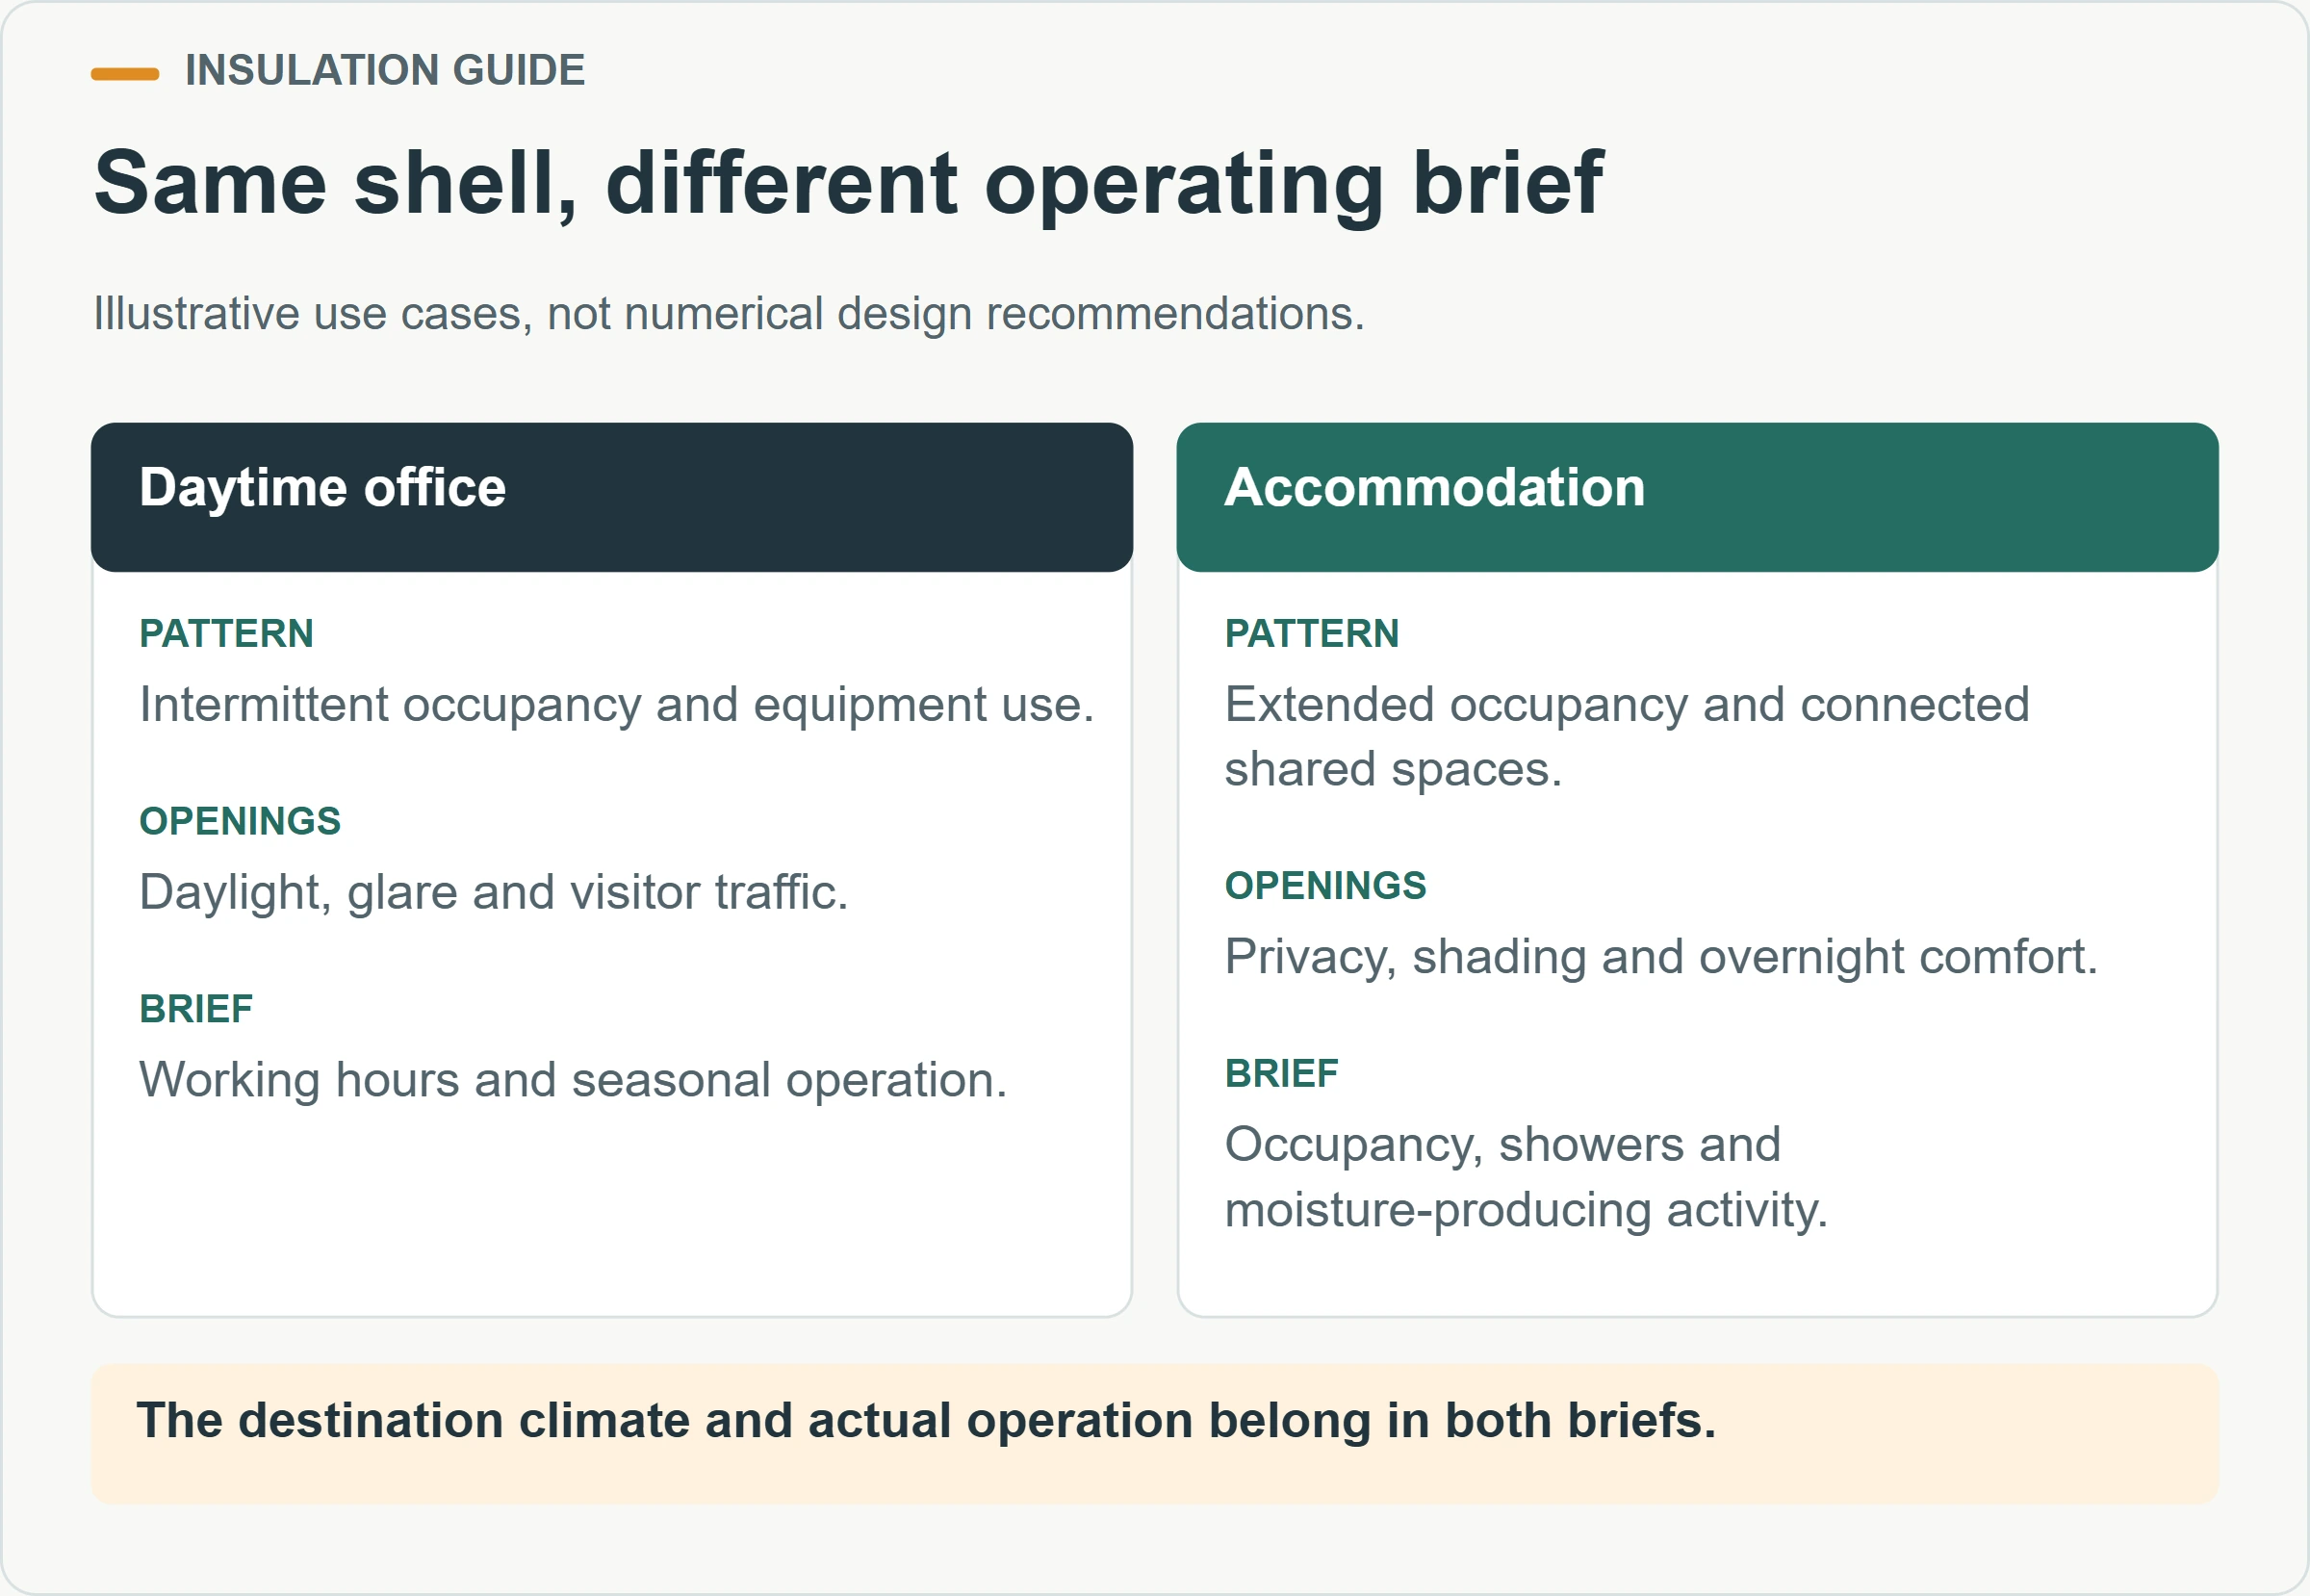
If dampness appears in an existing room, record the location, weather, room use and operating conditions before deciding on a remedy. Note whether the symptom follows rainfall, occurs near a service, or appears on cold interior surfaces. These observations help a competent assessor distinguish possible causes. Covering the symptom with another lining before investigation can conceal the evidence and complicate later repair.
What should an evidence-based comparison contain?
Compare complete, identifiable alternatives against one agreed project brief. A useful schedule makes the supplied component and the assessment boundary visible beside each claim. Keep unresolved information open. A blank test field does not mean zero performance, and a long report does not establish relevance unless its assessed construction matches the proposal.
| Comparison item | Information to record | Procurement question |
|---|---|---|
| Wall, roof and floor | Assembly identity, thickness and declared thermal data | Are all three included in the offer? |
| Frames and junctions | Representative details and assessment scope | Which heat paths are covered by the evidence? |
| Windows and doors | Offered product, size and applicable ratings | Does the report match the selected opening? |
| Installation | Joint instructions and inspection requirements | Who confirms the delivered assembly is installed as intended? |
| Mechanical design | Design assumptions and operating requirements | Does it use the same room, climate and occupancy brief? |
Keep thermal, acoustic and fire information in separate columns or linked records. A document that addresses one function does not automatically support another. Ask which assembly, test method and limitations each report covers. This prevents a broadly worded sales summary from becoming an unsupported statement in your own project documentation.

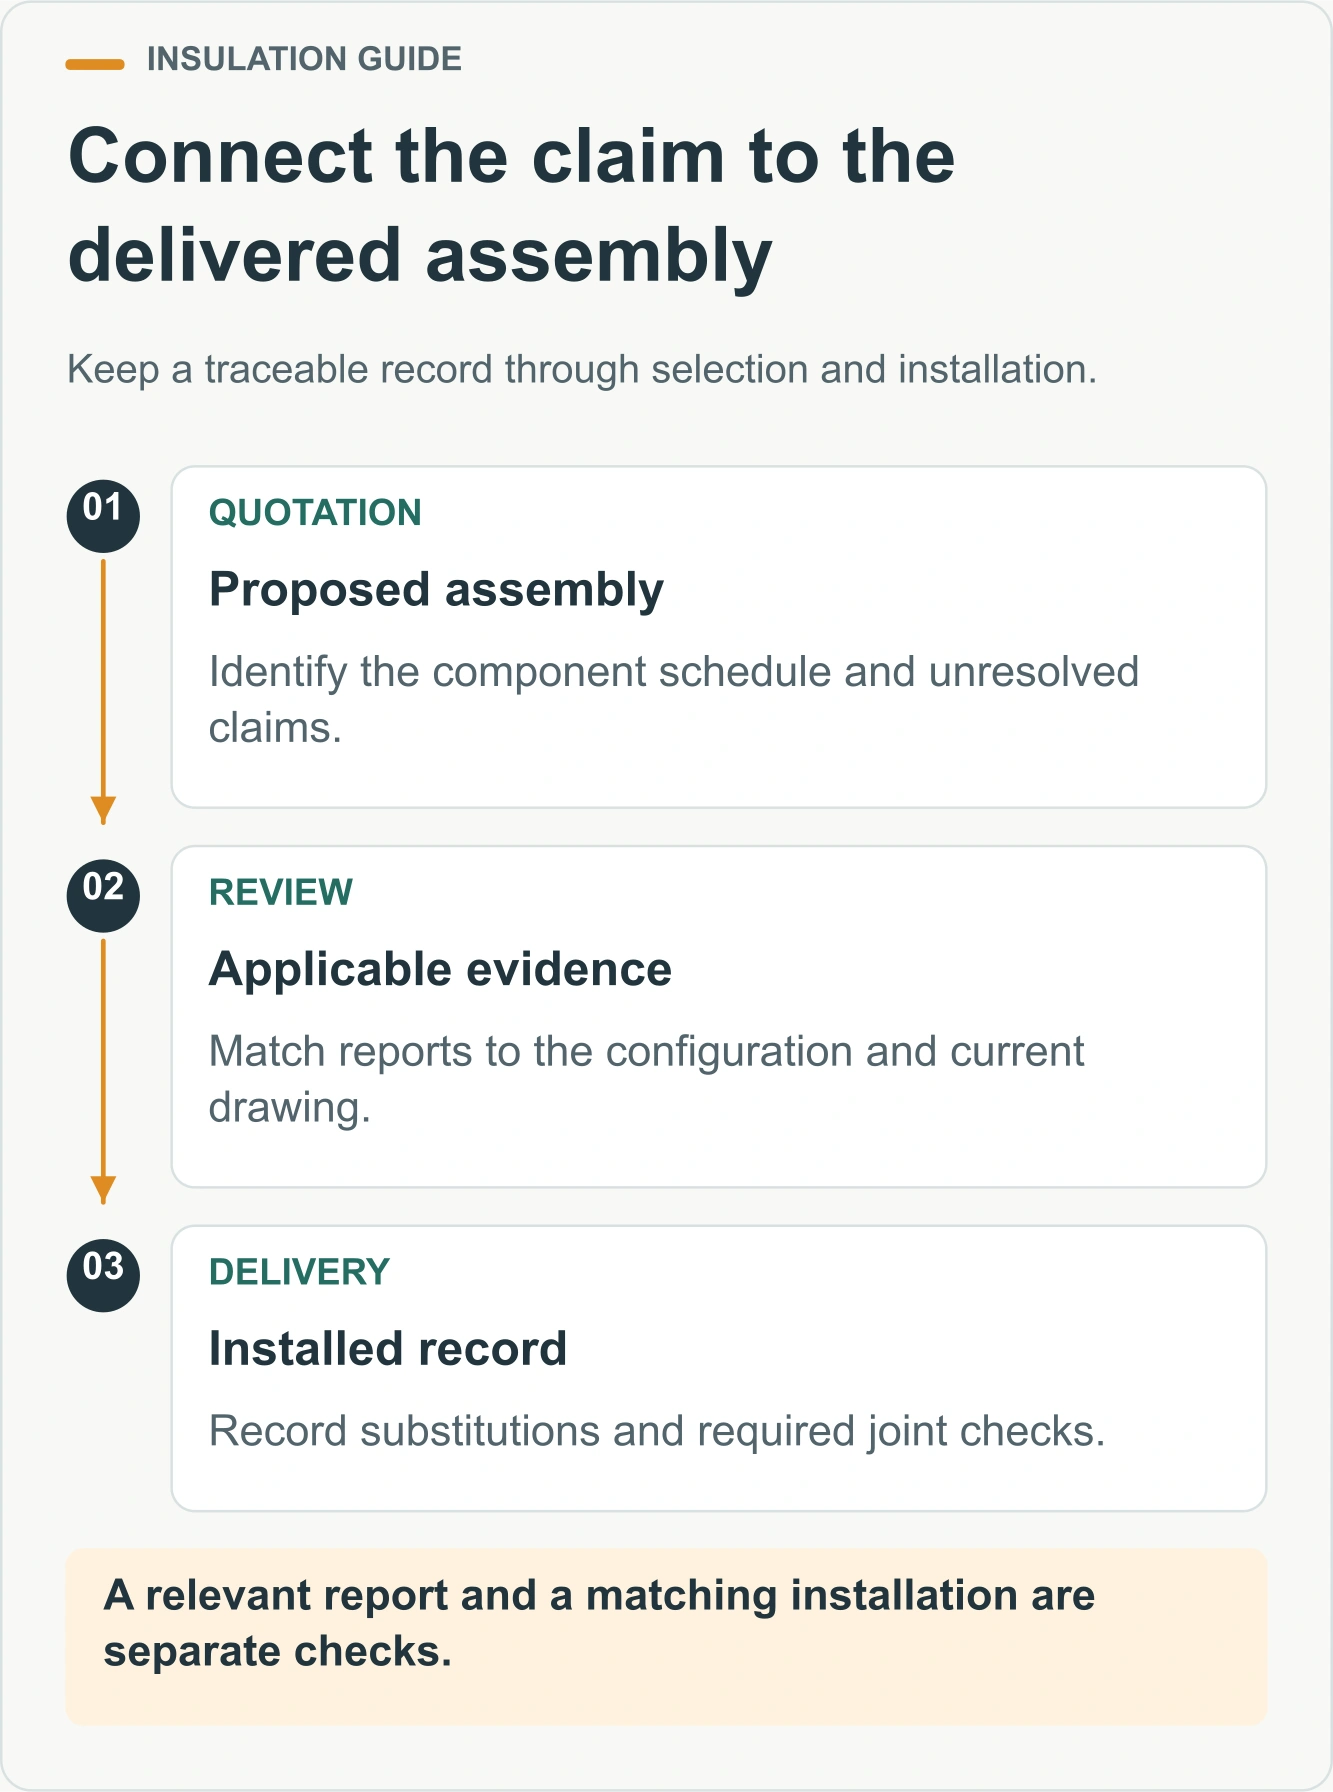
Our container house quality control guide explains how to connect evidence with an identified configuration and close unresolved issues. For insulation, the same discipline means retaining the drawing revision, component identity, relevant report and installation checks together. The buyer should be able to follow the claim from quotation to delivery without guessing whether a substitute was made.
Photographs are useful for checking visible details and documenting work before it is concealed. They are not measurements of thermal transmittance. Similarly, a thermal image can help an appropriately planned investigation, but its colors alone do not supply a certified whole-building rating. Ask what method, conditions and interpretation support the conclusion being presented.
How should you assess the value of an insulation upgrade?
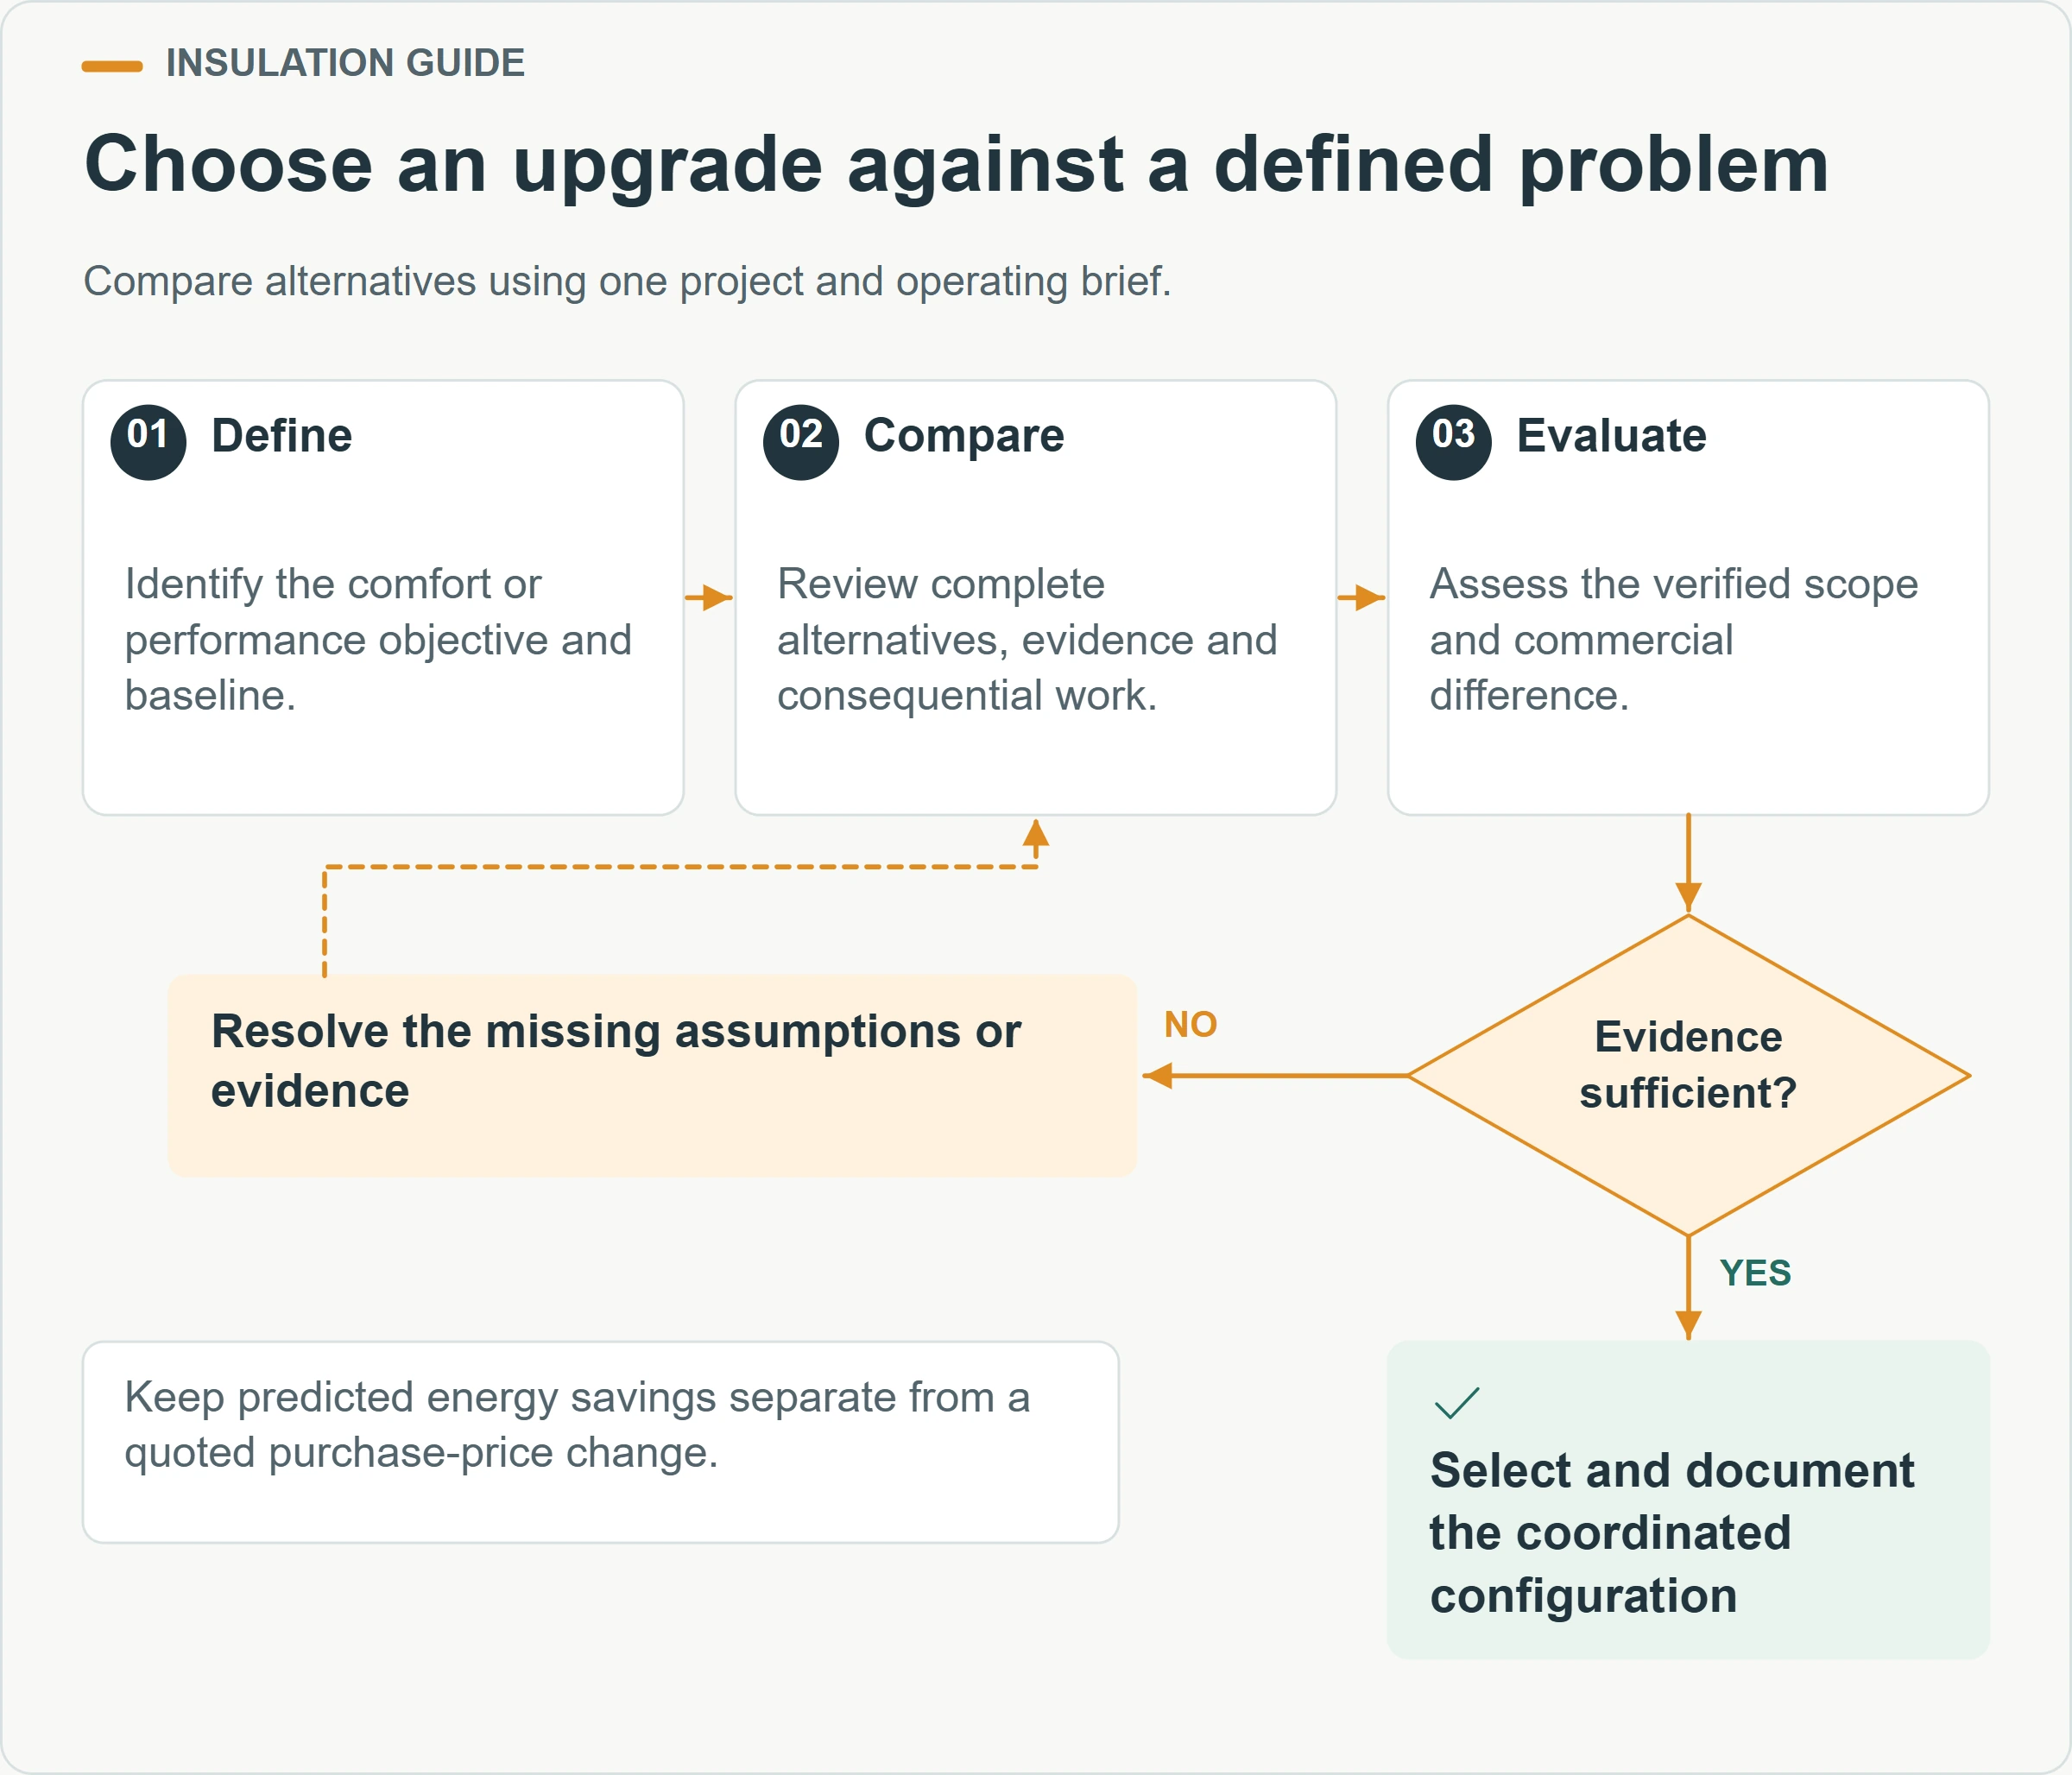
Evaluate the upgrade against the problem it is meant to solve and the complete work needed to deliver it. Greater panel thickness may be one option, but a specification review might instead identify an unresolved floor detail, an opening choice or installation continuity. Establish the baseline before requesting a price difference.
Use a written change description. State which assemblies change, which remain the same, whether internal dimensions are affected, and which details or documents need revision. Include transport, installation and finishing effects if they apply. An upgrade price without an agreed scope can hide consequential work that appears later in the order.
Consider a hypothetical buyer comparing two office configurations. Option A changes only the wall panel. Option B retains that wall but changes the window and a reviewed perimeter detail. Neither is inherently better without the site and operating assumptions. Ask the technical team to compare both against the same comfort and energy objectives, then evaluate the verified scope and cost together.
| Proposed change | Question before pricing | Information needed for a useful decision |
|---|---|---|
| Different panel construction | What property and assembly boundary improve? | Applicable documentation and revised component schedule |
| Revised opening | How do glazing, frame and shading interact? | Opening schedule, orientation and relevant ratings |
| Additional insulation layer | What happens at junctions and penetrations? | Coordinated details and installation scope |
| Revised mechanical system | Which loads and operating pattern were assumed? | Design basis, controls and commissioning requirements |
Our container house cost guide can help organize the commercial comparison. Keep any predicted energy saving separate from the purchase-price change. An energy estimate should identify its baseline, climate, operating hours and method. Do not treat a percentage taken from another building as the expected saving for your order.
What should be agreed before production and handover?
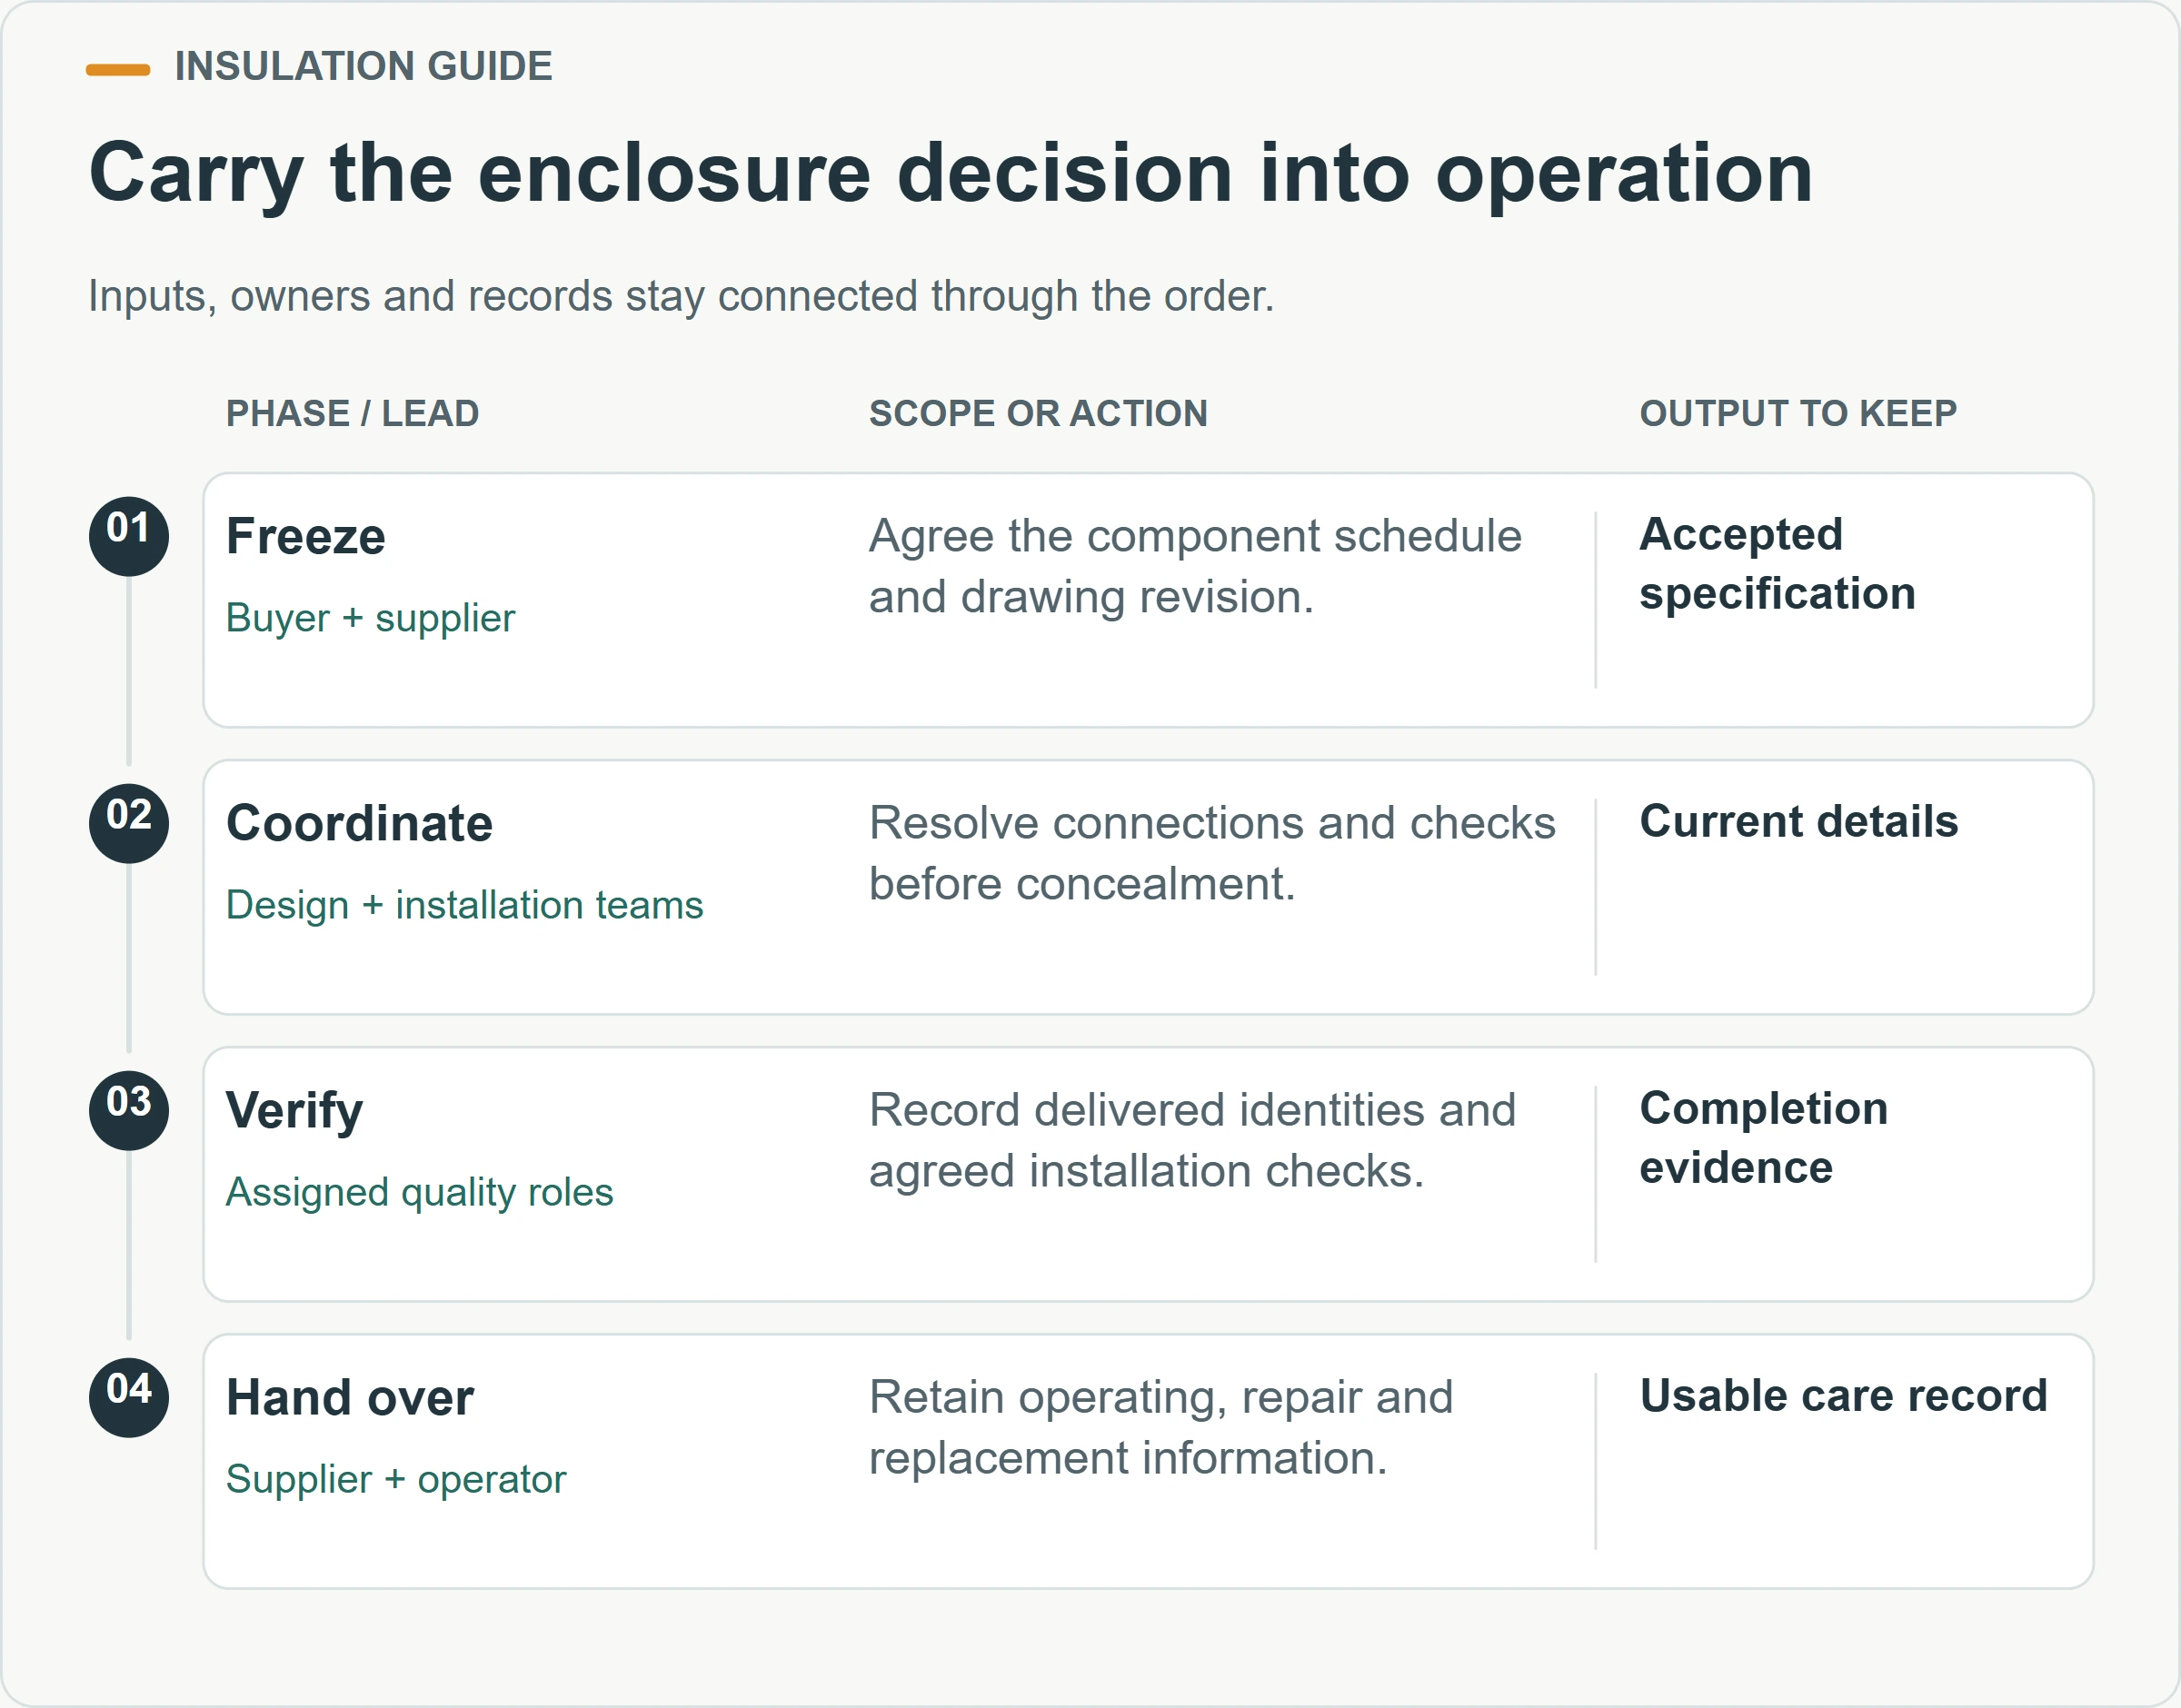
Freeze the enclosure specification, coordinate the installation details and define the records needed at completion. The final order should refer to the same panel, opening and junction information that supported the comparison. If a component changes, the relevant technical assessment and buyer approval should be revisited before it is treated as equivalent.
Identify checks at the points where work becomes difficult to inspect later. Depending on the system, that may include continuity at a connection or the completion of a perimeter detail before a cover is fitted. The actual inspection requirements belong to the design and installation documents. Record who performs them and how unresolved work is communicated.
At handover, retain the current assembly information and operating instructions alongside the maintenance documents. Explain controls to the person responsible for the building and keep access to serviceable components available. If the rooms will be relocated or substantially reconfigured later, include enclosure connections in the review of that change. Reuse planning should account for the condition and reinstatement of joints.
Agree how a later repair will be specified. The operator needs a way to identify a damaged panel, gasket or perimeter component without relying only on its color or apparent thickness. Keep product references and suitable replacement information where available. If the original part is unavailable, have the proposed substitute reviewed for the functions that matter at that location. That turns the initial insulation choice into information the building operator can continue to use.
For an insulation discussion with PQSE House, prepare the destination, intended room use, operating hours, preliminary layout, preferred openings and any applicable project requirements. Bring the questions that remain unresolved in competing offers. Those inputs support a focused discussion of the relevant building system and the documentation needed to evaluate its configuration.
Discuss Your Enclosure Requirements
Enclosure comparison — open the checklist
Copy these headings into your project brief. Add your own information and mark unresolved items for review.
| Record | Information to add |
|---|---|
| Selected package | Product model, panel core, thickness and facing |
| Whole enclosure | Roof, floor, frame interfaces, openings and joints |
| Evidence | Report reference, tested assembly and applicable conditions |
| Project requirements | Destination climate, use and responsible technical reviewer |