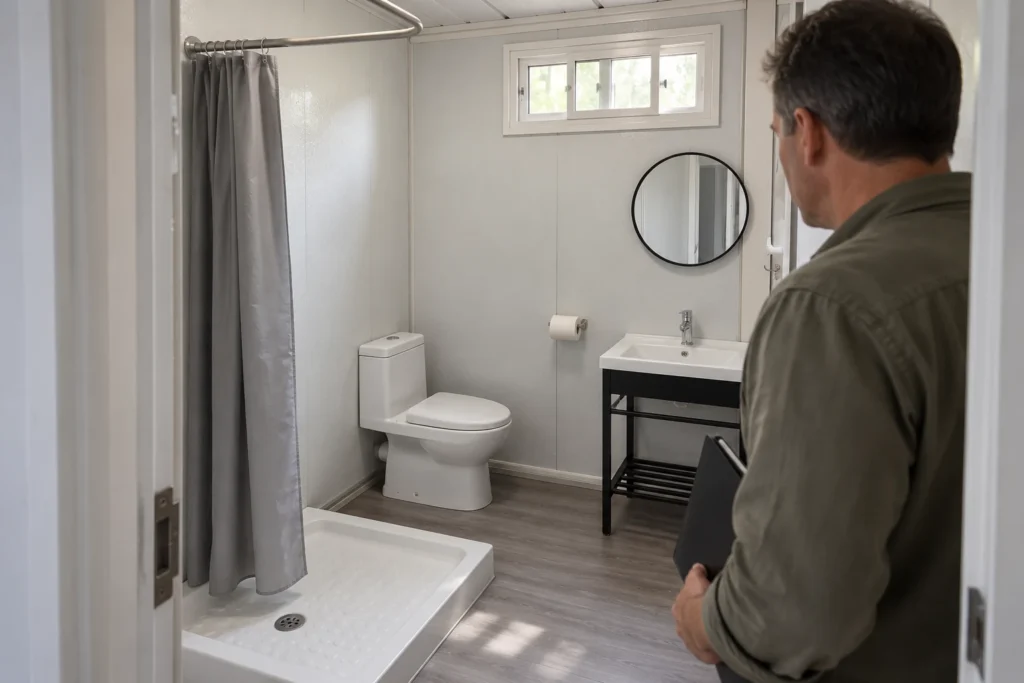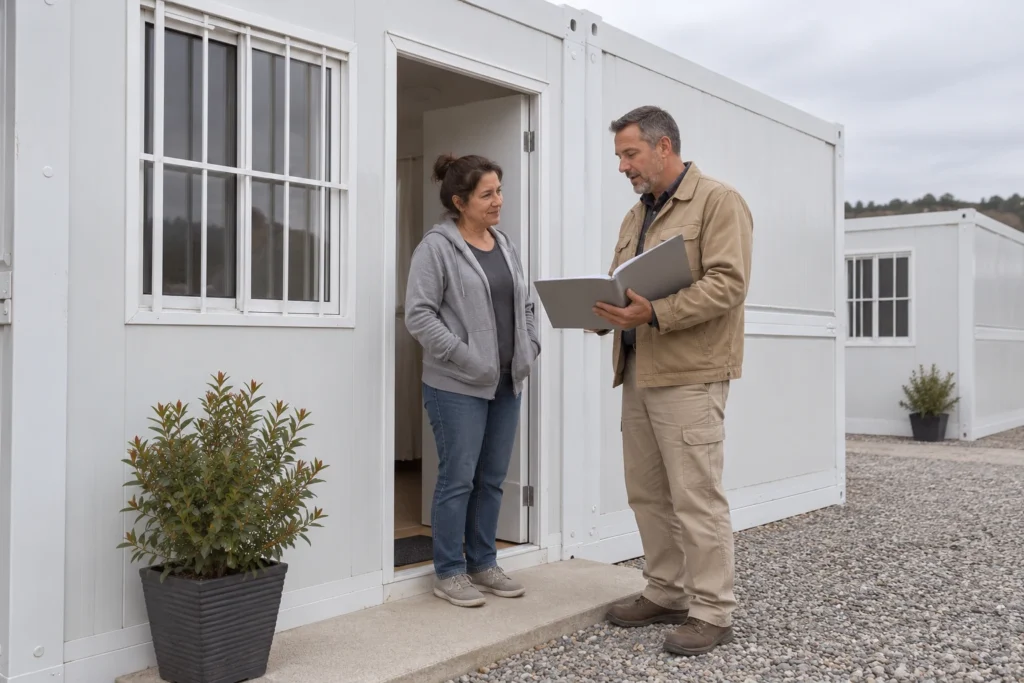
Water on the inside of a flat-pack container house can look like a single problem. A damp window reveal, a dark line along a steel post, and a stain below a roof joint may all be described as “condensation.” They can have different causes and different remedies. Adding insulation before finding the moisture path may hide a rainwater leak. Replacing sealant may do nothing if warm indoor air is reaching a cold concealed surface. Running a dehumidifier indefinitely can mask a ventilation or drainage fault without correcting it.
The useful first answer is a documented diagnosis, not a product purchase. Record where and when moisture appears; distinguish a liquid-water path from moisture forming on a cold surface; check occupancy, ventilation, heating or cooling, and the exterior joint at the same time; then test one likely cause before closing the finish. A purpose-built flat-pack module is assembled from prepared floor and roof elements, wall panels, posts, doors and windows. Its enclosure must work across every connection after installation. It is not the same assembly as a used shipping container with an improvised lining.
This article is a buyer and operator’s decision method. It does not establish a universal safe humidity number, promise that a particular panel will prevent condensation, or replace a building-envelope professional’s inspection. The US EPA moisture-control guide explains why water entry, indoor humidity, vapor movement and material drying must be considered together. Local climate, the selected assembly and the actual use pattern decide which control deserves priority.
Start with the symptom, not the repair
Make a moisture log that another person can test
Before wiping away the evidence, photograph the affected surface with a location and date. Mark the module, room, wall orientation and distance from the nearest post, window, service penetration or roof edge. Record whether the surface is visibly wet, merely cold, stained, soft or odorous. If a finish is removed, photograph both sides and keep the sequence; a later contractor needs to know whether water first appeared on the room face, inside a joint or behind a panel. Record outdoor rain and wind, indoor temperature and relative humidity, the number of occupants, cooking or showering activity, and whether heating, cooling or ventilation was running. Do not turn one reading into a conclusion.
Compare the log with a timeline. Does the mark appear during wind-driven rain, after snowmelt, early on cold mornings, when a room fills with people, or whenever a cooling unit runs? A rain-correlated stain under one roof transition points the investigation differently from many cold window frames misting after an occupied night. A drip under an indoor unit may be condensate drainage rather than a roof leak. An isolated event after a door was left open in humid weather should be recorded, but should not automatically dictate a permanent enclosure redesign.

Choose a consistent measurement point and repeat it under normal use. An inexpensive room hygrometer can identify changes in humidity, but it does not measure moisture inside a panel. A surface thermometer or infrared image can help locate cold spots; reflective metal, emissivity and transient sun exposure can mislead. A moisture meter depends on the material and instrument calibration. Ask the investigator to state what each reading can and cannot establish. Keep ordinary cleaning and any immediate safety measures separate from the permanent remedy, so the evidence is not erased before the cause is understood.
Separate three plausible routes
The first route is liquid water: rain entering at a roof, window or wall transition; ground or splash water reaching an edge; or a plumbing or HVAC drain fault. The second is surface condensation when moist indoor air meets a surface cold enough for water to form. The third is concealed wetting when air leakage or vapor movement carries moisture into a colder part of the assembly. More than one route may operate. For example, a poorly sealed joint can admit rain during storms and carry moist indoor air during winter.
Do not assume the symptom itself identifies the route. A wet bottom edge can be water running down from above, condensate forming on the frame, or moisture trapped by a flooring detail. Look for an entry path and a repeatable trigger. The EPA guide emphasizes control of liquid water, condensation and drying potential as a system. A repair that blocks a visible drip but traps existing moisture behind a low-permeance finish can create a second problem. When materials are persistently wet, isolate the affected area and follow appropriate local health and remediation practice rather than treating a photograph as a full condition survey.

Read the flat-pack enclosure as connected parts
Trace the path from roof to floor
Review the actual approved assembly and installation drawings for the flat-pack container house under inspection. Identify the factory-prepared roof and floor elements, wall panels, steel posts, panel joints, windows, doors, penetrations, flashings and any interior lining. Ask which party installed each interface on site and who inspected it before concealment. A photograph of a finished room may show a neat corner while giving no evidence of the hidden water, air or thermal control layer.
Trace each control across a joint: where does exterior rain go, where is the air seal continuous, how does insulation meet the post, and where can the assembly dry if incidental moisture enters? The Whole Building Design Guide’s enclosure principles explain why water, air, vapor and heat controls should be continuous at transitions. A steel post or fastener that bypasses insulation can make an adjacent interior surface colder than the main panel. That does not prove the panel itself is defective; it gives the investigator a specific location to test.
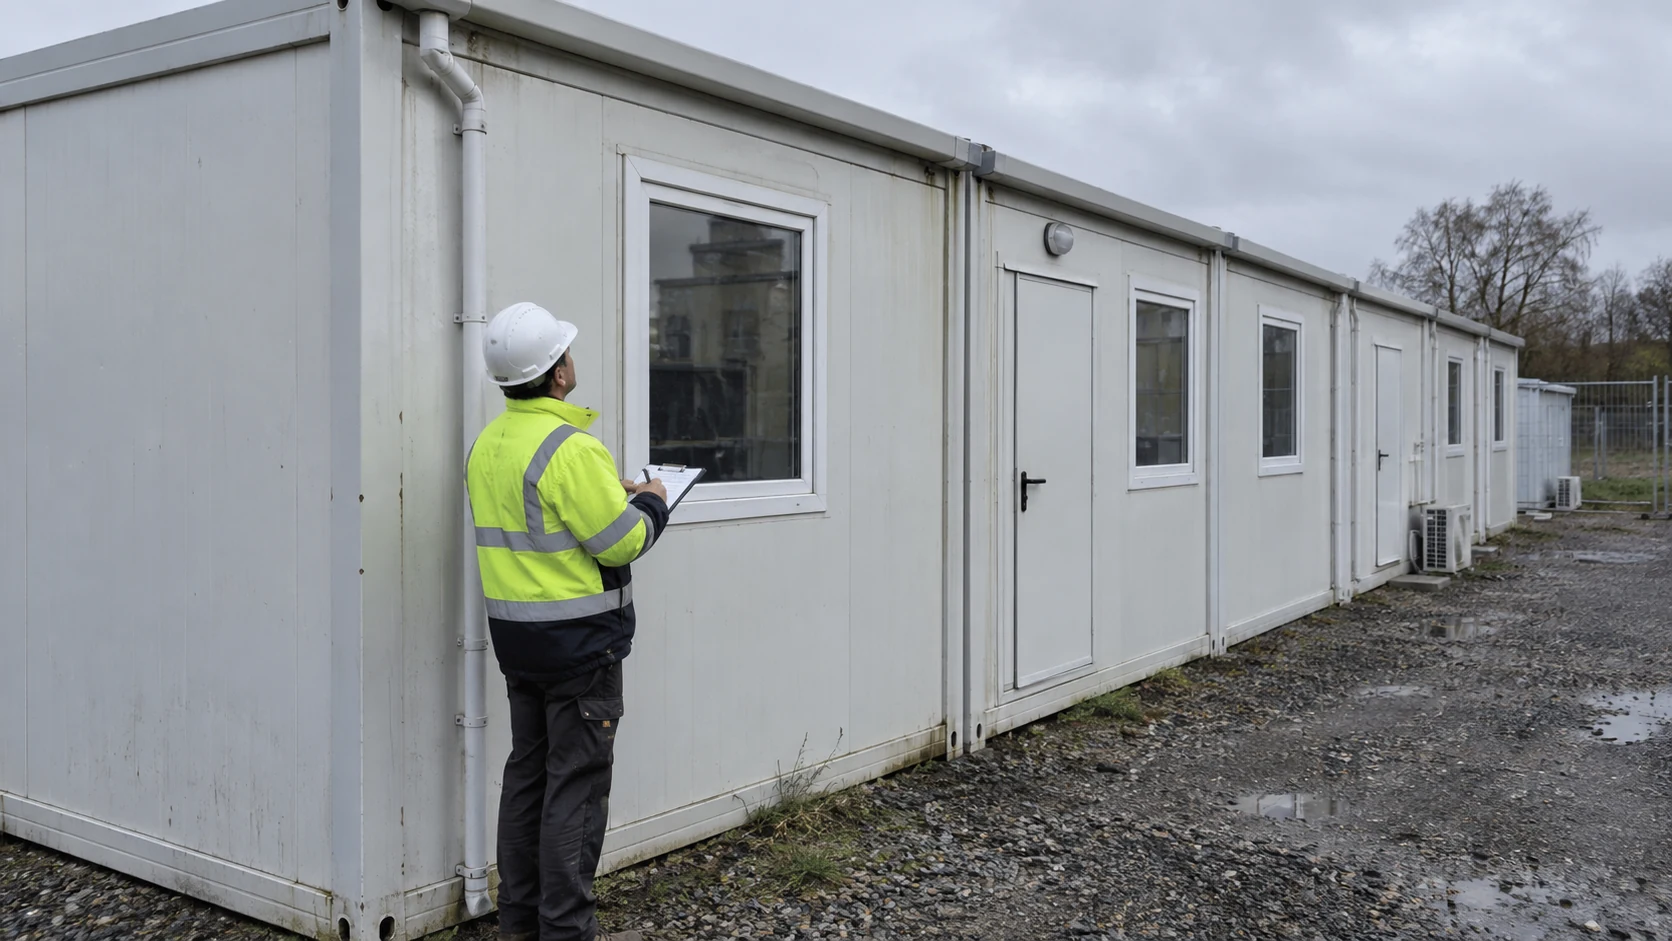
Start outside where practical. Look for missing or displaced caps, open sealant, blocked drains, compressed gaskets, damaged flashing, fastener holes and water held against the base. Check the path of runoff from roof to ground. Then compare the inside mark to the outside joint geometry. If the accessible outer joint is sound and the mark only appears during high indoor humidity, the hypothesis changes. If a controlled water test is warranted, agree on a safe method, sequence and observer before applying water; spraying every joint at once destroys diagnostic value and can introduce new damage.
Examine the openings and service penetrations
Windows and doors interrupt several control layers. Check the frame-to-panel joint, sill drainage, head flashing, operable seals and the threshold. A cold frame may condense moisture without any exterior opening. A blocked weep or an inward-sloping sill may cause liquid water to reappear after rain. Note whether the affected corner is shaded, faces prevailing rain, or sits beside a heat source that changes air circulation. Record these conditions before replacing every seal in the room.

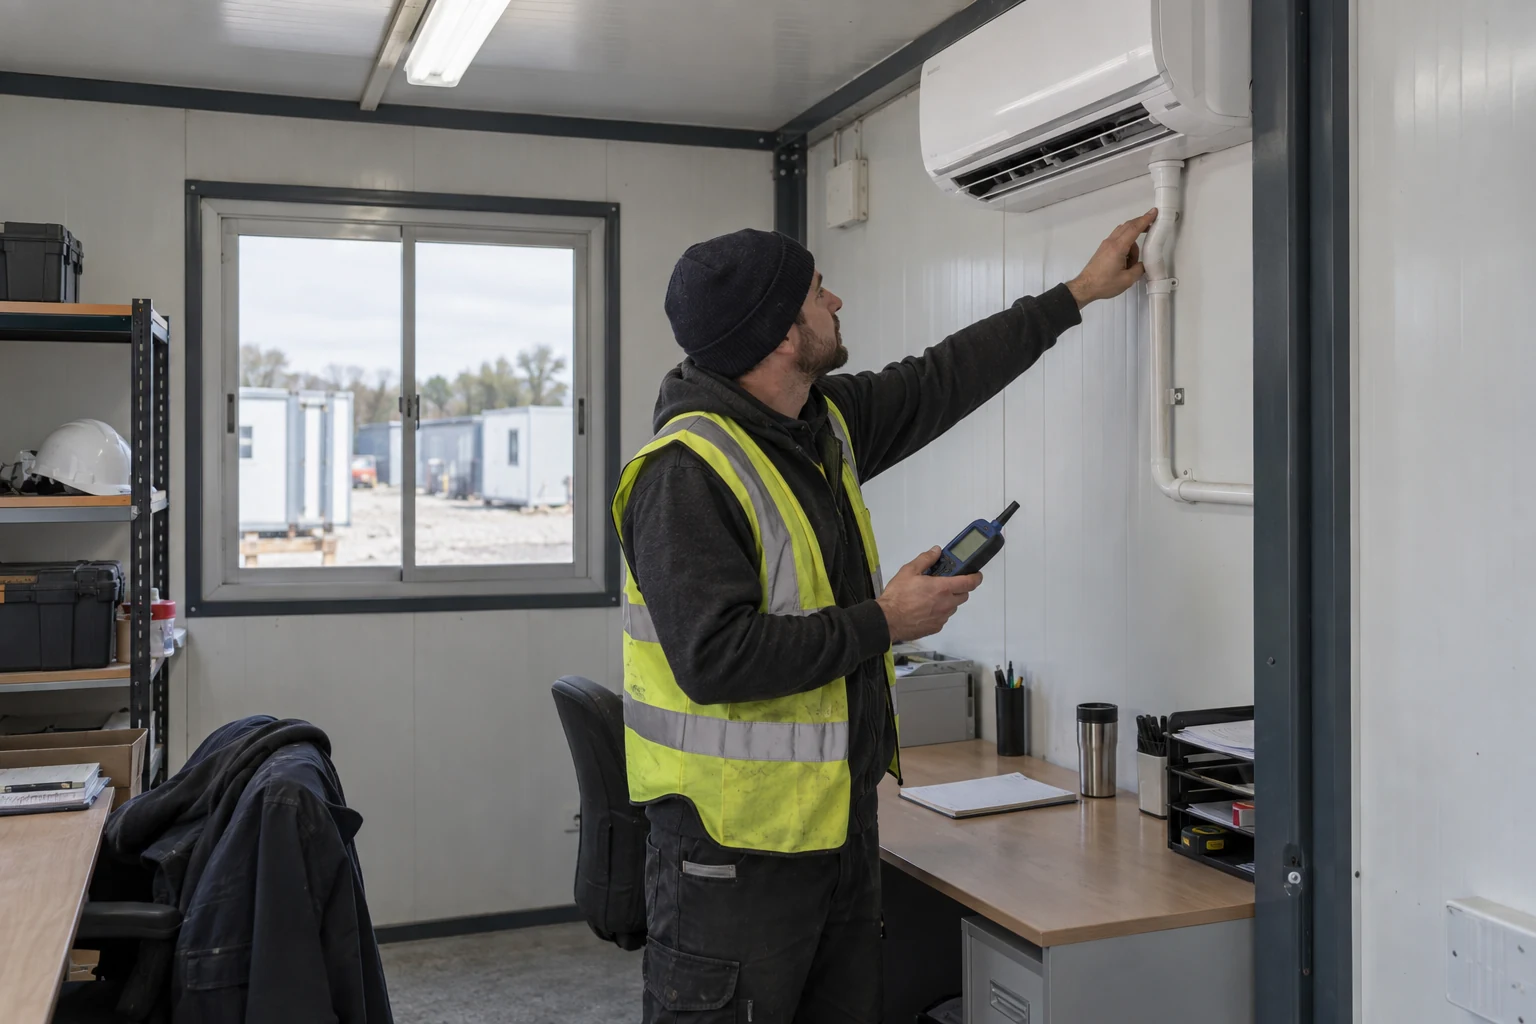
Pipes, cables and ventilation ducts need the same discipline. Follow a stain near a service sleeve to its outside termination and the interior air seal. Confirm that an HVAC condensate line has the fall, trap and discharge route specified for the selected unit; a loose or blocked drain can mimic envelope leakage. Ask the installer to demonstrate that any penetration repair restores the same water, air and insulation functions it interrupted. The related installation sequence guide helps buyers identify what should be inspected during placement and connection, but the project-specific shop and site drawings govern the actual detail.
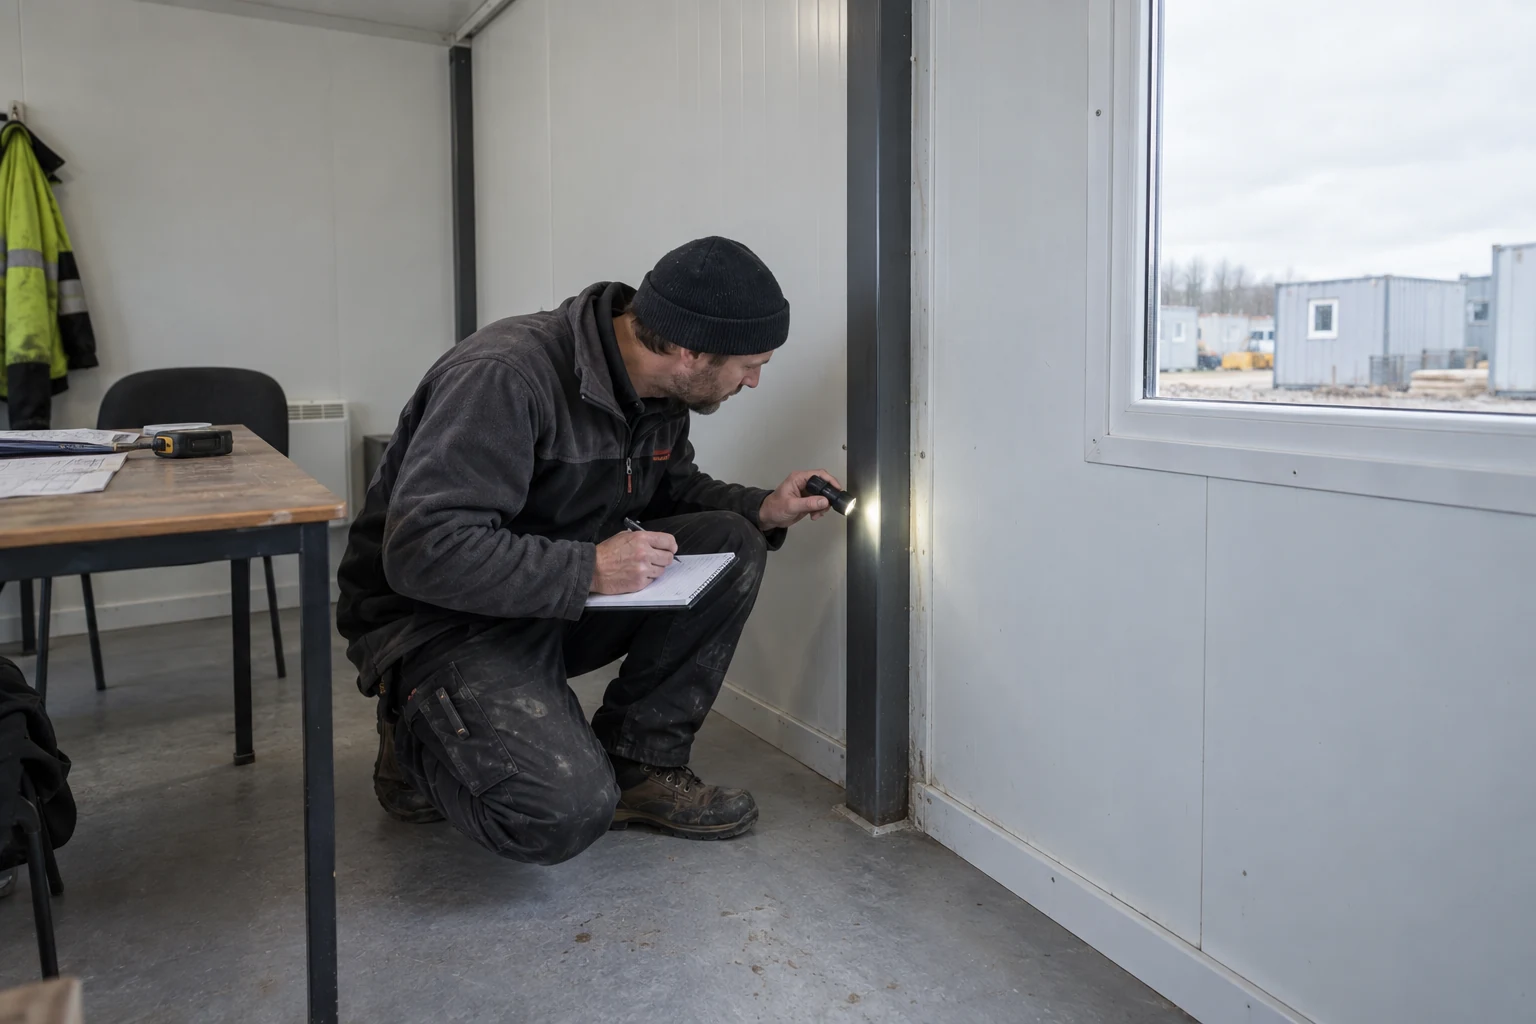
Check the indoor moisture load and the cold surfaces together
Map a normal day of use
A flat-pack office, sleeping module or service room can have very different moisture loads even when its shell looks identical. Count occupied hours, people, wet coats, cleaning routines, cooking equipment, showers or laundry nearby, and doors opened to humid outdoor air. Record when exhaust fans or outside-air systems operate, and whether they are disabled to save energy or reduce noise. A new building may also contain construction moisture in floor finishes or wet materials. The diagnosis should describe the real use profile, not an empty showroom condition.

Compare the operating record with the coldest affected surfaces. Window glass, aluminum frames, steel posts and uninsulated service penetrations may reach lower temperatures than the middle of a wall panel. Condensation requires a suitable combination of surface temperature and nearby air moisture; simply knowing that the room air feels dry is not enough. The EPA guide explains the principle without imposing one universal indoor target. An engineer should set project-specific indoor conditions using climate, occupancy, equipment and local requirements, then verify the enclosure under those conditions.

If a contractor recommends “more insulation,” ask which surface is cold, why it is cold and how the proposed detail keeps the air and water layers continuous. An added lining can move the cold surface into a hidden cavity if warm indoor air can leak behind it. This is why container house insulation decisions should be discussed as assembly and climate choices, not as a simple thickness contest. For flat-pack panels, verify the purchased panel composition and interface detail rather than borrowing a claim about a converted shipping container.
Check ventilation and cooling operation
Ventilation can remove indoor-generated moisture, but the required arrangement depends on use and climate. In a humid climate, uncontrolled outside air can add moisture; cooling equipment may need to remove latent load while maintaining comfort. In a cold climate, indoor moisture can be carried toward cold enclosure surfaces by air leakage. Measure the actual condition while systems are running, and ask the mechanical designer to compare it with the design brief. Do not recommend opening every window as a universal fix.
Check whether supply and return paths are blocked by furniture, whether exhaust reaches outside, whether a fan really runs at its specified duty point, and whether a cooling unit’s condensate leaves the building without wetting the wall or floor. Operators should know filter, drain-pan and alarm maintenance requirements. If the room becomes damp only after a change in occupancy or HVAC control, test that change before modifying the building shell. Record temporary dehumidifier use as a diagnostic or short-term control with an owner and end date; it is not evidence that the underlying fault was repaired.
Use a decision tree, not a blanket sealant job
Follow the strongest evidence first
Suppose a stain grows after rain while the room is unoccupied. Begin with exterior shedding, joints, roof drainage, windows and penetrations near that location. If a frame beads water on cold mornings with several people sleeping inside and no rain, check room humidity, frame surface temperature and ventilation. If a drip begins only when the air conditioner runs, inspect the unit, drain and insulation around its line. These are investigation priorities, not diagnoses by photograph. A competent investigator may need to open a small area or monitor several weather cycles.
Write competing explanations before authorizing the repair. For each, note what observation would support it and what would weaken it. Agree on the next reversible test, responsible person and decision point. If the evidence is inconclusive, continue monitoring rather than sealing a whole wall. A buyer should ask for a defect record that links symptom, cause, repair detail and acceptance test. This makes a later warranty or contractor discussion much clearer than an invoice for “waterproofing.”

Protect the building while the cause is investigated
Even before the permanent remedy, prevent continued damage. Move absorbent materials from the wet area, manage slip and electrical hazards, dry accessible surfaces as appropriate, and keep occupants informed about unusable spaces. Do not route a temporary hose across an exit or discharge condensate onto a foundation edge. If hidden materials may be saturated, ask a qualified professional whether opening or replacement is necessary. Safe interim controls should be documented separately from the diagnosis, including who will check them and when.
This approach aligns with a container house maintenance plan that records roof, drainage, sealant and service conditions over time. Routine inspection can find a failed detail early, but it cannot substitute for tracing an active water source. Likewise, a quality-control record should include concealed joints and interfaces when they are still visible. The container house quality-control guide gives buyers a broader handover framework.

Specify a repair that preserves all four controls
Repair the cause, then the damaged material
Once the cause is confirmed, define the repair in drawings or a written method: remove and replace damaged sealant or flashing to the appropriate detail; correct a blocked or misrouted drain; restore insulation continuity at a post; reinstate an air seal at a penetration; or adjust mechanical ventilation and condensate disposal. The right action depends on the tested route. Specify how the work will be inspected before it is concealed and which materials must be dried or replaced. A cosmetic patch over a still-wet substrate is not an accepted repair.
Ask the contractor how the changed detail manages the four linked controls: liquid water, air movement, heat flow and water vapor. For instance, covering a cold steel corner with insulation without sealing air leakage may leave moist room air behind the new finish. Packing a roof joint tightly without a proper exterior drainage path may redirect water inward. The WBDG enclosure resource explains this systems view; the project designer must turn it into a location-specific detail. Confirm compatibility of panel facings, coatings, sealants and fasteners with the selected assembly and any warranty conditions.

Photograph the opening before work, the prepared surface, each concealed layer and the completed repair. Save material names and batch references where relevant. Keep the damaged piece or a representative sample when failure analysis or warranty review needs it. If multiple modules share the same detail, inspect a sample of unaffected units under the same conditions before declaring a fleet-wide defect. One corner in one location can reveal a repeatable interface risk, but it cannot by itself prove every installed module has the same fault.

Test the result under the original trigger
A repair should be checked against the event that exposed the problem. For a rain-linked leak, inspect after a relevant storm or perform a controlled test agreed by the designer. For occupied cold-weather condensation, log room conditions and surface observations during a comparable occupancy period. For an HVAC drain, run the equipment long enough to confirm reliable discharge and inspect adjacent finishes. Do not call a dry surface on a sunny, empty afternoon a complete acceptance result.
Define an observation period and a closeout owner. The handover record should include the original symptom, diagnostic measurements and limitations, approved repair detail, before/after photographs, test conditions and any remaining maintenance action. If the room use changes later, the operator can compare the new pattern with the baseline. A relevant flat-pack price and scope guide also helps a buyer separate the original supplied components from site installation, utilities and post-handover work when responsibilities are disputed.
Build prevention into procurement and handover
Ask for interface drawings, not only a panel certificate
A panel data sheet is useful, but the completed room depends on its connections. Request roof-to-wall, wall-to-post, floor-edge, window, door, corner and service-penetration details appropriate to the destination climate and intended occupancy. Ask how exterior water is shed, where air sealing is continuous, how thermal bridges are treated and how wet materials can dry. Require the installer and designer to identify who owns each factory and site interface. The sequence is especially important when separate parties supply modules, assemble them, install mechanical services and finish interiors.
Use the container house permits and codes guide to frame the approval conversation, then obtain a project-specific determination from the destination authority and qualified local professionals. A generic internet detail is not a substitute for the local wind, rain, fire, energy, ventilation and occupancy requirements. Ask for the manufacturer’s exact proposed assembly and applicable test documentation for the ordered configuration rather than assuming every “flat-pack house” has the same performance.
During factory and site quality checks, photograph the interfaces before cover-up. Inspect substrate preparation, panel orientation, gasket compression, sealant continuity, fastener positions, flashing laps, drainage openings and service sleeves against the approved drawings. Record weather and storage conditions if materials or modules were exposed during assembly. At handover, run the relevant heating, cooling, ventilation and condensate systems; confirm that drains are accessible for cleaning and that operators understand what a warning sign looks like. A water-tight enclosure and a dry occupied room both matter.
Give the operator a compact response plan
Operators need a simple trigger-and-escalation sheet. It should show who receives a moisture report, what photos and environmental readings to capture, which utility shutoff or isolation steps are safe, which contractor owns each interface, and when a qualified building or mechanical professional must be called. Include normal roof and drainage inspection intervals appropriate to the site, plus a record of previous repairs. A loose “monitor it” instruction leaves the next shift without a decision.

The response plan should also distinguish ordinary condensation on a cold day from persistent wetting, repeated staining or damaged finishes that require investigation. Do not encourage occupants to cover a damp corner with furniture or paint. Make reporting easy and keep the space usable where safe. For a multi-module camp or office project, use the same log fields across units so a recurring issue can be recognized without presenting an isolated photo as proof of a universal defect.
A practical buyer checklist
Before ordering or accepting a flat-pack building, ask for the following evidence and assign each item to a named party:

- The actual module configuration, intended occupancy and climate brief, with room use and moisture sources identified.
- Project-specific roof, wall, floor, post, opening and penetration interface drawings showing water, air, thermal and vapor-control continuity.
- Factory and site inspection points before joints and services are concealed, including photographs and defect closeout.
- Mechanical design assumptions for outdoor air, heating or cooling, humidity control, equipment condensate and maintenance access.
- A drainage route from roof and site surface to a suitable discharge point, with accessible cleaning provisions.
- A moisture response procedure that records location, weather, occupancy, system operation and measurements before repair.
- A commissioning test under a realistic use condition and an acceptance record with an agreed observation period.
If a supplier cannot identify who installs and warrants a critical joint, resolve that boundary before the order rather than after a wet room has to be opened. If the project is already occupied, use the same checklist to structure an investigation and keep the repair evidence. Send the room use, location, climate, current drawings and photographs when requesting a scope review. For an order-specific discussion, the project team can contact PQSE House with this information.
Frequently asked questions
Is every wet window frame a roof leak?
No. A frame can be wet because indoor moisture condenses on a cold surface, because rain enters the window assembly, or because water runs down from a higher point. Log the trigger, inspect the exterior path and compare room conditions before specifying a repair.
Will thicker insulation always solve flat-pack condensation?
No. Thickness alone does not correct air leakage, a thermal bridge at a post, a rainwater path or a blocked HVAC drain. Ask the designer to show how the proposed change maintains continuous water, air, heat and vapor controls at the specific interface.
Can a dehumidifier be used while the cause is found?
It may be an appropriate temporary control if it is operated safely and its water is discharged properly. Record who maintains it and when the underlying cause will be tested. Its success in drying the room does not prove the enclosure is sound.
How soon should the repair be accepted?
Acceptance should follow the original trigger where practicable: an appropriate rain event or controlled water test for a rain path, comparable occupied conditions for condensation, or a sustained equipment run for an HVAC drain. The designer and owner should agree on test conditions and observation period in advance.
Is a flat-pack container house the same as a converted shipping container?
No. The purpose-built flat-pack assembly described here uses prepared structural elements and panels joined on site. A converted freight container has a different shell and lining problem. Some moisture physics are shared, but the component details and repair responsibilities must be checked for the actual building.
Sources and scope
- US EPA, Moisture Control Guidance for Building Design, Construction and Maintenance: primary guidance on liquid water, condensation, drying and building operation.
- Whole Building Design Guide, Building Enclosure Design Principles and Strategies: continuity of water, air, vapor and thermal controls at enclosure transitions.
- Kubo Prefab, Flat Pack Container House Components and UMD House, Flat Pack Container House Installation: industry articles read to compare component and assembly framing, not used as proof of PQSE-specific performance.
The examples are diagnostic scenarios, not documented PQSE projects. Final enclosure and mechanical decisions require the actual ordered specification, climate, use, local rules and qualified project review.